基础 Next
mkdir my-blog
cd my-blog
npm init -y

# Wrote to my-blog/package.json:
初始化 package.json
{
  "name": "my-blog",
  "version": "1.0.0",
  "description": "",
  "main": "index.js",
  "scripts": {
    "test": "echo \"Error: no test specified\" && exit 1"
  },
  "keywords": [],
  "author": "",
  "license": "ISC"
}
安装 next,这里使用 pnpm 当然你也可以使用其他的包管理工具,安装版本为 12+ 目前 next 已有 13 alpha 版本,但为了相关库的兼容性,我们还是使用 12
pnpm add next@12.3.3 react react-dom
{
  "dependencies": {
    "next": "12.3.3",
    "react": "^18.2.0",
    "react-dom": "^18.2.0"
  }
}
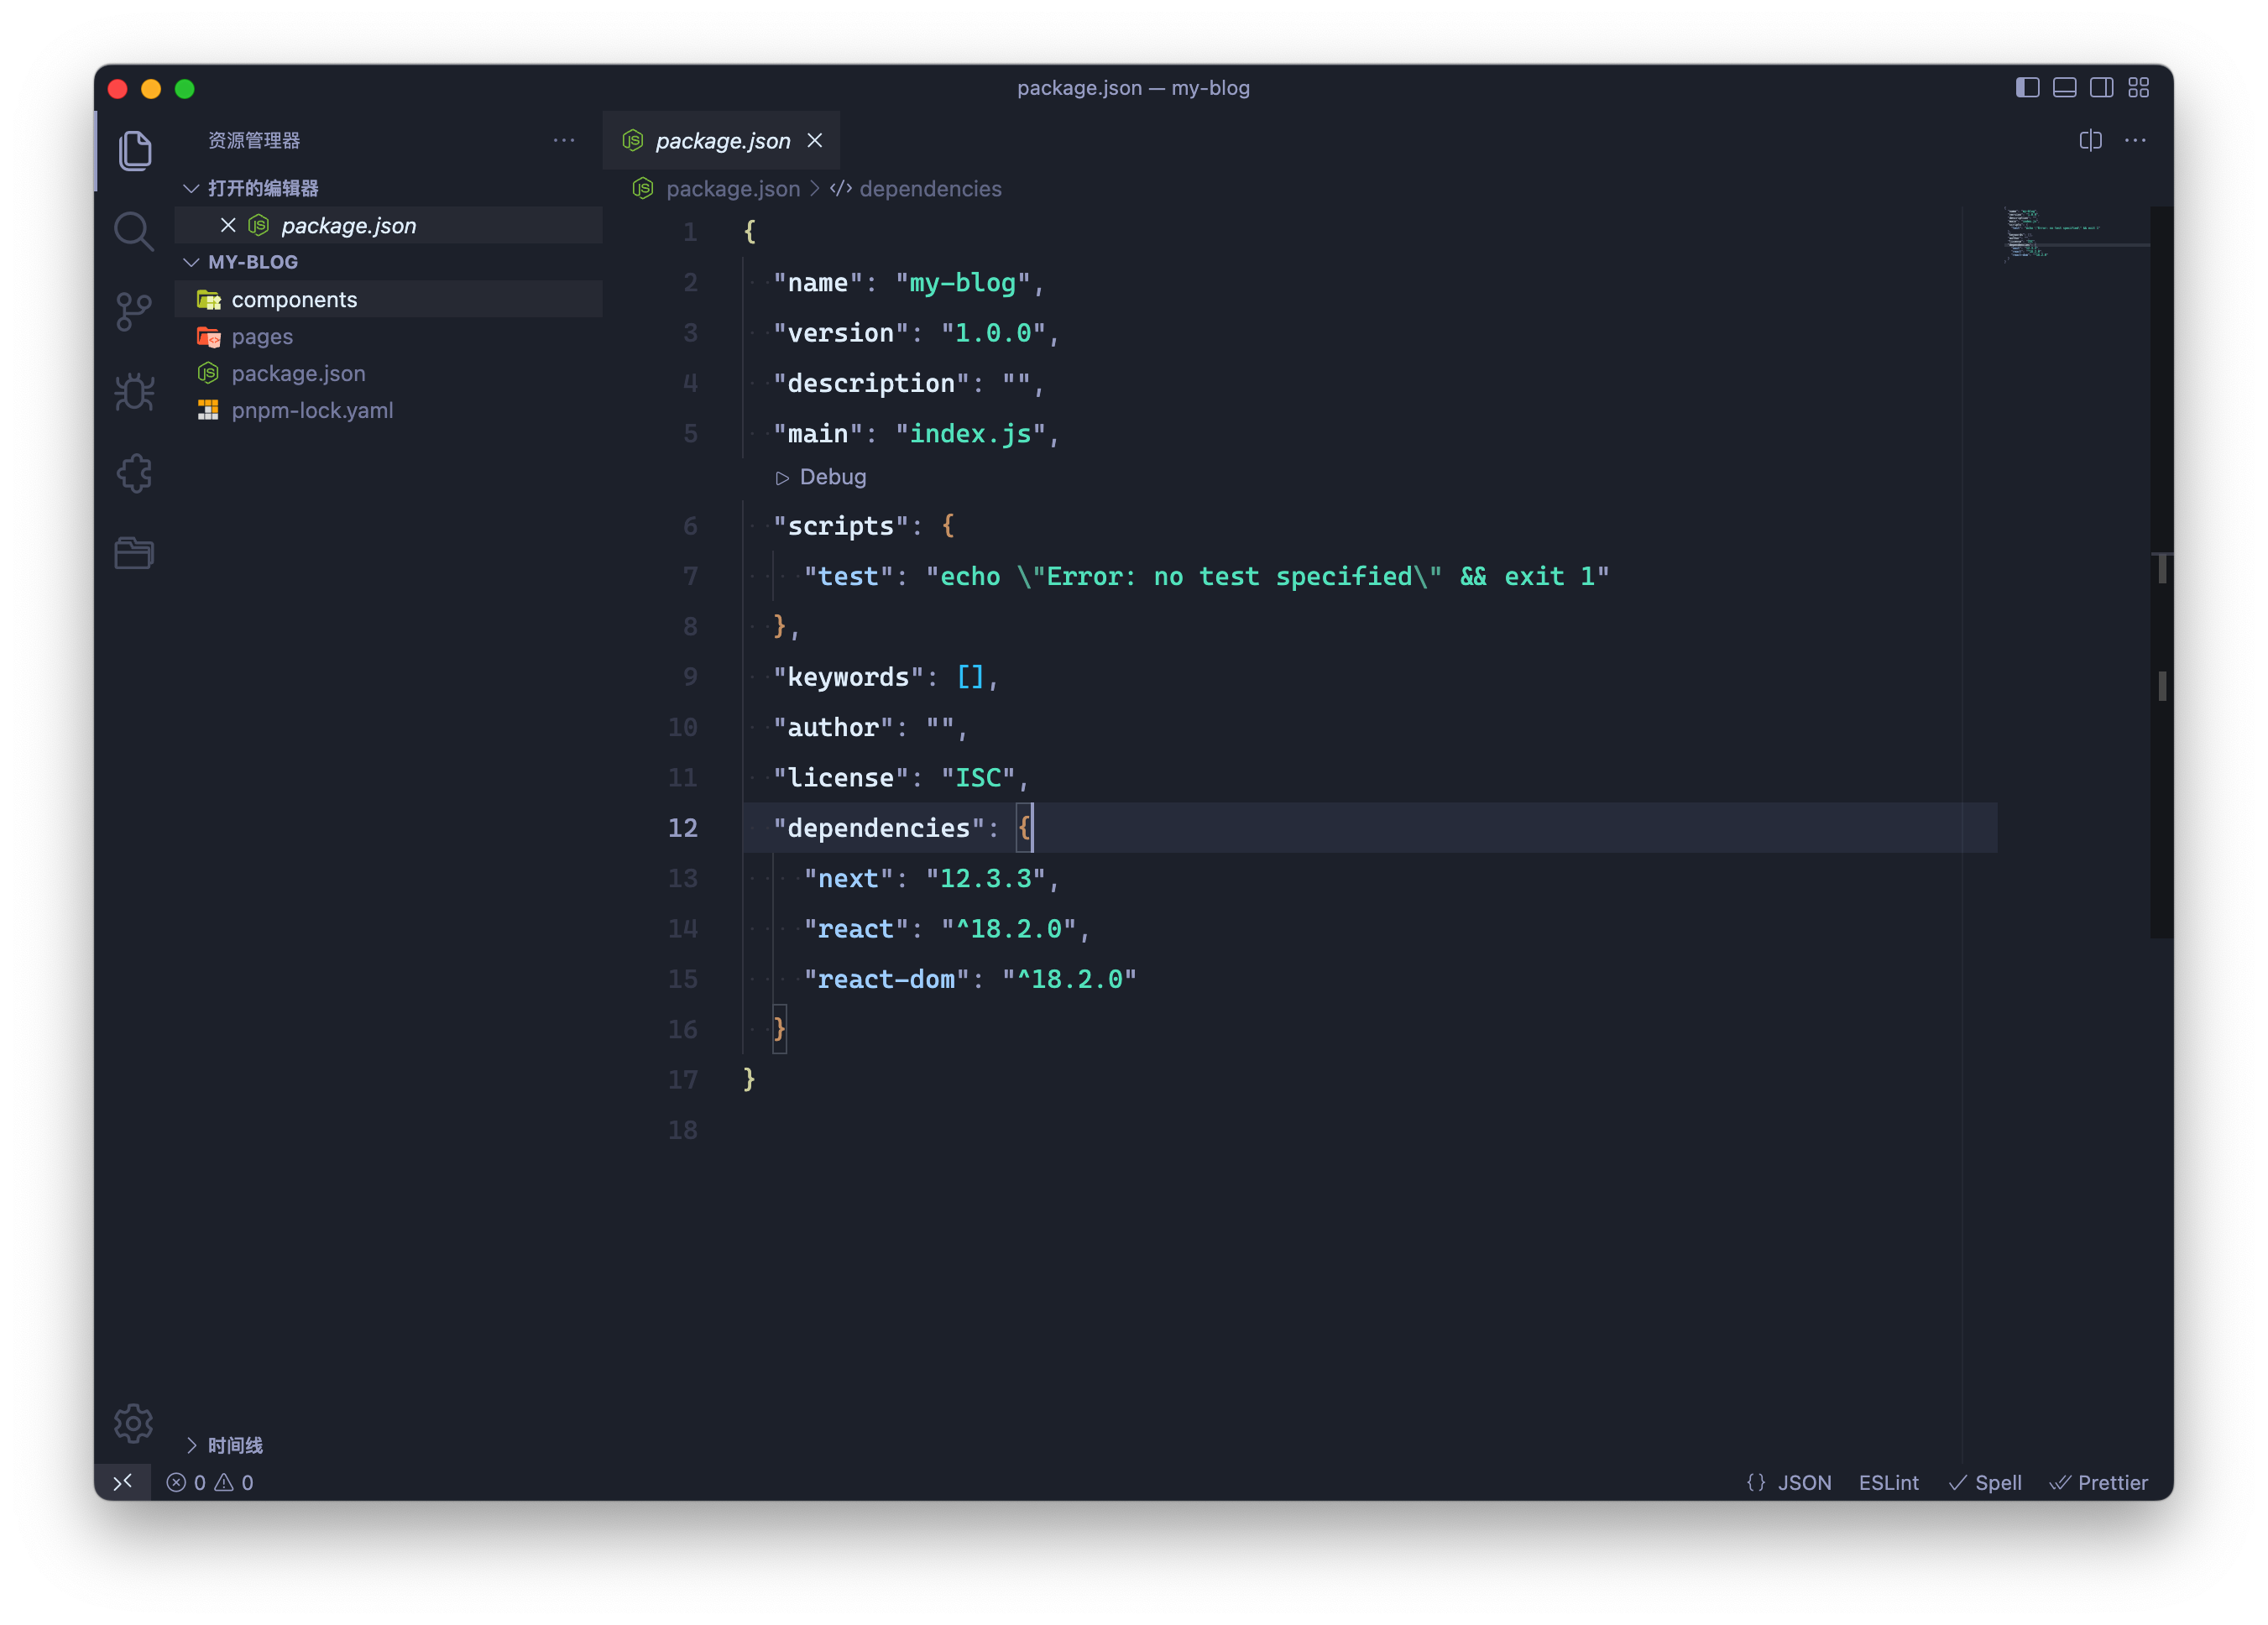
文件结构
.
├── components
├── pages
├── package.json
└── pnpm-lock.yaml
基础 Typescript
pnpm add -D ts-node typescript @types/node @types/react
{
  "devDependencies": {
    "@types/node": "^18.11.9",
    "@types/react": "^18.0.25",
    "ts-node": "^10.9.1",
    "typescript": "^4.8.4"
  }
}
创建 tsconfig.json
{
  "compilerOptions": {
    "target": "ES2019",
    "lib": ["DOM", "DOM.Iterable", "ESNext"],
    "allowJs": true,
    "skipLibCheck": true,
    "strict": false,
    "forceConsistentCasingInFileNames": true,
    "noEmit": true,
    "esModuleInterop": true,
    "module": "ESNext",
    "moduleResolution": "node",
    "resolveJsonModule": true,
    "isolatedModules": true,
    "jsx": "preserve",
    "incremental": true
  },
  "exclude": ["node_modules"],
  "include": ["next-env.d.ts", "**/*.ts", "**/*.tsx"]
}
next typescript 类型全局支持 next-env.d.ts
/// <reference types="next" />
/// <reference types="next/image-types/global" />

// NOTE: This file should not be edited
// see https://nextjs.org/docs/basic-features/typescript for more information.
再设置下执行脚本,此时的 package.json
{
  "name": "my-blog",
  "version": "1.0.0",
  "description": "",
  "scripts": {
    "dev": "next",
    "build": "next build",
    "start": "next start"
  },
  "keywords": [],
  "author": "",
  "license": "ISC",
  "dependencies": {
    "next": "12.3.3",
    "react": "^18.2.0",
    "react-dom": "^18.2.0"
  },
  "devDependencies": {
    "@types/node": "^18.11.9",
    "@types/react": "^18.0.25",
    "ts-node": "^10.9.1",
    "typescript": "^4.8.4"
  }
}
创建首页
pages/index.tsx
export default function () {
  return <div>hello</div>;
}
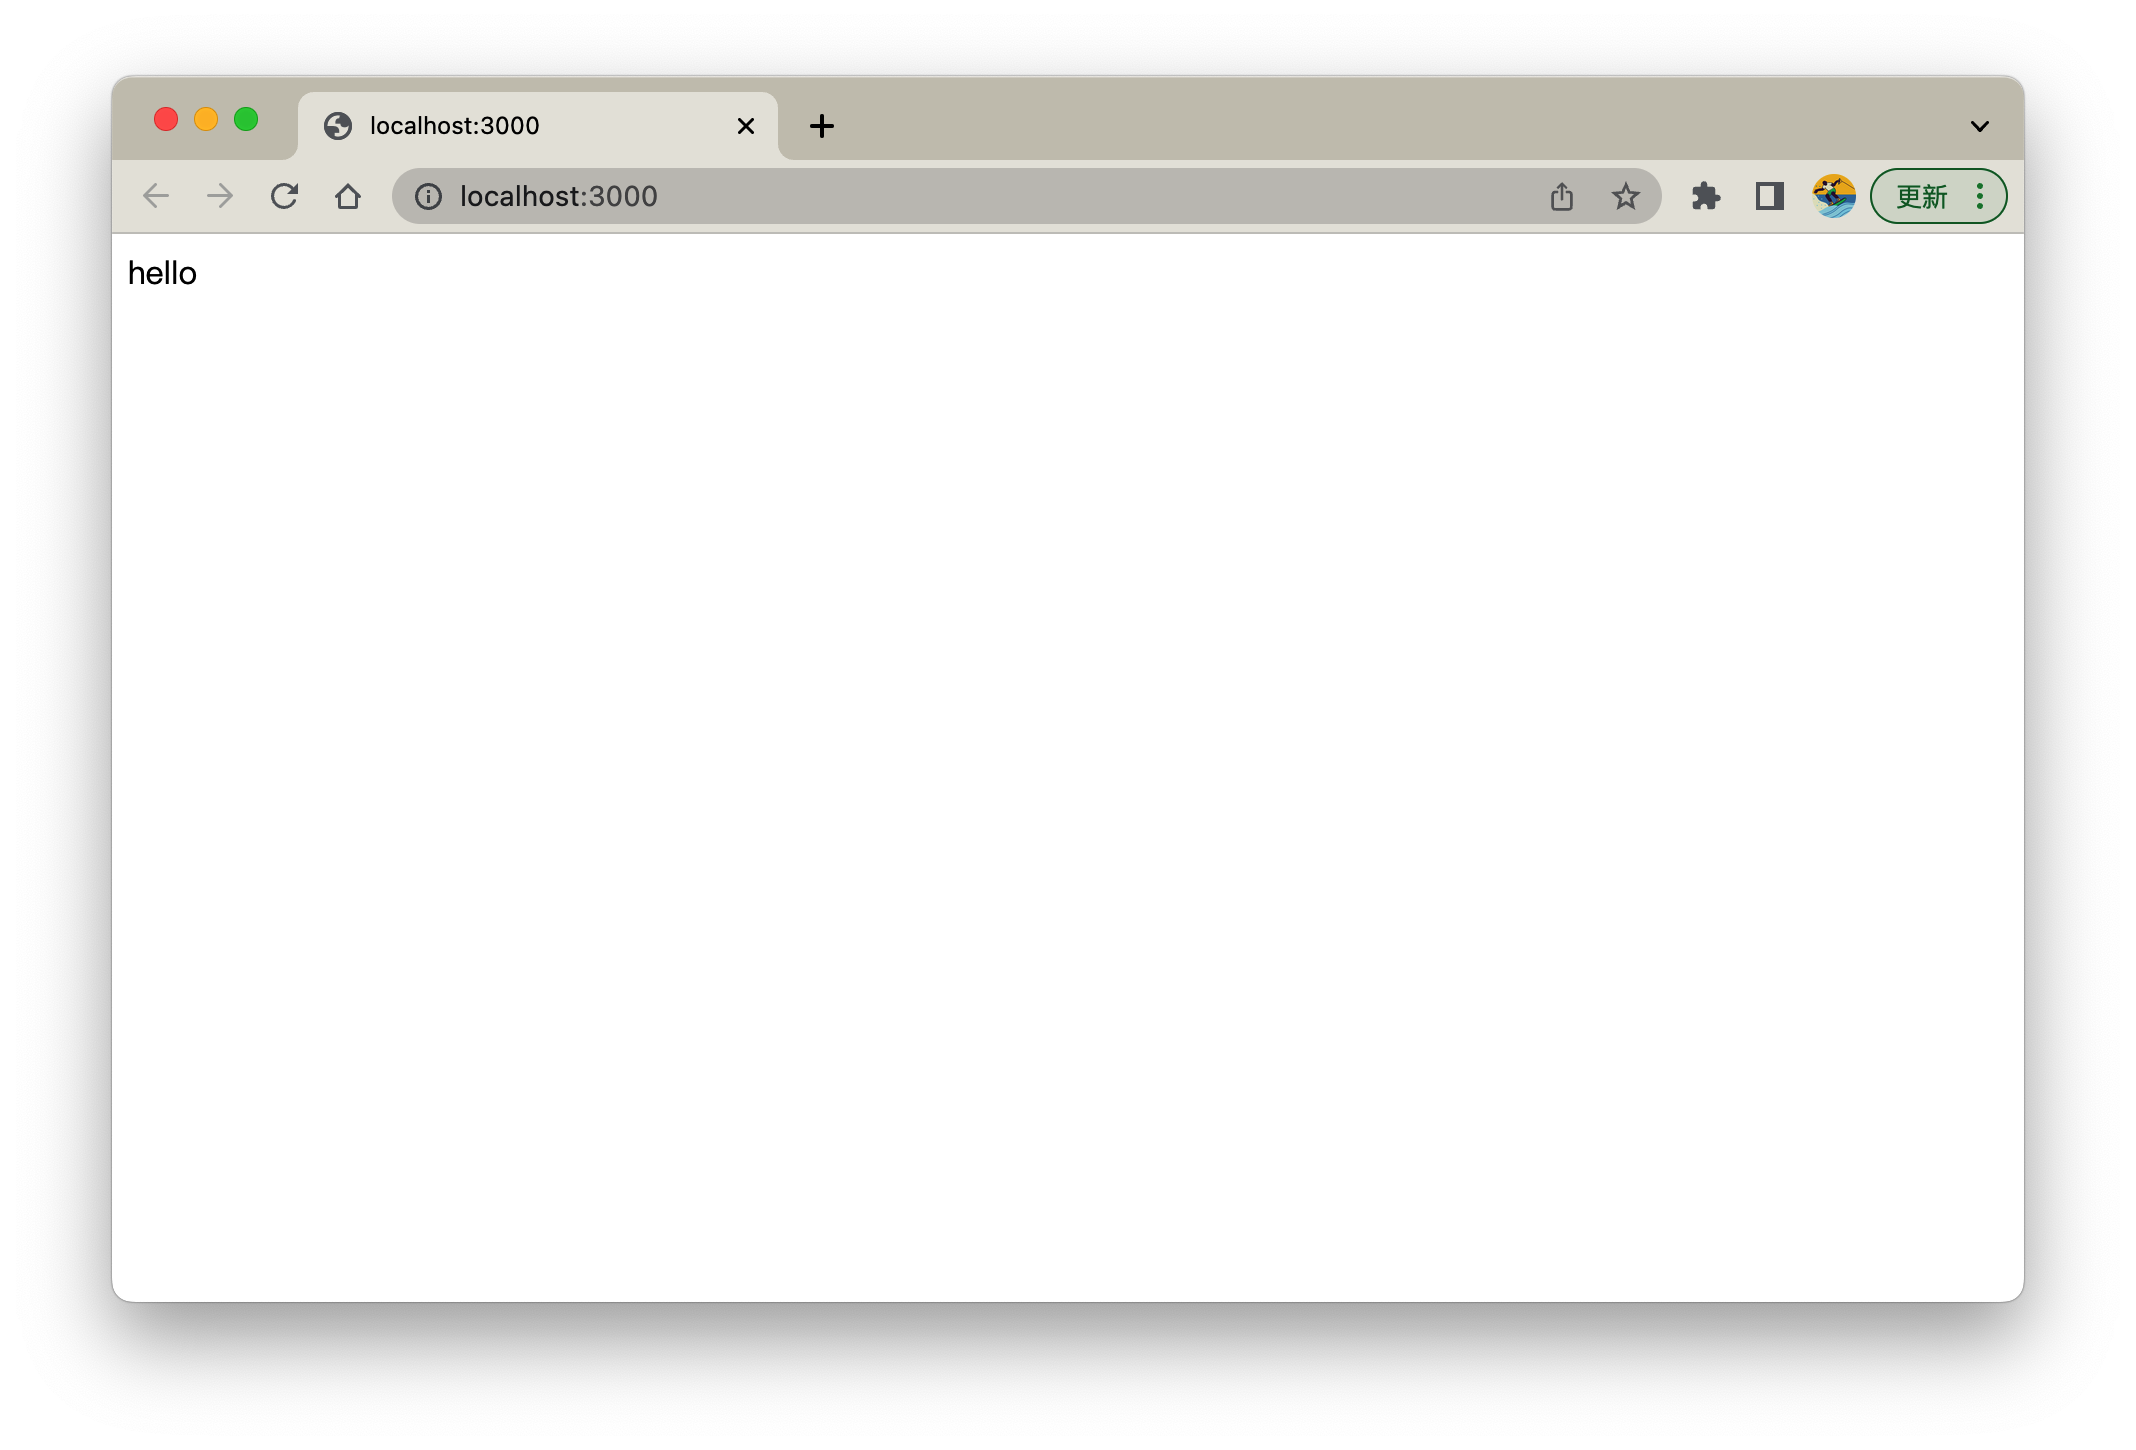
运行
npm run dev

> my-blog@1.0.0 dev my-blog
> next

ready - started server on 0.0.0.0:3000, url: http://localhost:3000
打开 http://localhost:3000
基础 Tailwindcss
为了写些基础样式更方便,我们使用 tailwind next.js
pnpm add -D tailwindcss postcss autoprefixer
npx tailwindcss init -p
package.json
"devDependencies": {
	...
	"autoprefixer": "^10.4.13",
	"postcss": "^8.4.19",
	"tailwindcss": "^3.2.4",
	...
}
文件树
.
├── components
├── pages
│   └── index.tsx
├── next-env.d.ts
├── pnpm-lock.yaml
├── postcss.config.js
├── tailwind.config.js
└── tsconfig.json
配置 tailwind.config.js
/** @type {import('tailwindcss').Config} */
module.exports = {
  content: [
    "./app/**/*.{js,ts,jsx,tsx}",
    "./pages/**/*.{js,ts,jsx,tsx}",
    "./components/**/*.{js,ts,jsx,tsx}",
  ],
  theme: {
    extend: {},
  },
  plugins: [],
};
引入基础样式 styles/globals.css
@tailwind base;
@tailwind components;
@tailwind utilities;

/* 网页背景色 */
body {
  @apply bg-gray-200;
}
样式我们需要全局引入 pages/_app.tsx
import { AppProps } from "next/app";

import "styles/globals.css";

const App = ({ Component, pageProps }: AppProps) => {
  return <Component {...pageProps} />;
};

export default App;
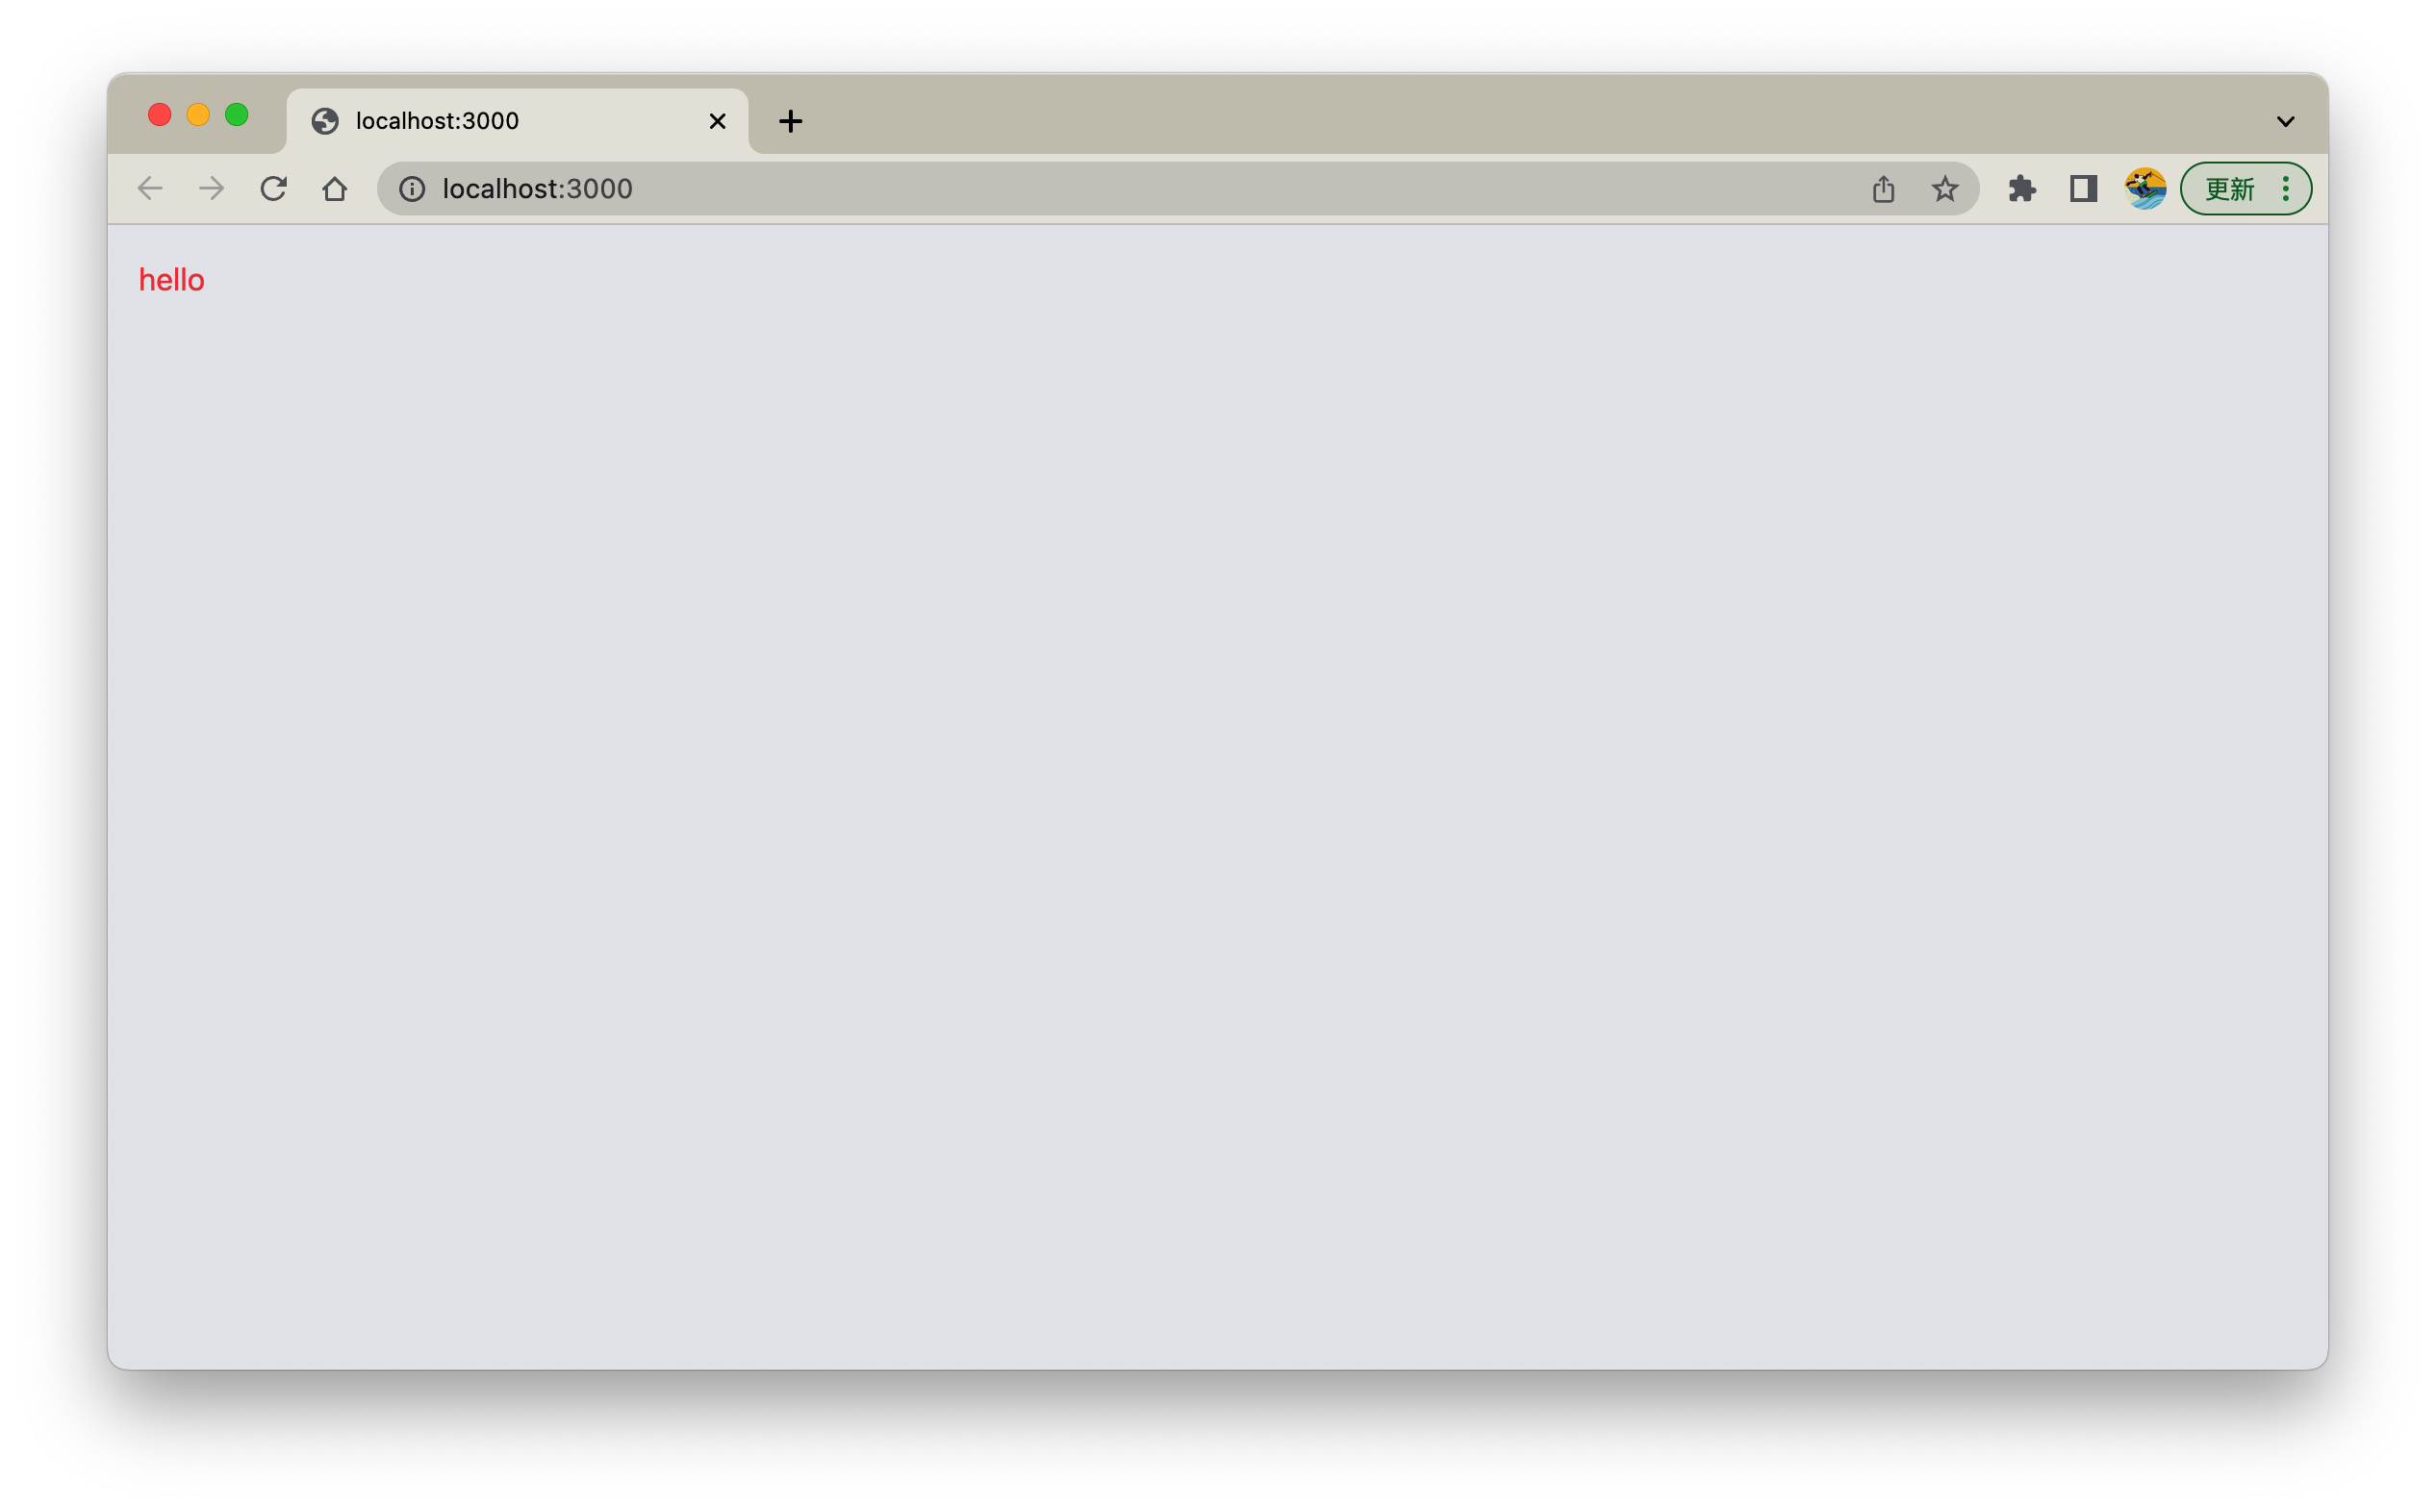
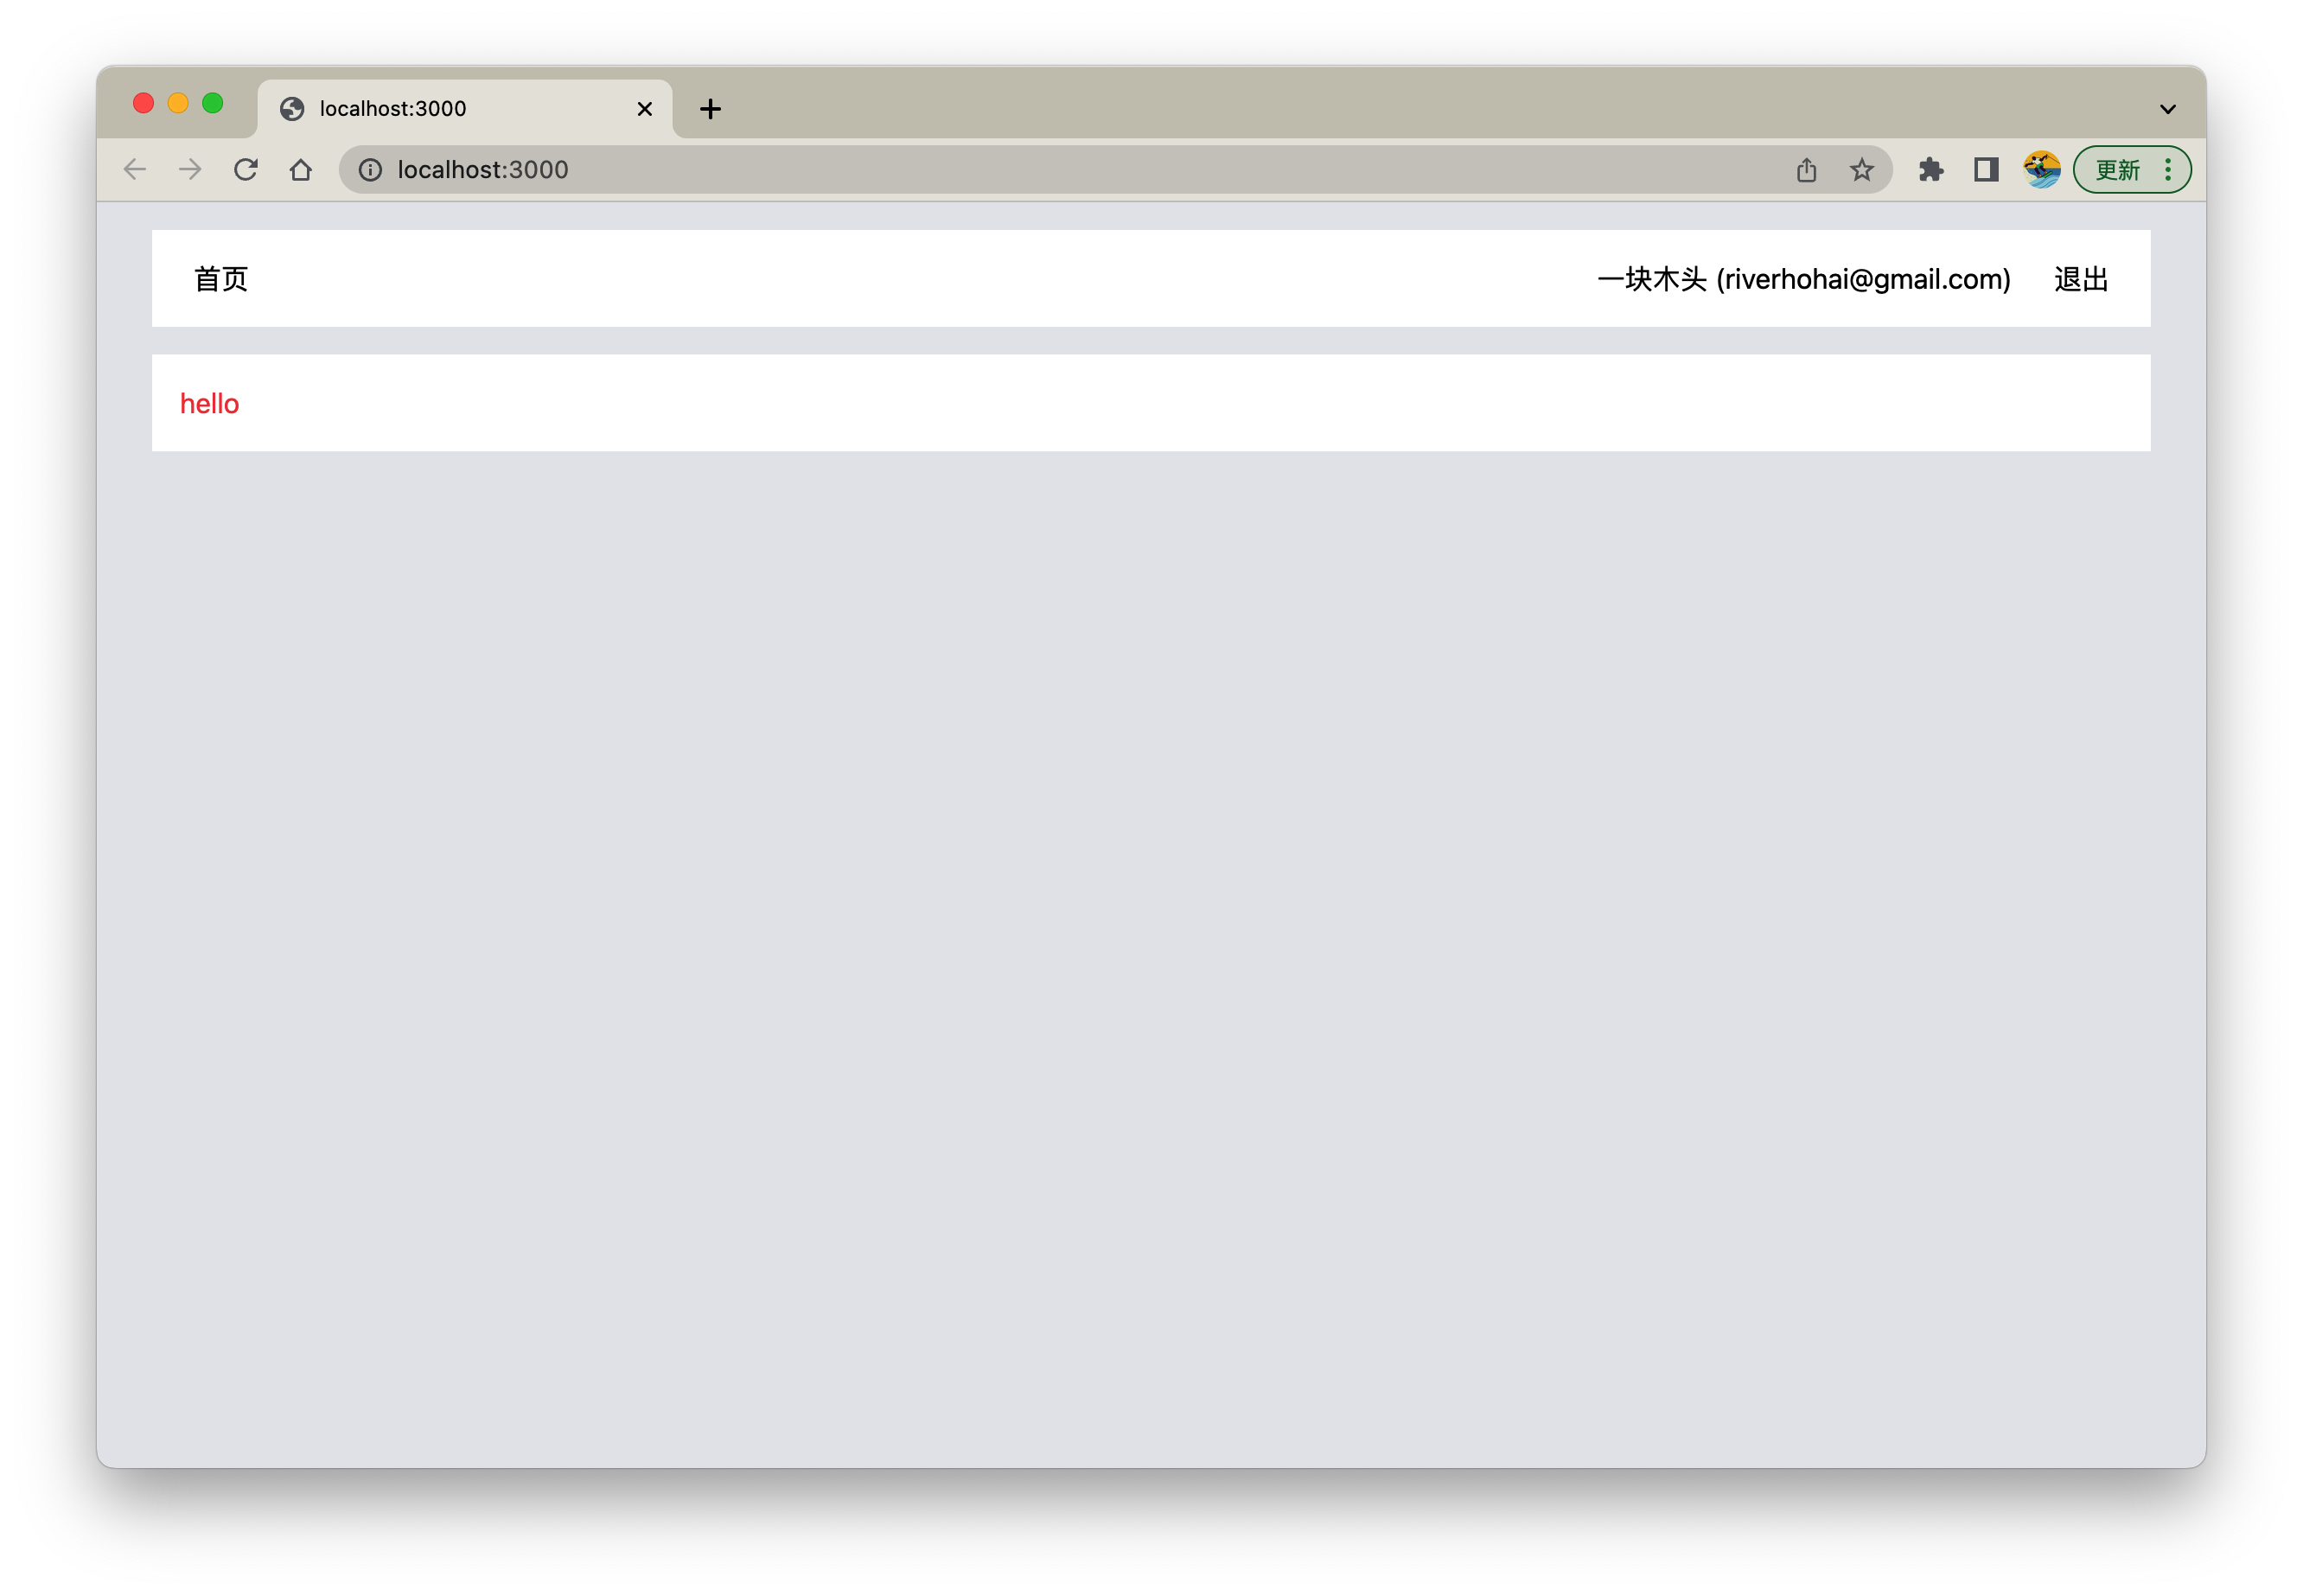
修改 pages/index.tsx 试试,tailwind 是否生效
export default function () {
  return <div className="text-red-500 p-4">hello</div>;
}
npm run dev
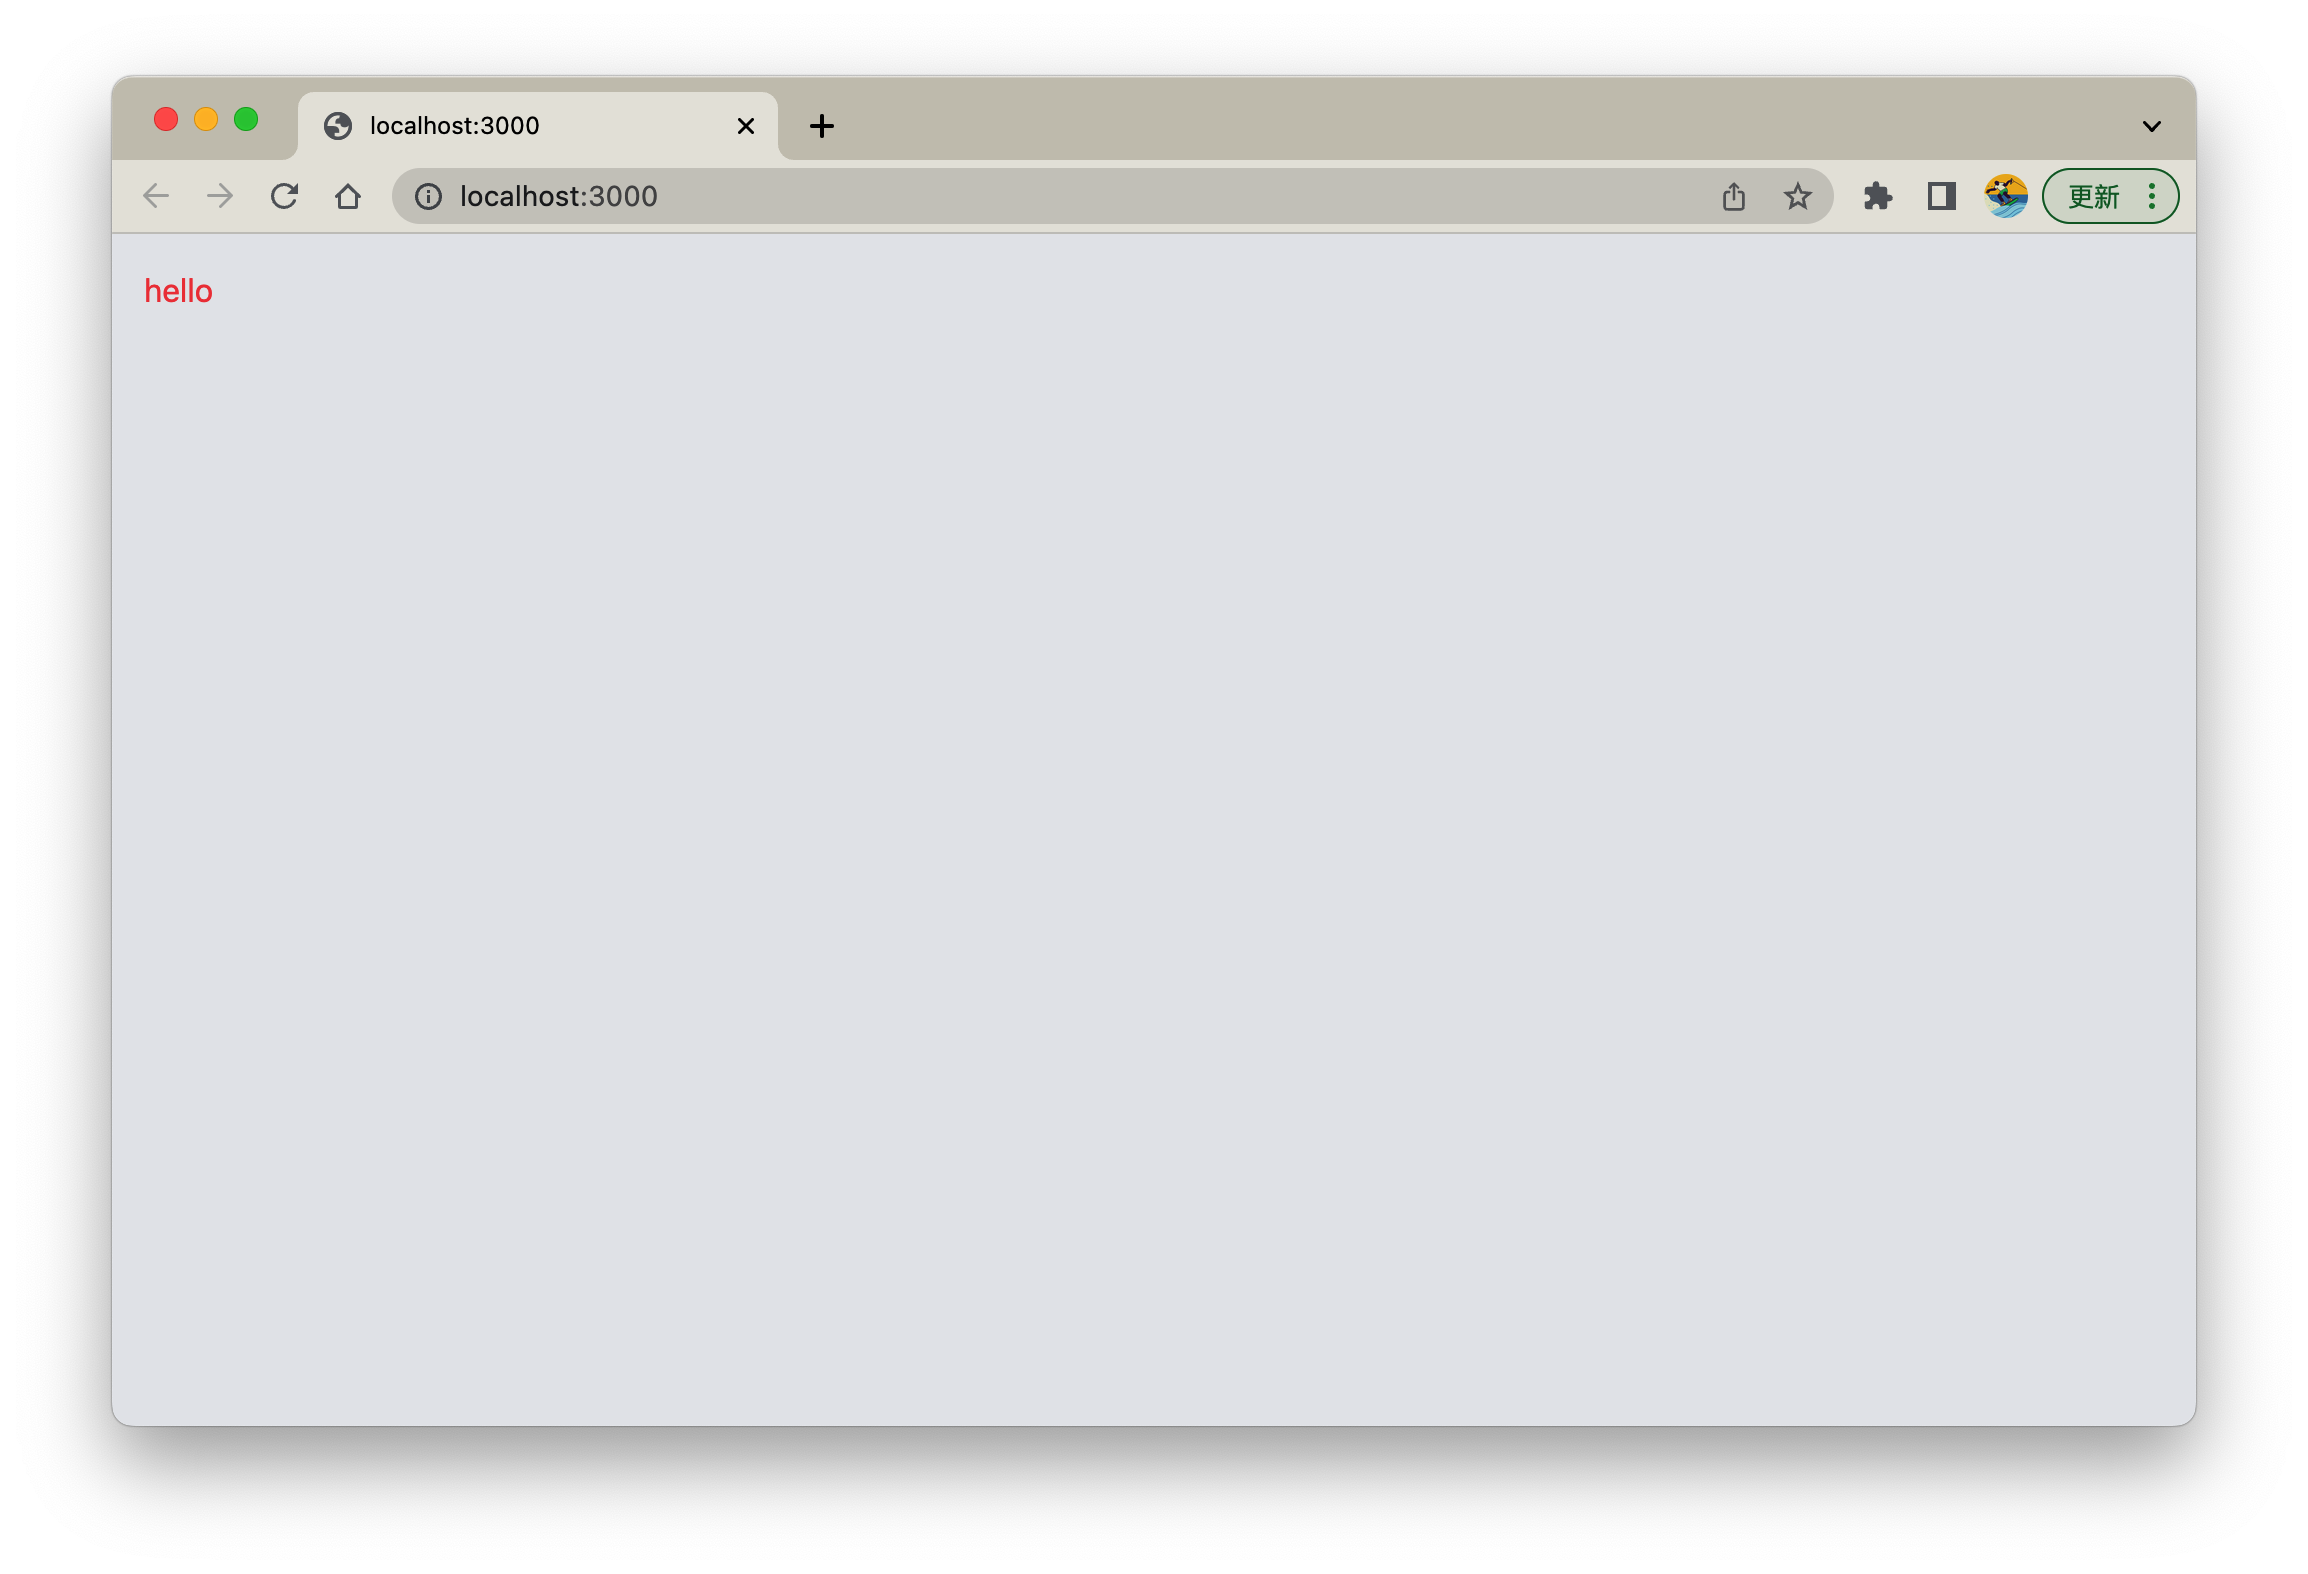
ok, 这里我们的基础就搭建好了,下面,我们先来直接安装 NextAuth
使用 NextAuth
pnpm add next-auth
当前 package.json
"dependencies": {
	...
	"next-auth": "^4.16.4",
	...
},
创建 next auth 接口代理 pages/api/auth/[...nextauth].ts
import { NextApiHandler } from "next";
import { NextAuthOptions } from "next-auth";
import GitHubProvider from "next-auth/providers/github";
import NextAuth from "next-auth/next";

const authOptions: NextAuthOptions = {
  providers: [
    GitHubProvider({
      clientId: process.env.GITHUB_ID,
      clientSecret: process.env.GITHUB_SECRET,
    }),
  ],
};

// 需要一个导出的 handler,使用 next auth 做代理
const authHandler: NextApiHandler = (req, res) =>
  NextAuth(req, res, authOptions);

export default authHandler;
[...nextauth].ts: 为什么是这样的?这是 Next api path 匹配,这将会匹配/api/auth/**/*所以路径的请求GitHubProvider: 使用 Github 的 OAuthprocess.env: 获取环境变量,他可以来自你的.env脚本参数,系统环境等环境变量
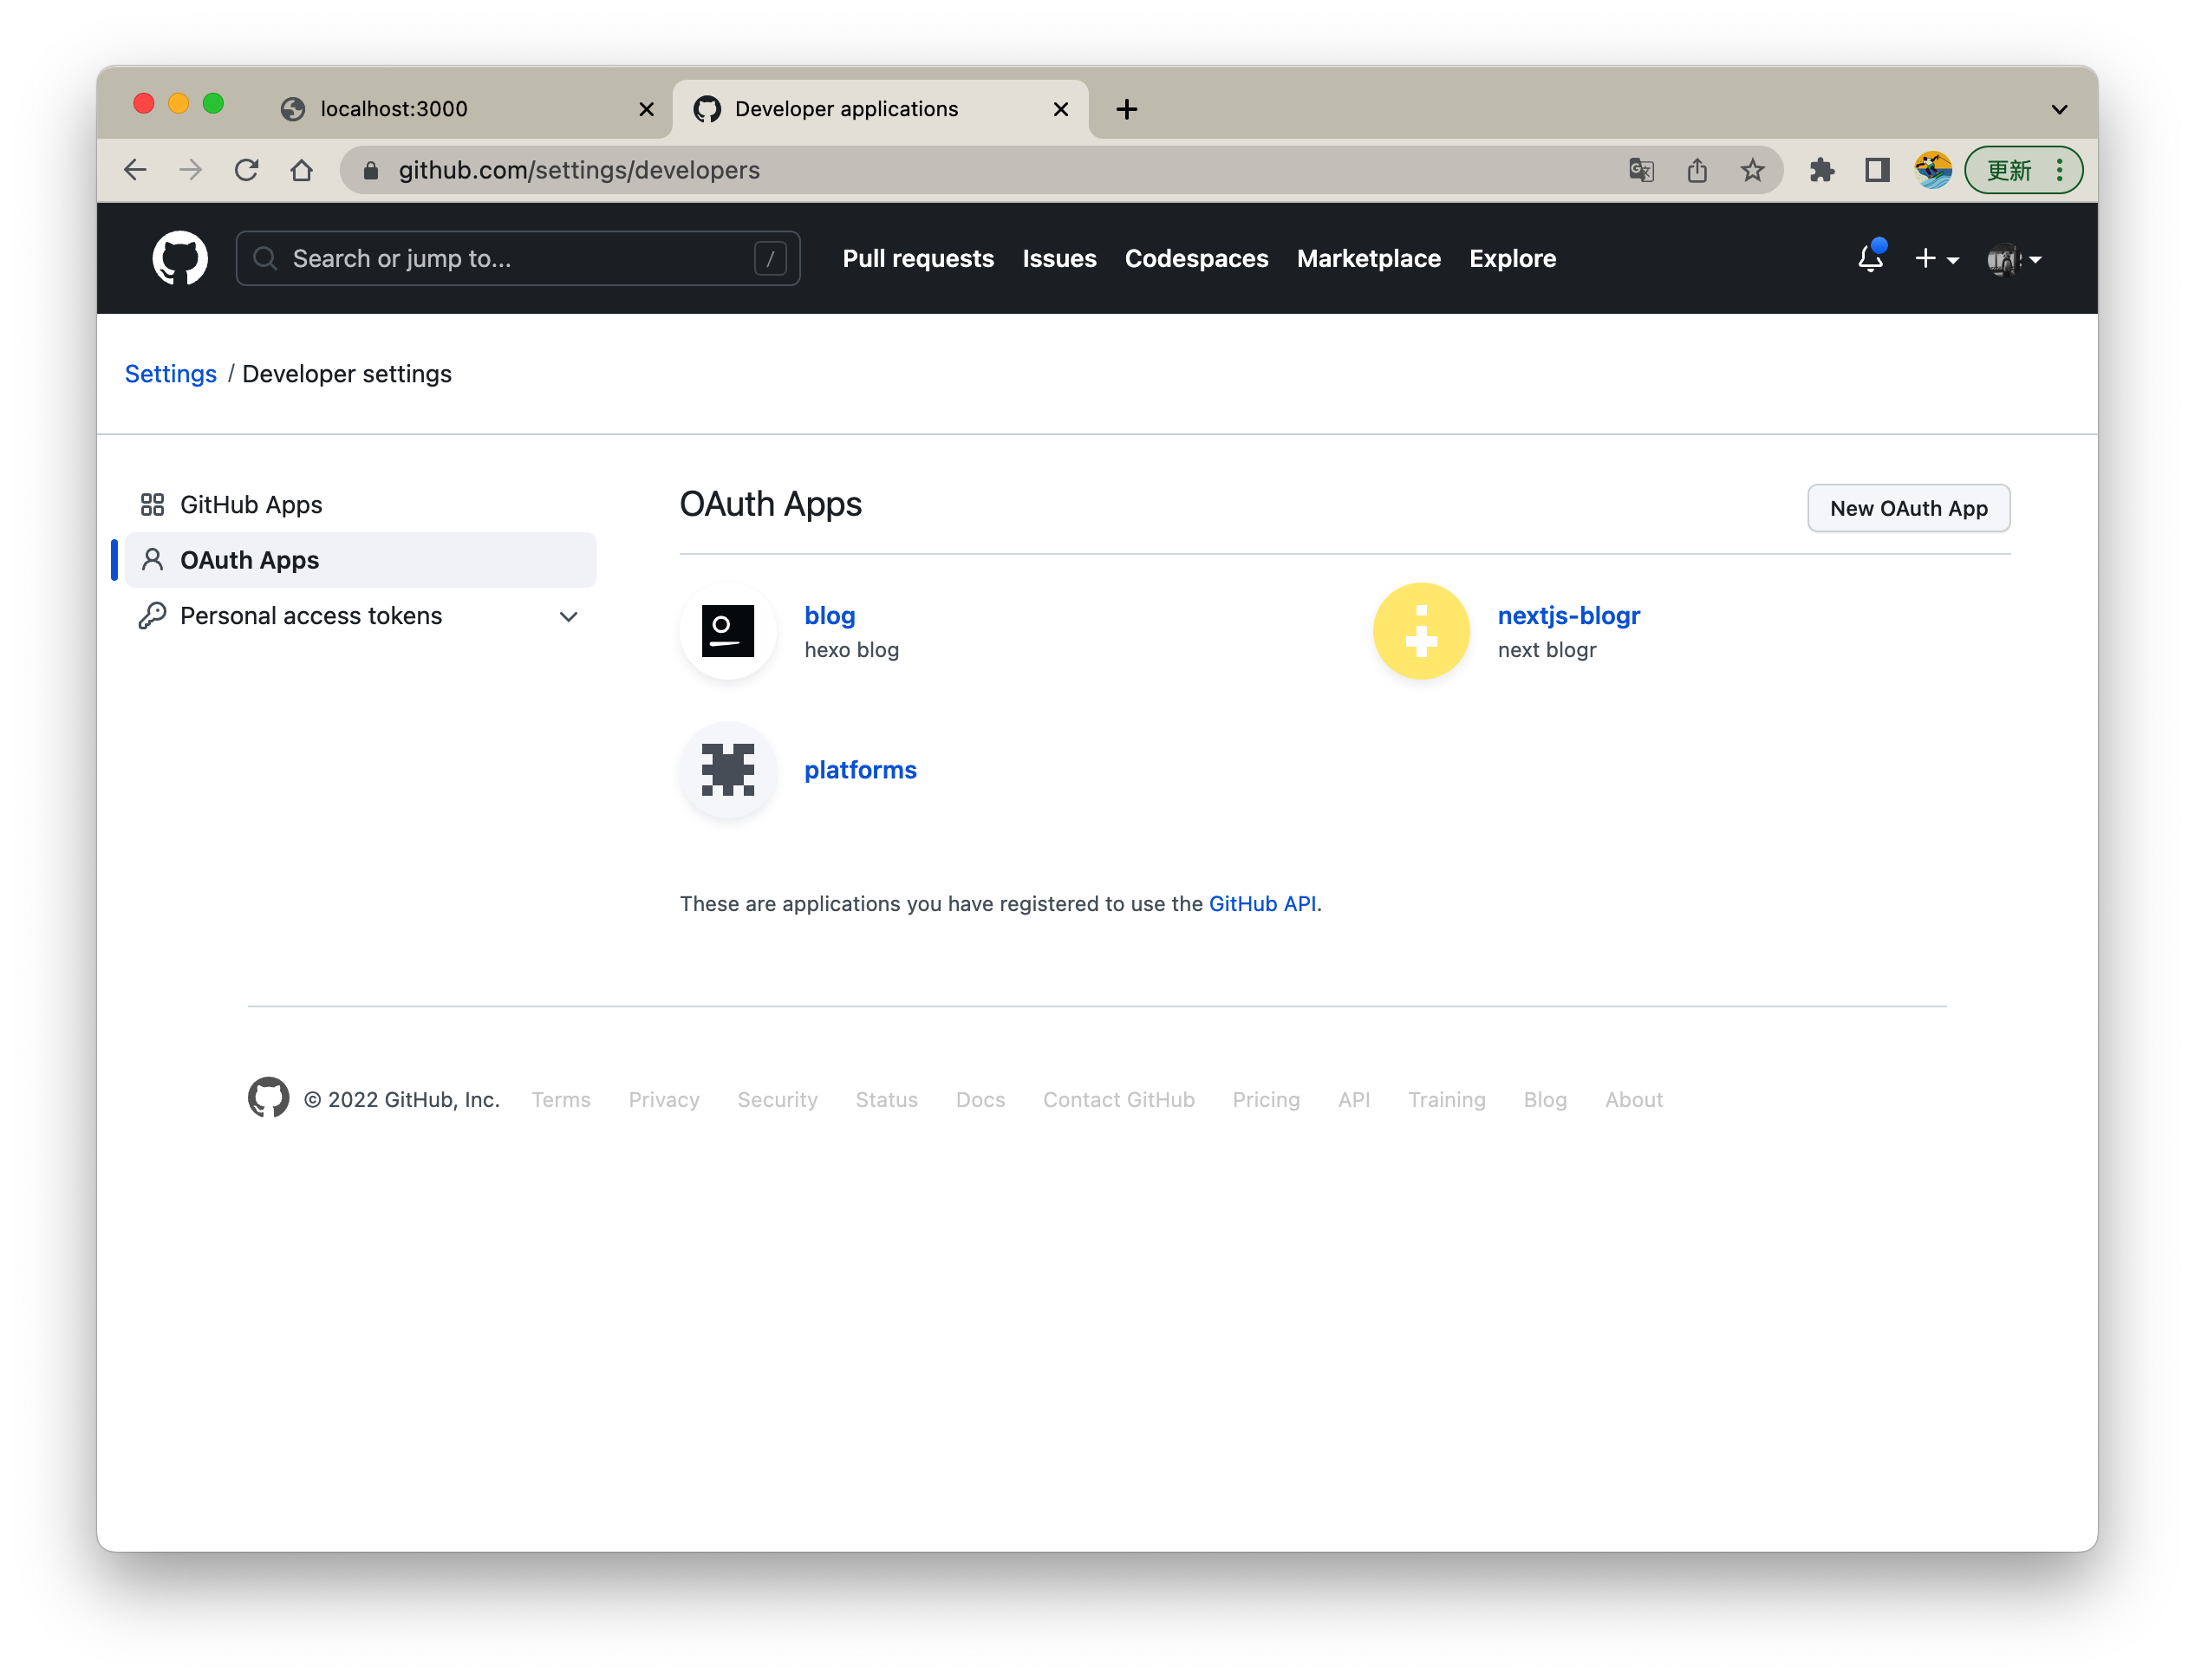
此时,我们需要去申请一个 Github OAuth 的 token,用于请求
申请 Github OAuth App Token
我这里已经有 App, 你的可能是空的,但不要紧,我们创建一个新的 app
- 点击 "New OAuth App",完成身份认证
- 填写内容
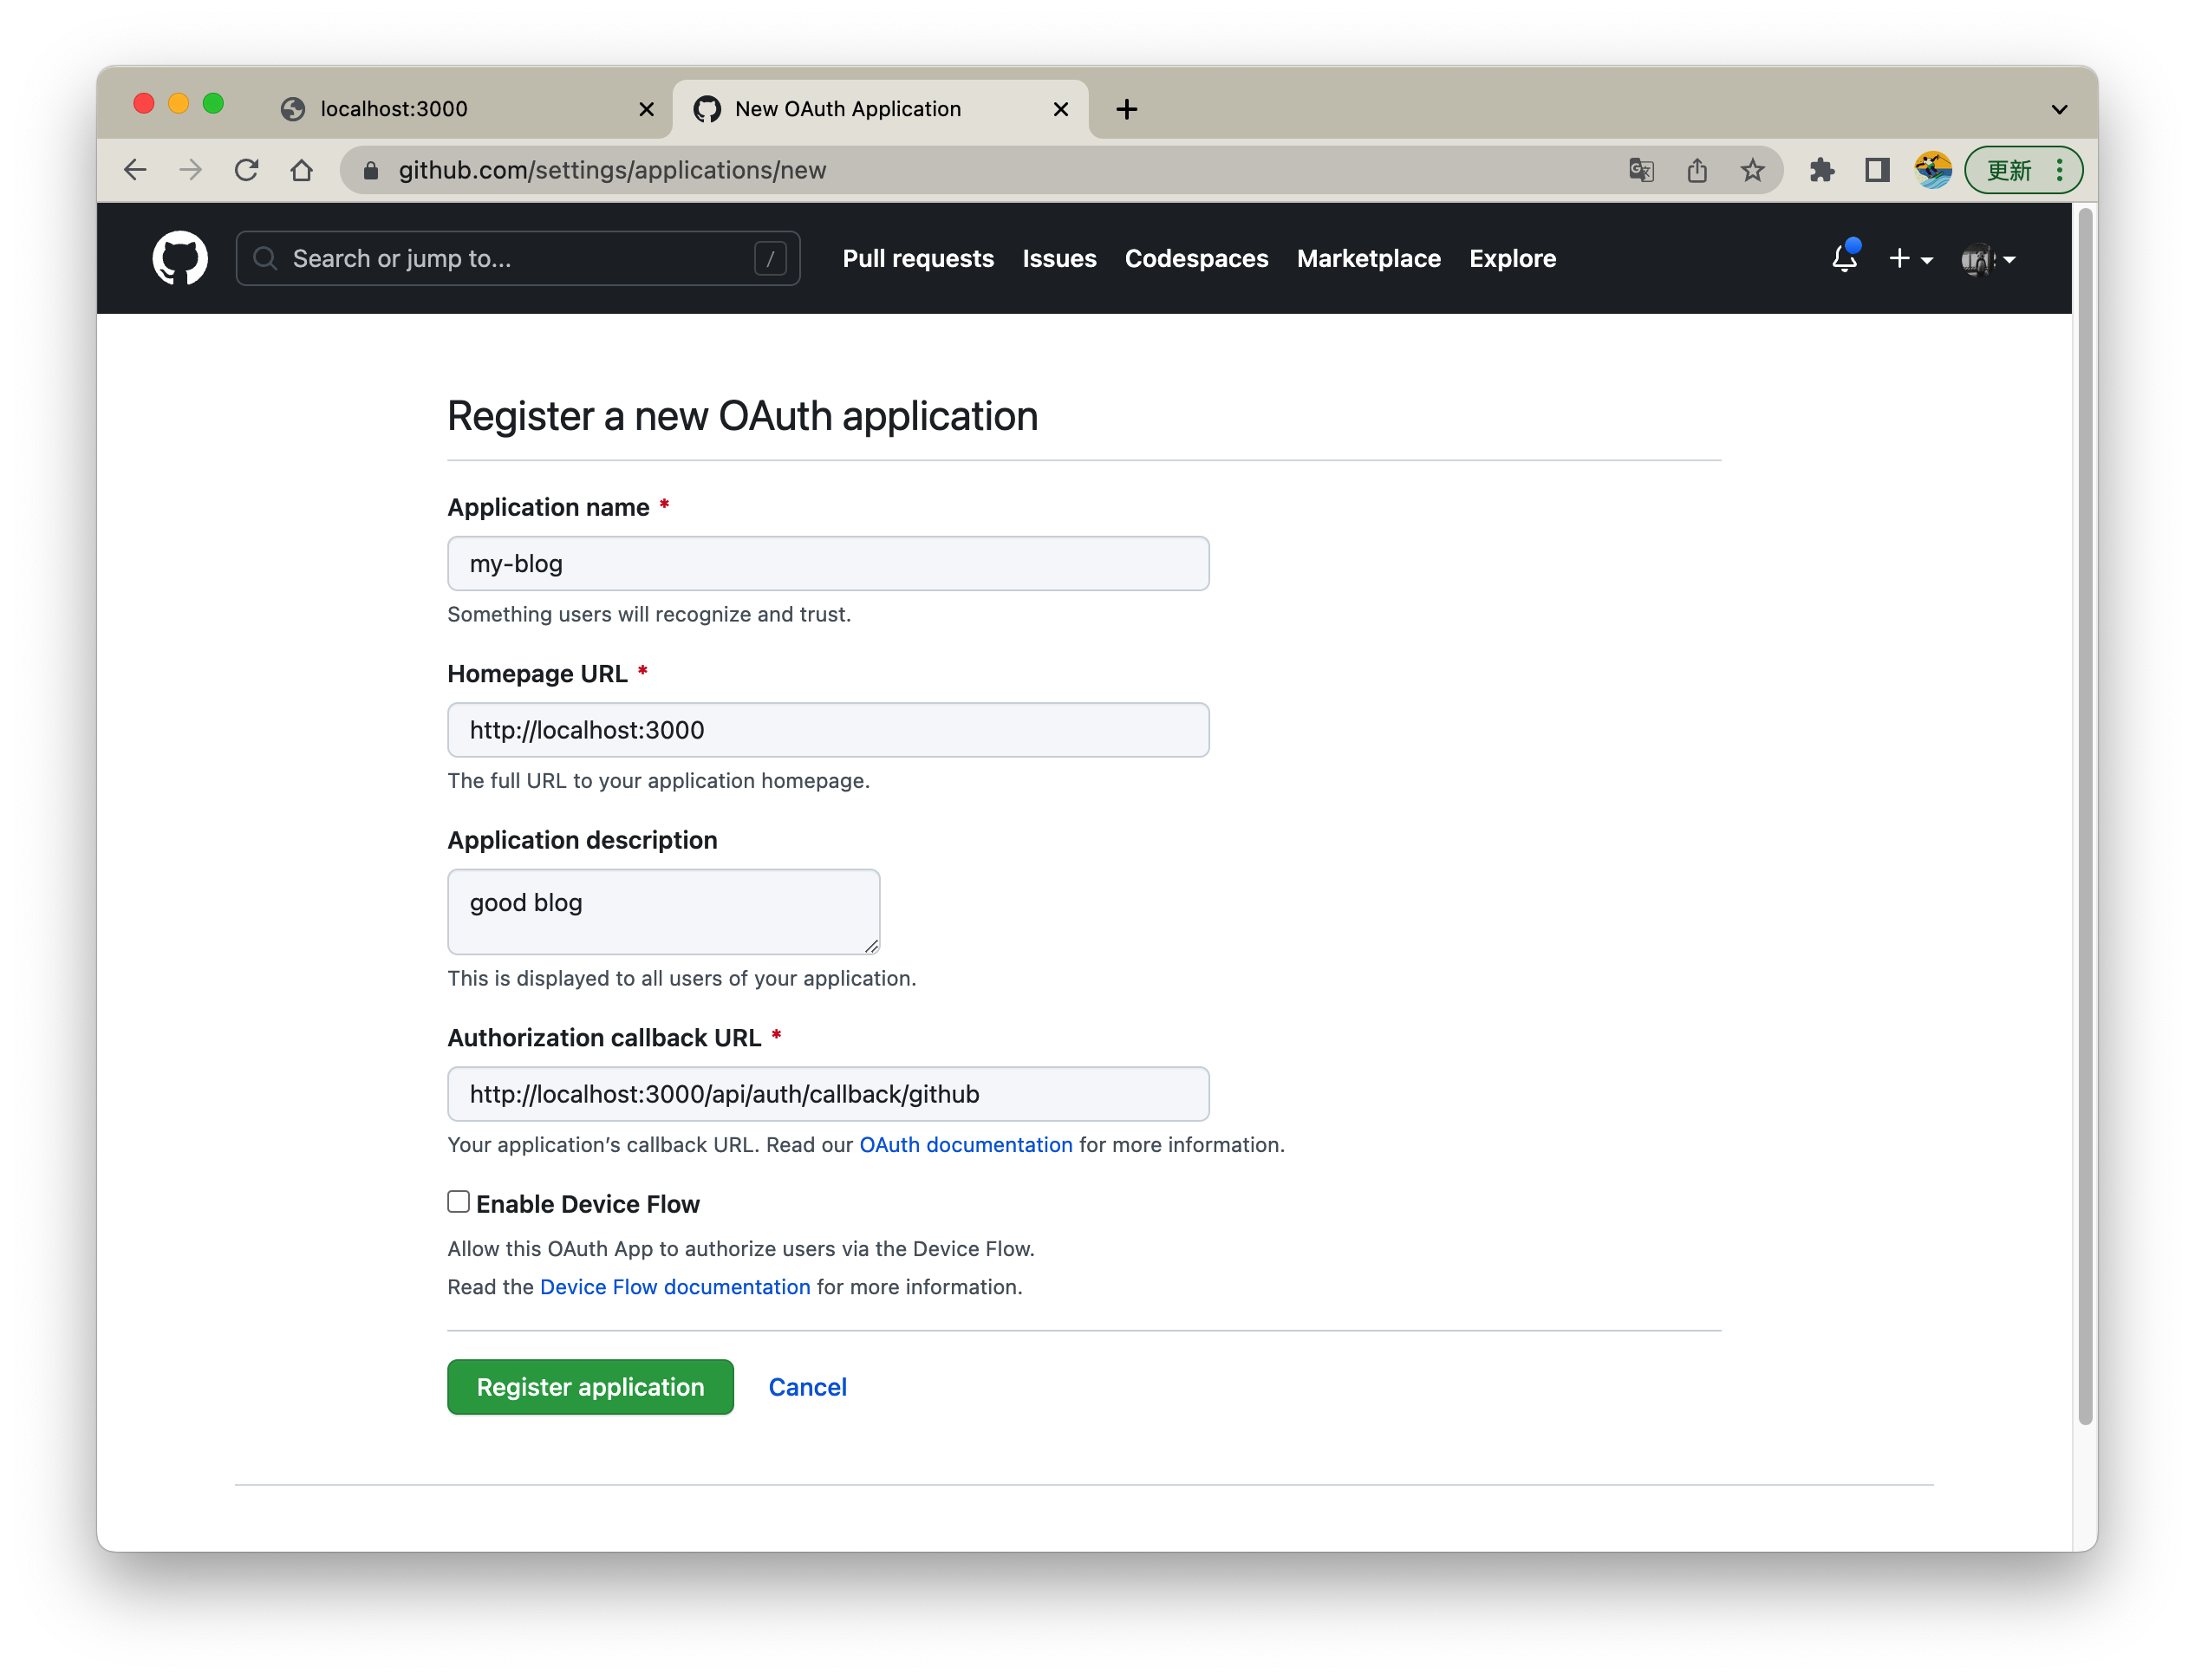
Application name: 应用名称,随便填Homepage URL: 应用首页,随便填Application description: 应用说明,随便填Authorization callback URL: 认证回执地址,/api/auth/callback/github路径需要填写 next auth 的代理,这用于 next auth 来接收 OAuth 认证的结果。也可以直接使用/api/authnext auth 会识别回执的, 完整:http://localhost:3000/api/auth/callback/github
- 点击 "Register application"
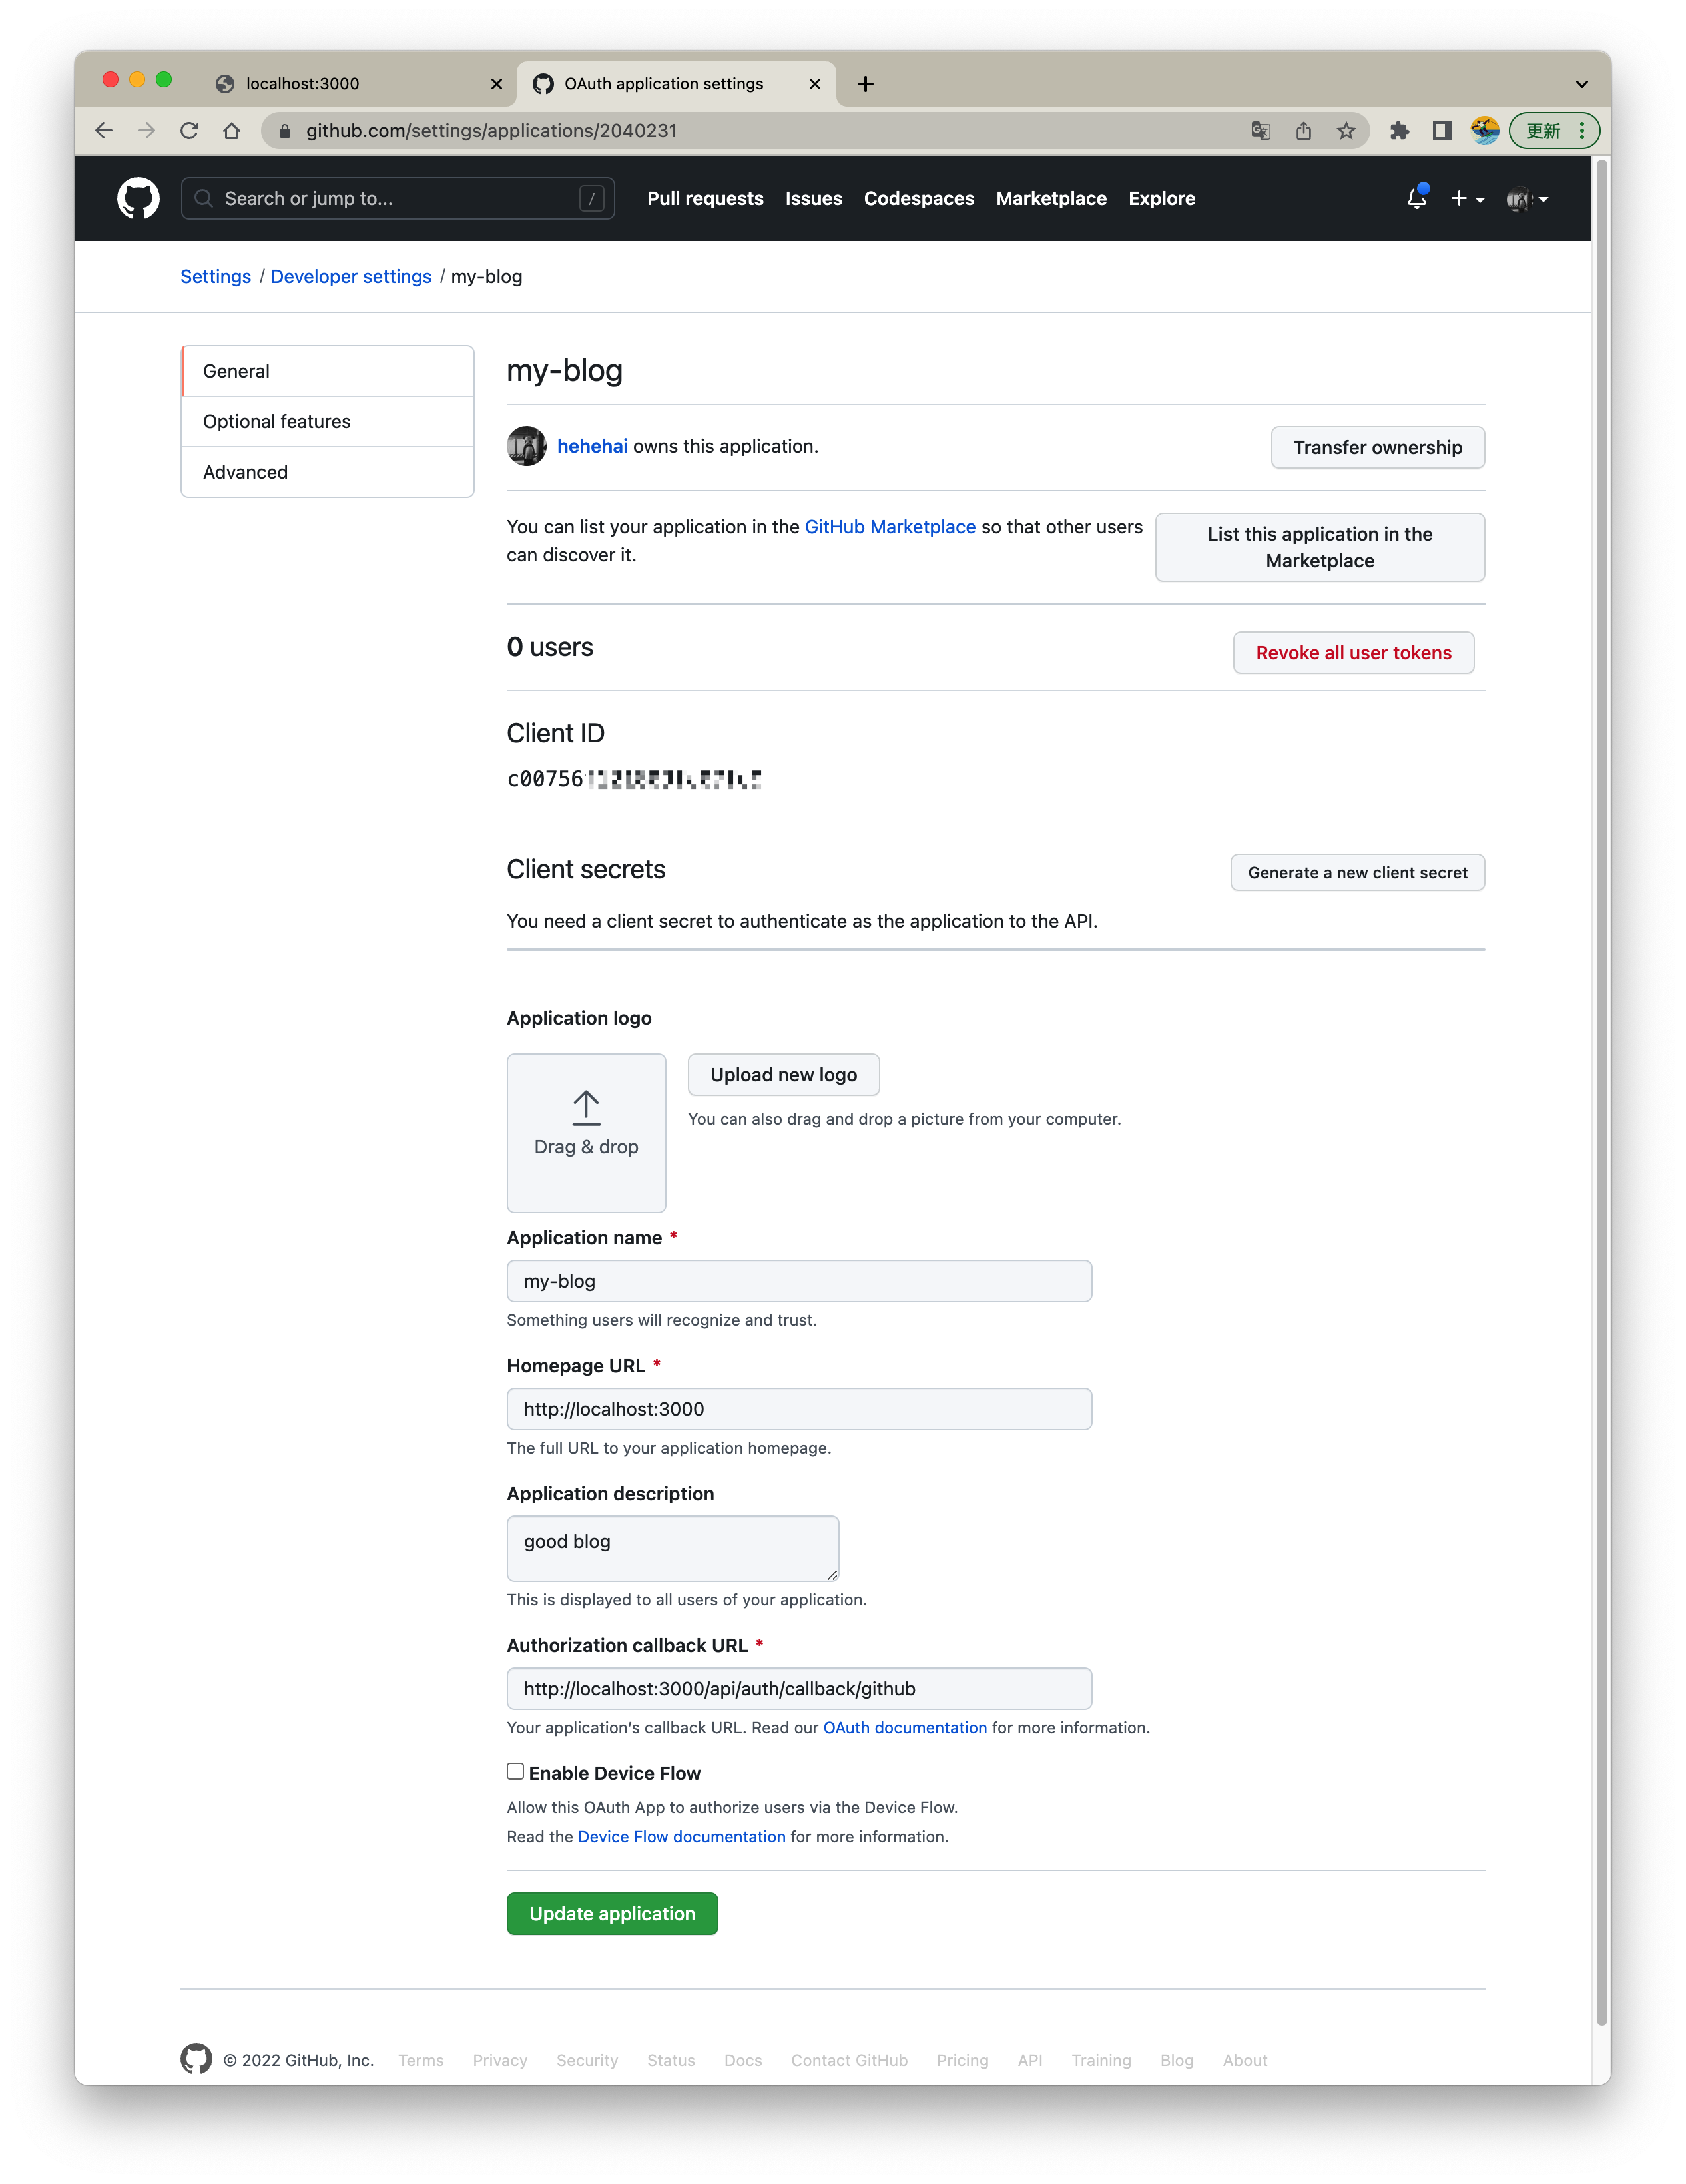
我们已经看到有 Client ID 了,但 Client secrets 还没有,我们来生成一个
- 点击 "Generate a new client secret"
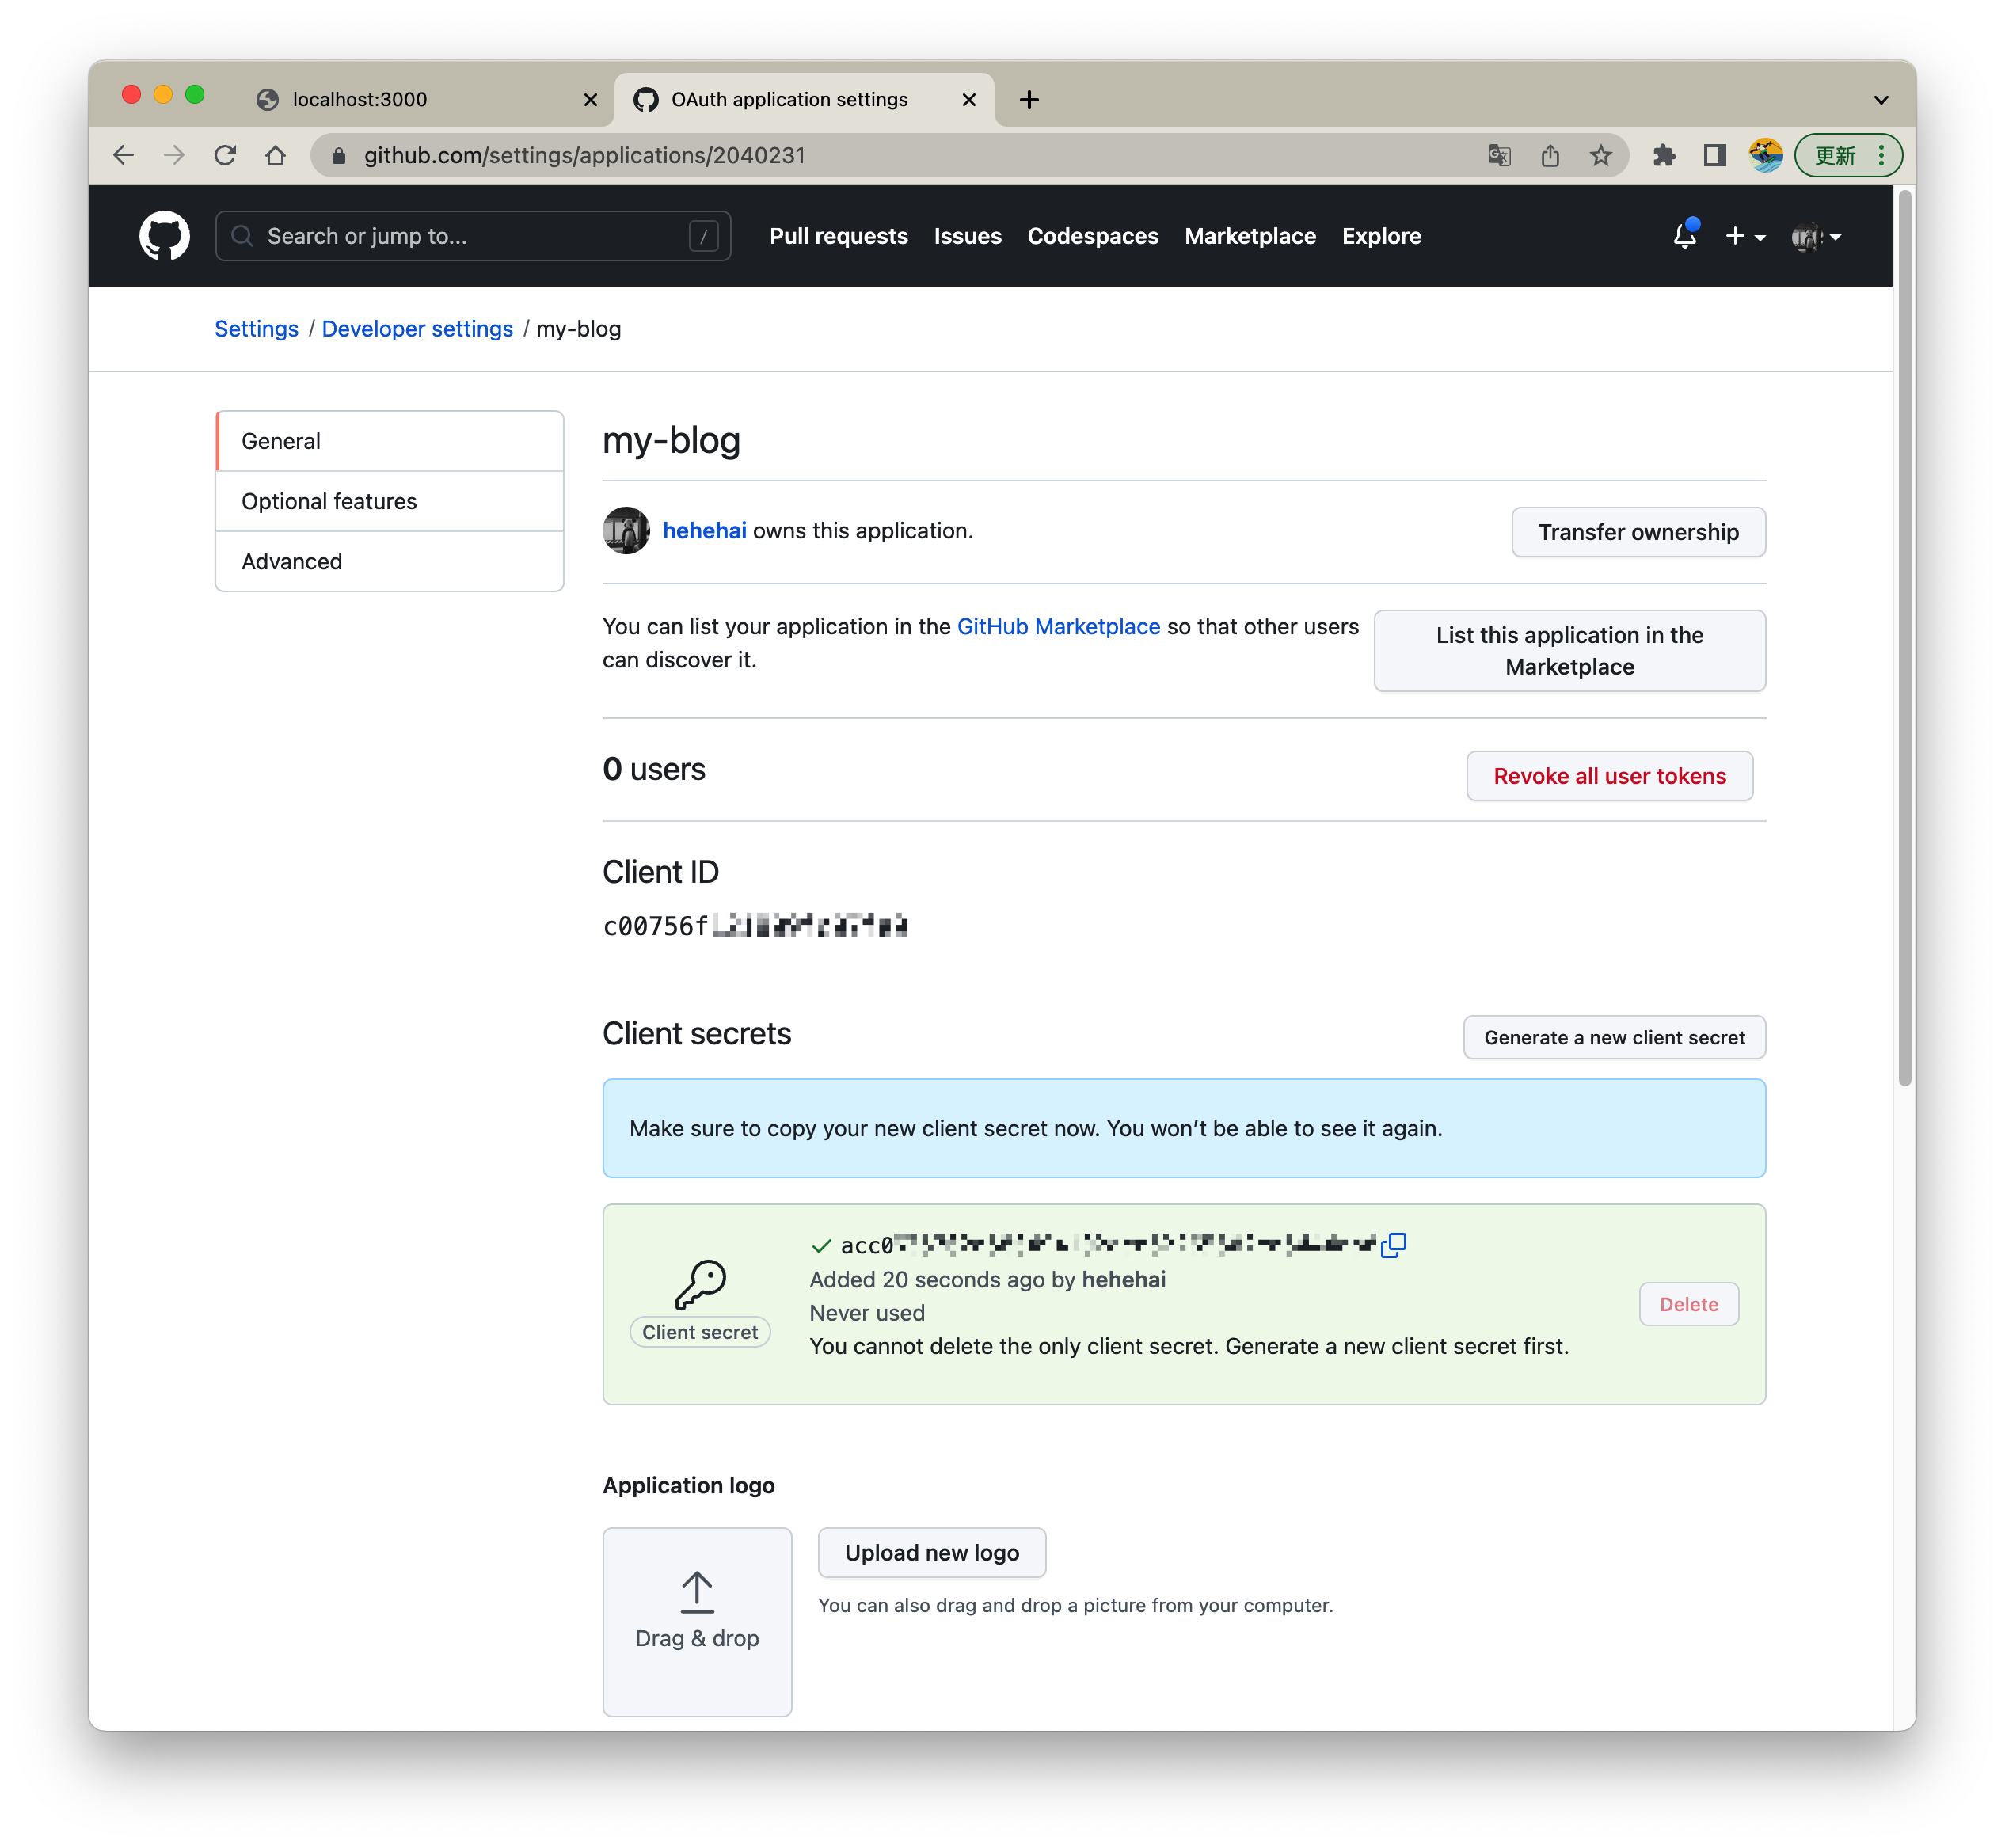
nice!, 我们已经有自己的 Github OAuth token,下面开始配置吧!
配置 ENV
创建 .env
# Github OAuth
GITHUB_ID=Client_ID
GITHUB_SECRET=Client_secrets
❗️ 强烈建议,将该文件添加到 .gitignore 中,避免敏感信息泄漏,在部署时我们可以使用运行时的宿主环境的环境变量替代该文件
node_modules/
.next/
.DS_STORE
.env
文件树
.
├── components
├── pages
│   ├── _app.tsx
│   ├── api
│   │   └── auth
│   │       └── [...nextauth].ts
│   └── index.tsx
├── .env
├── .gitignore
├── pnpm-lock.yaml
├── next-env.d.ts
├── package.json
├── postcss.config.js
├── styles
│   └── globals.css
├── tailwind.config.js
└── tsconfig.json
使用 NextAuth Github 登录
NextAuth 是支持不适应数据库做身份认证登录的,实际使用 OAuth 可以每次登录的时候获取用户信息,无需数据库存储了。我们先来验证下。
- 运行
npm run dev
- 当前
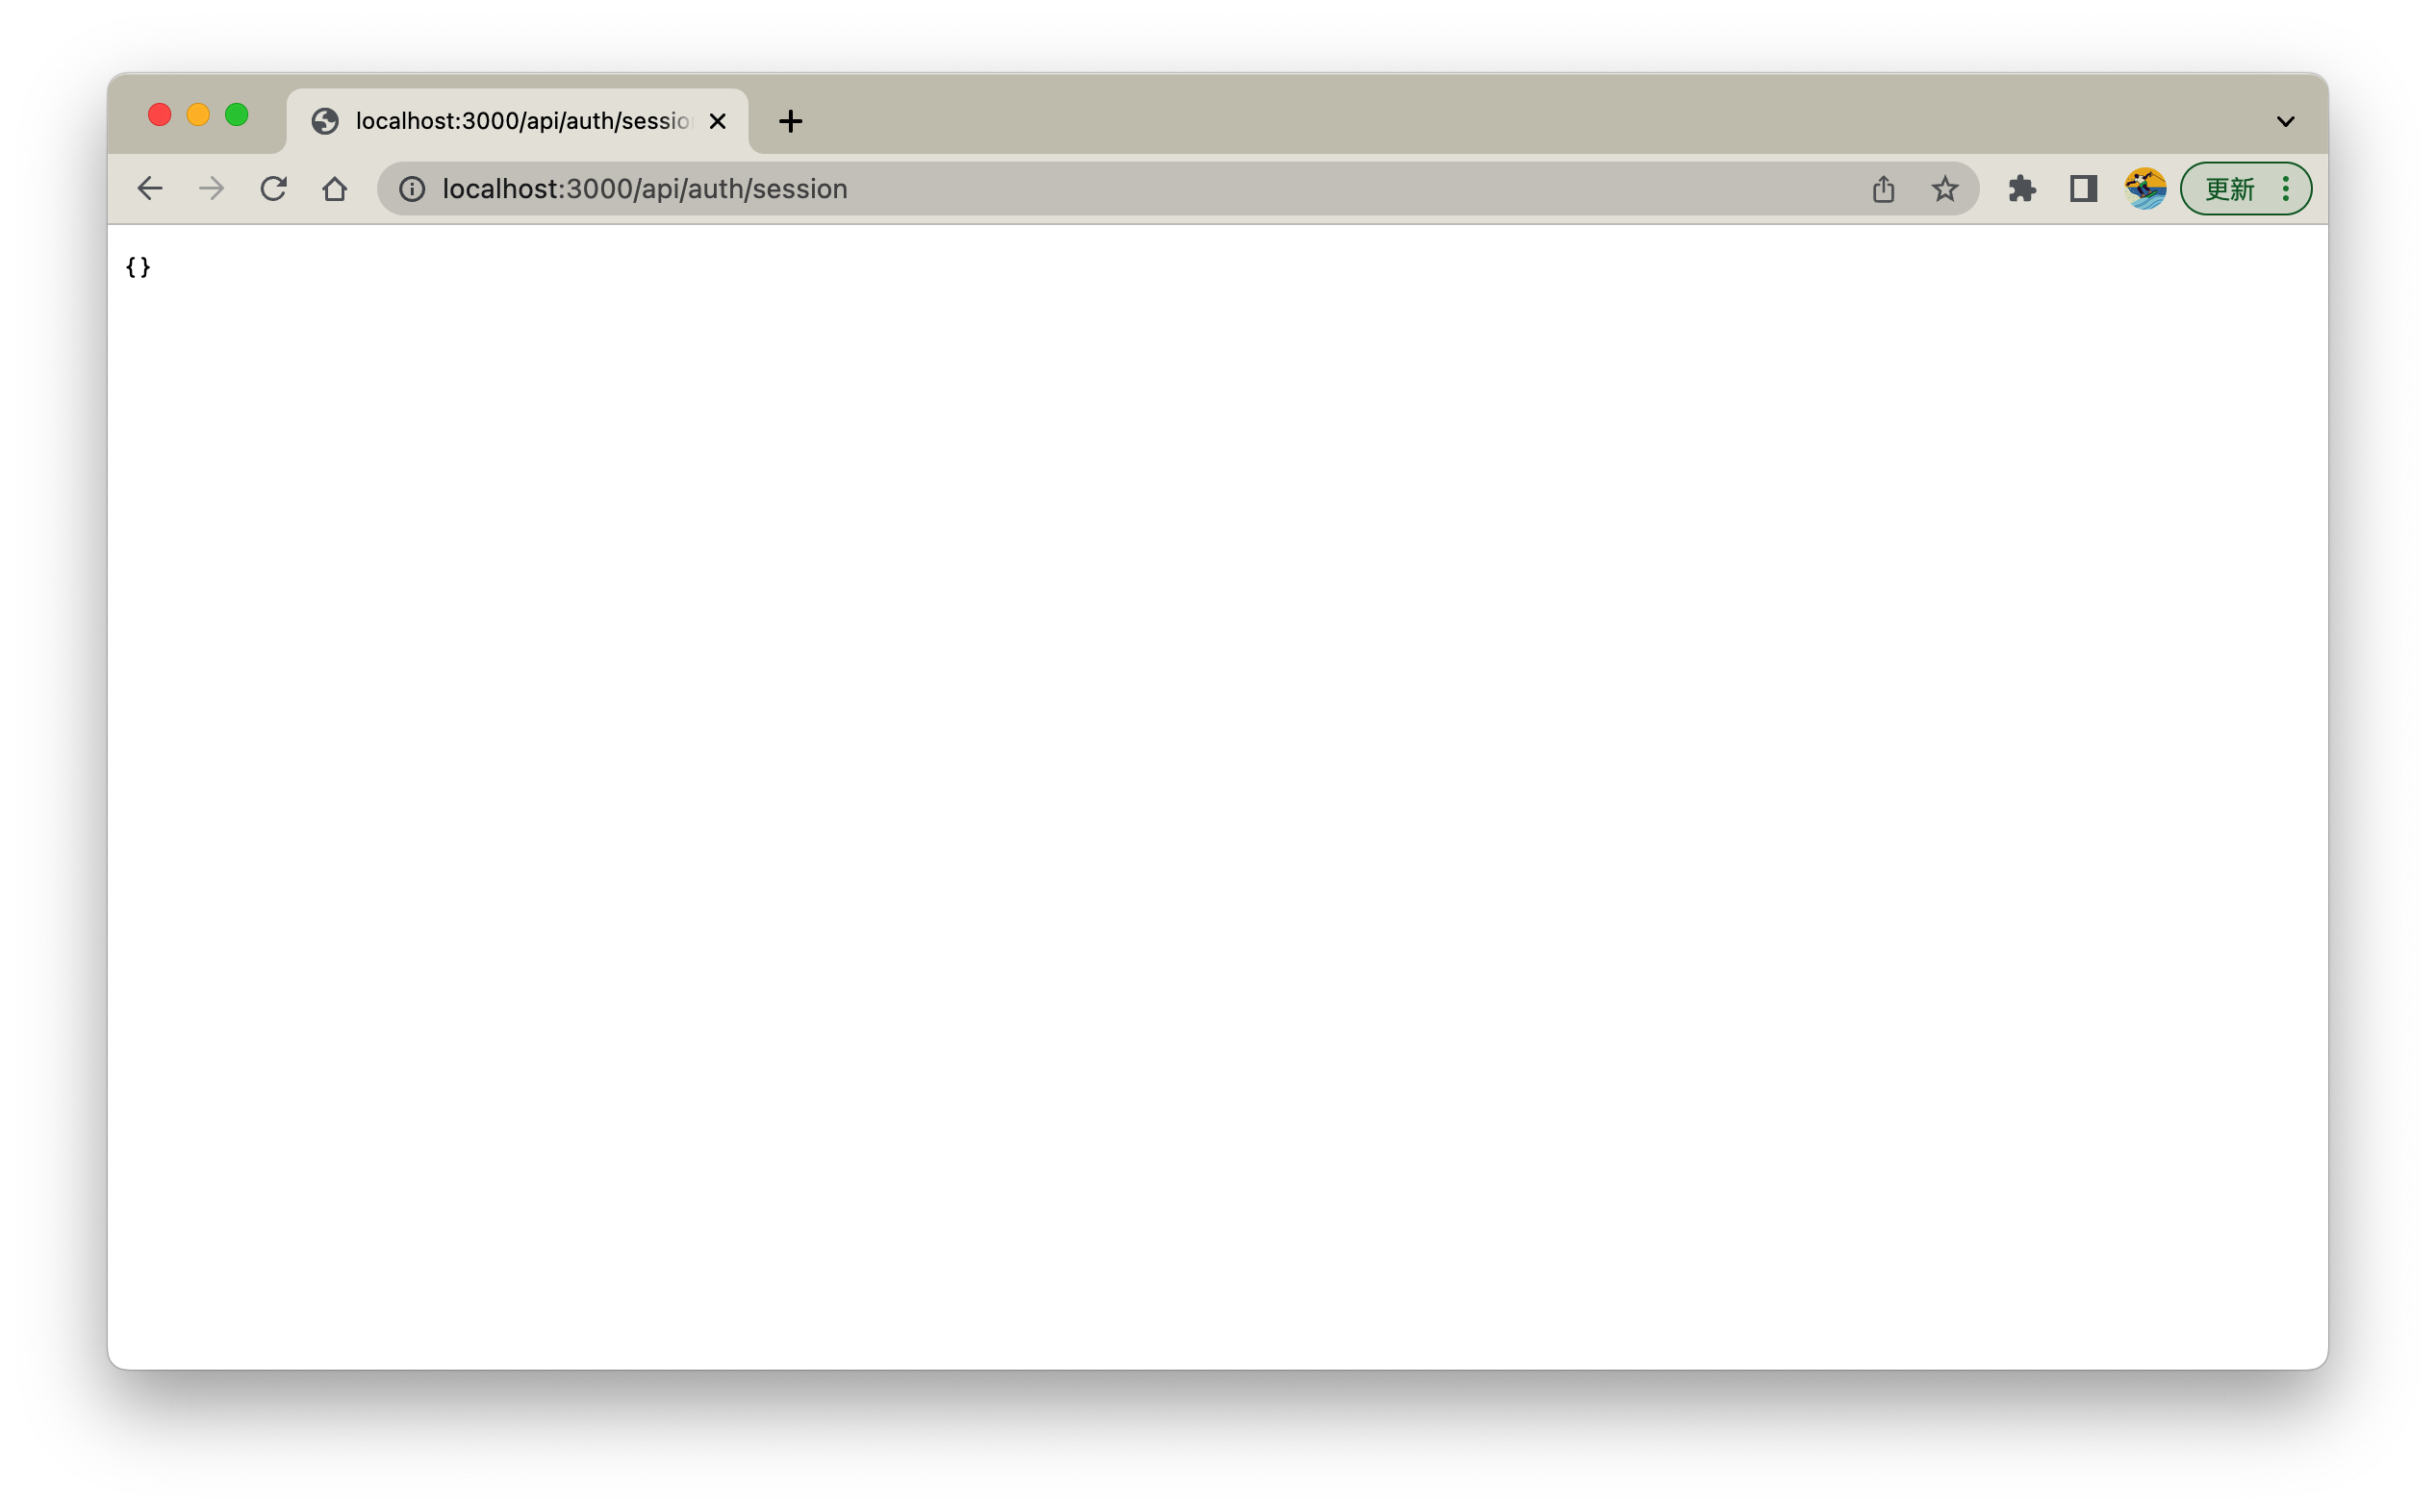
Session信息,访问http://localhost:3000/api/auth/session
该接口是 NextAuth 代理,会返回当前登录的 Session 信息,可以看到这里为空,那就代表没有登录。
- 登录,访问:
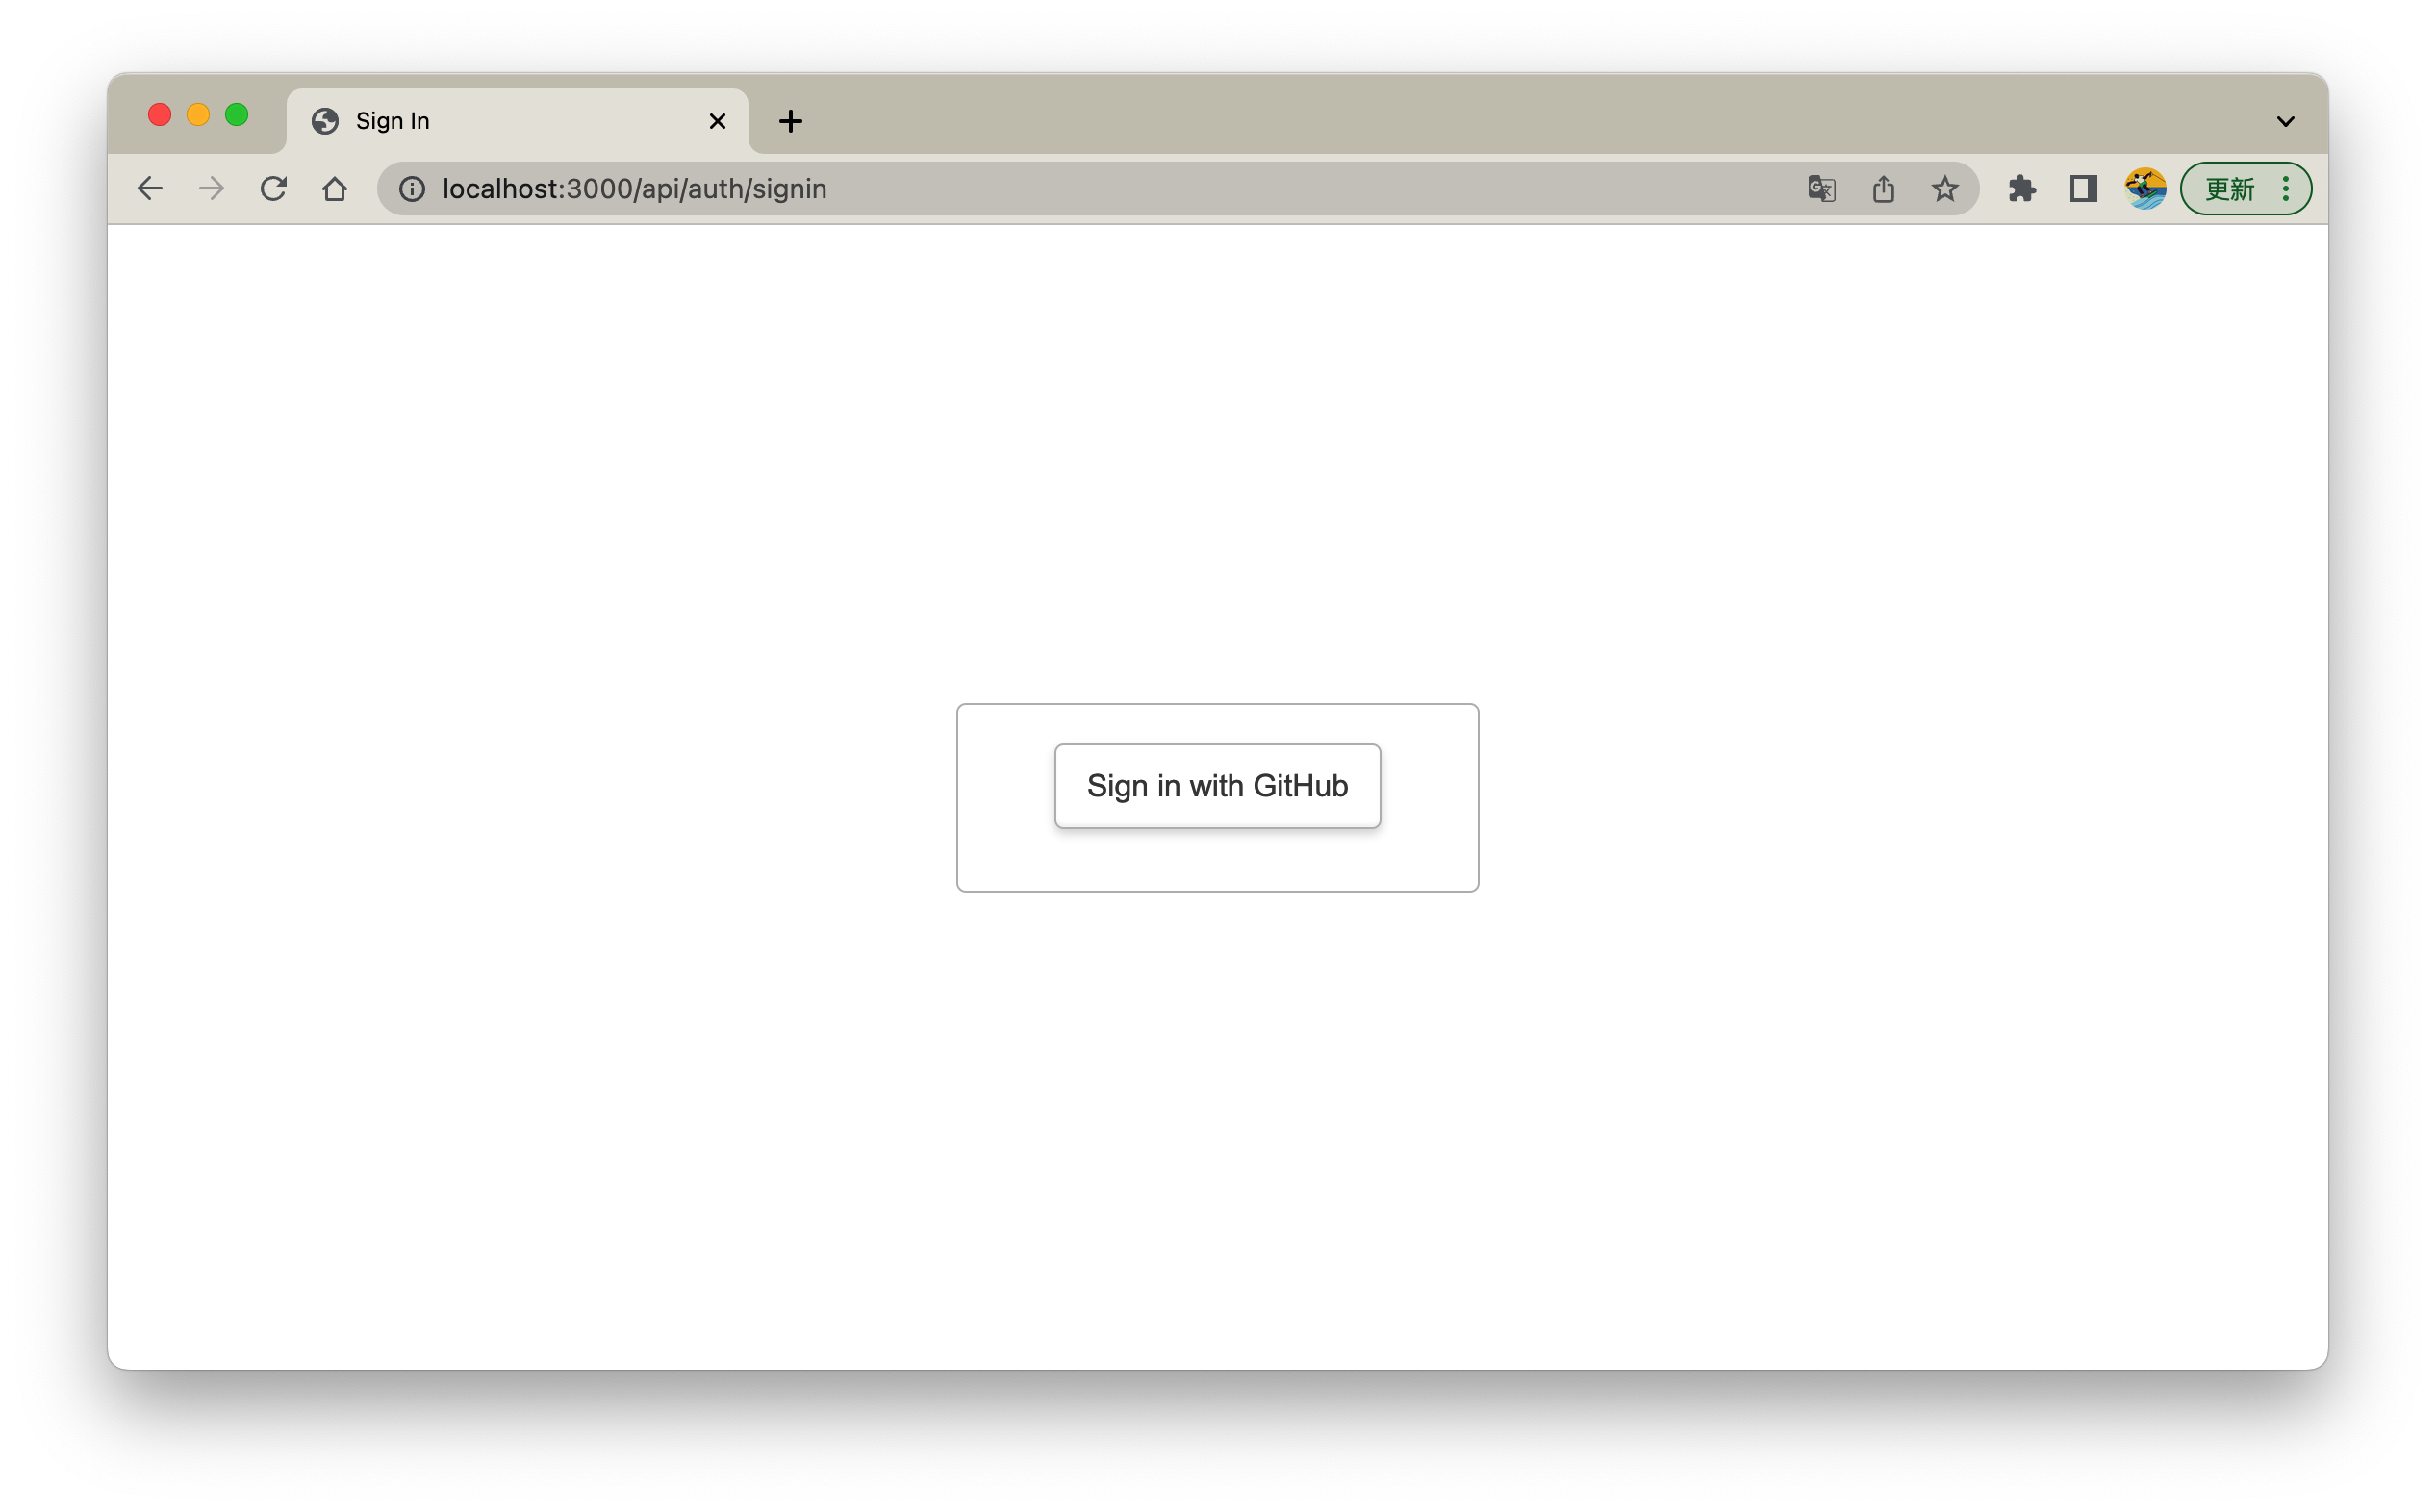
http://localhost:3000/api/auth/signin该接口是 NextAuth 代理,返回一个登录页面,这里可以看到我们配置的 Github OAuth 登录是有的
- 点击登录 "Sign in with GitHub"
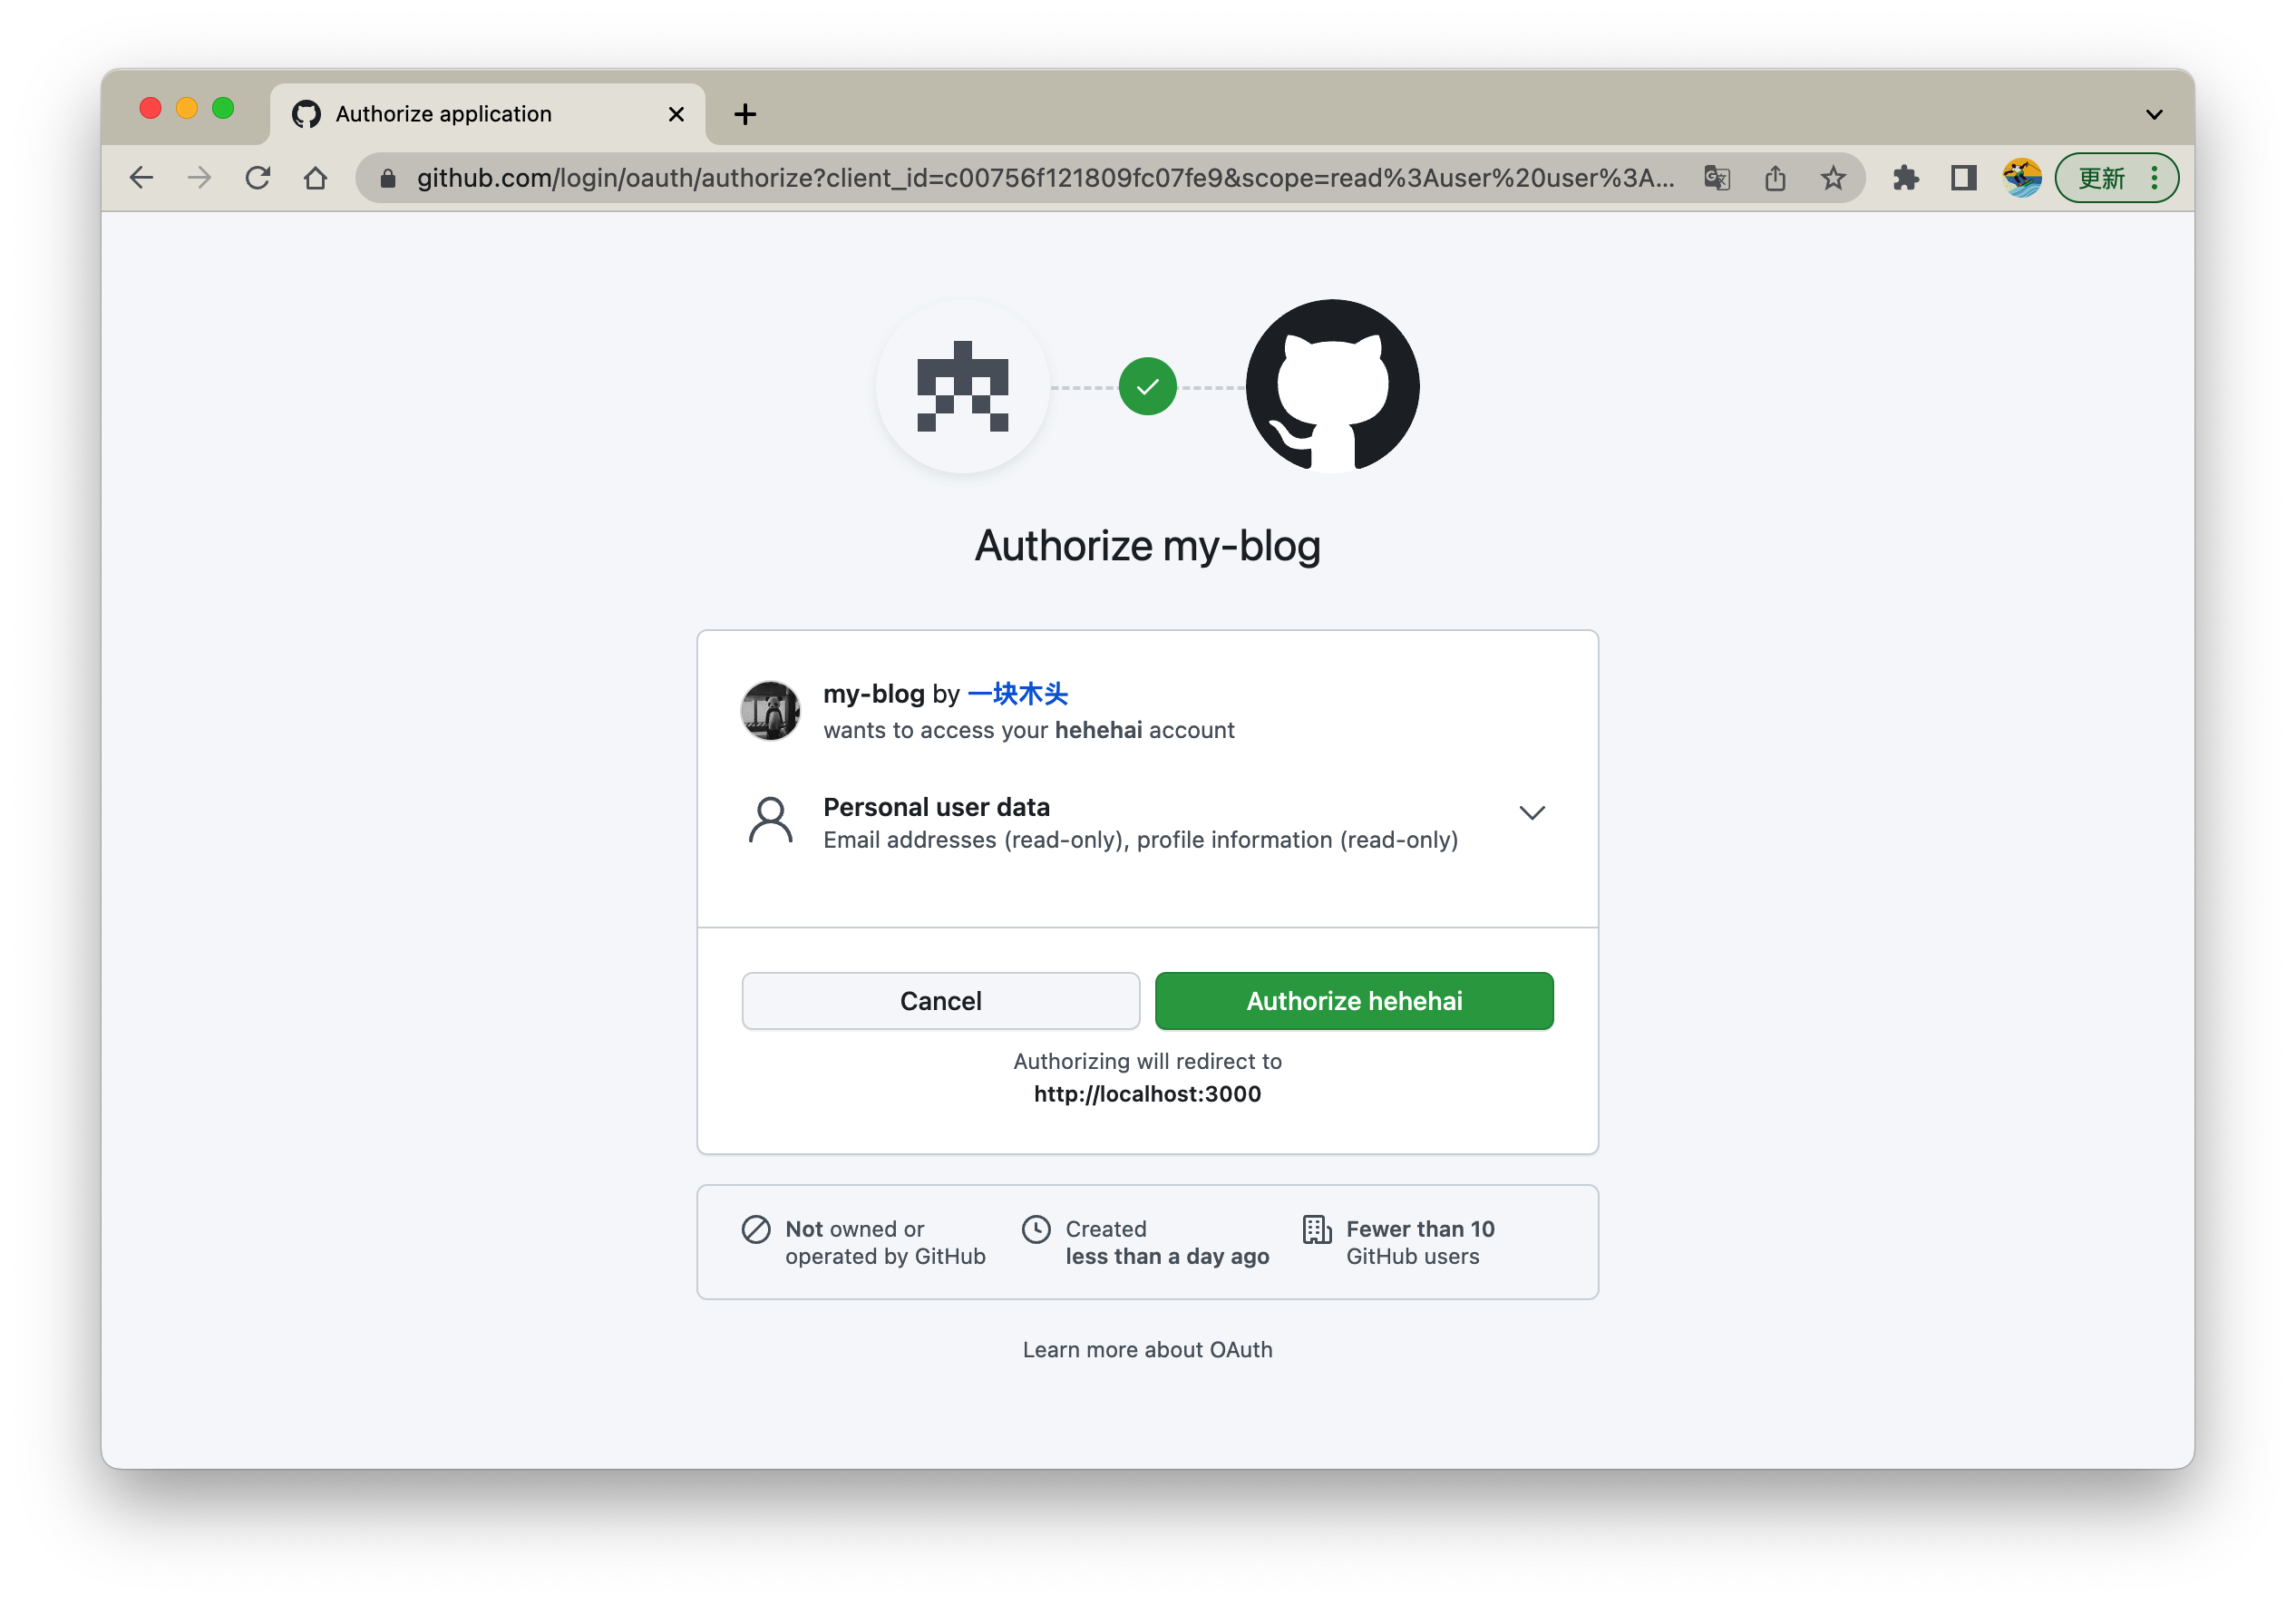
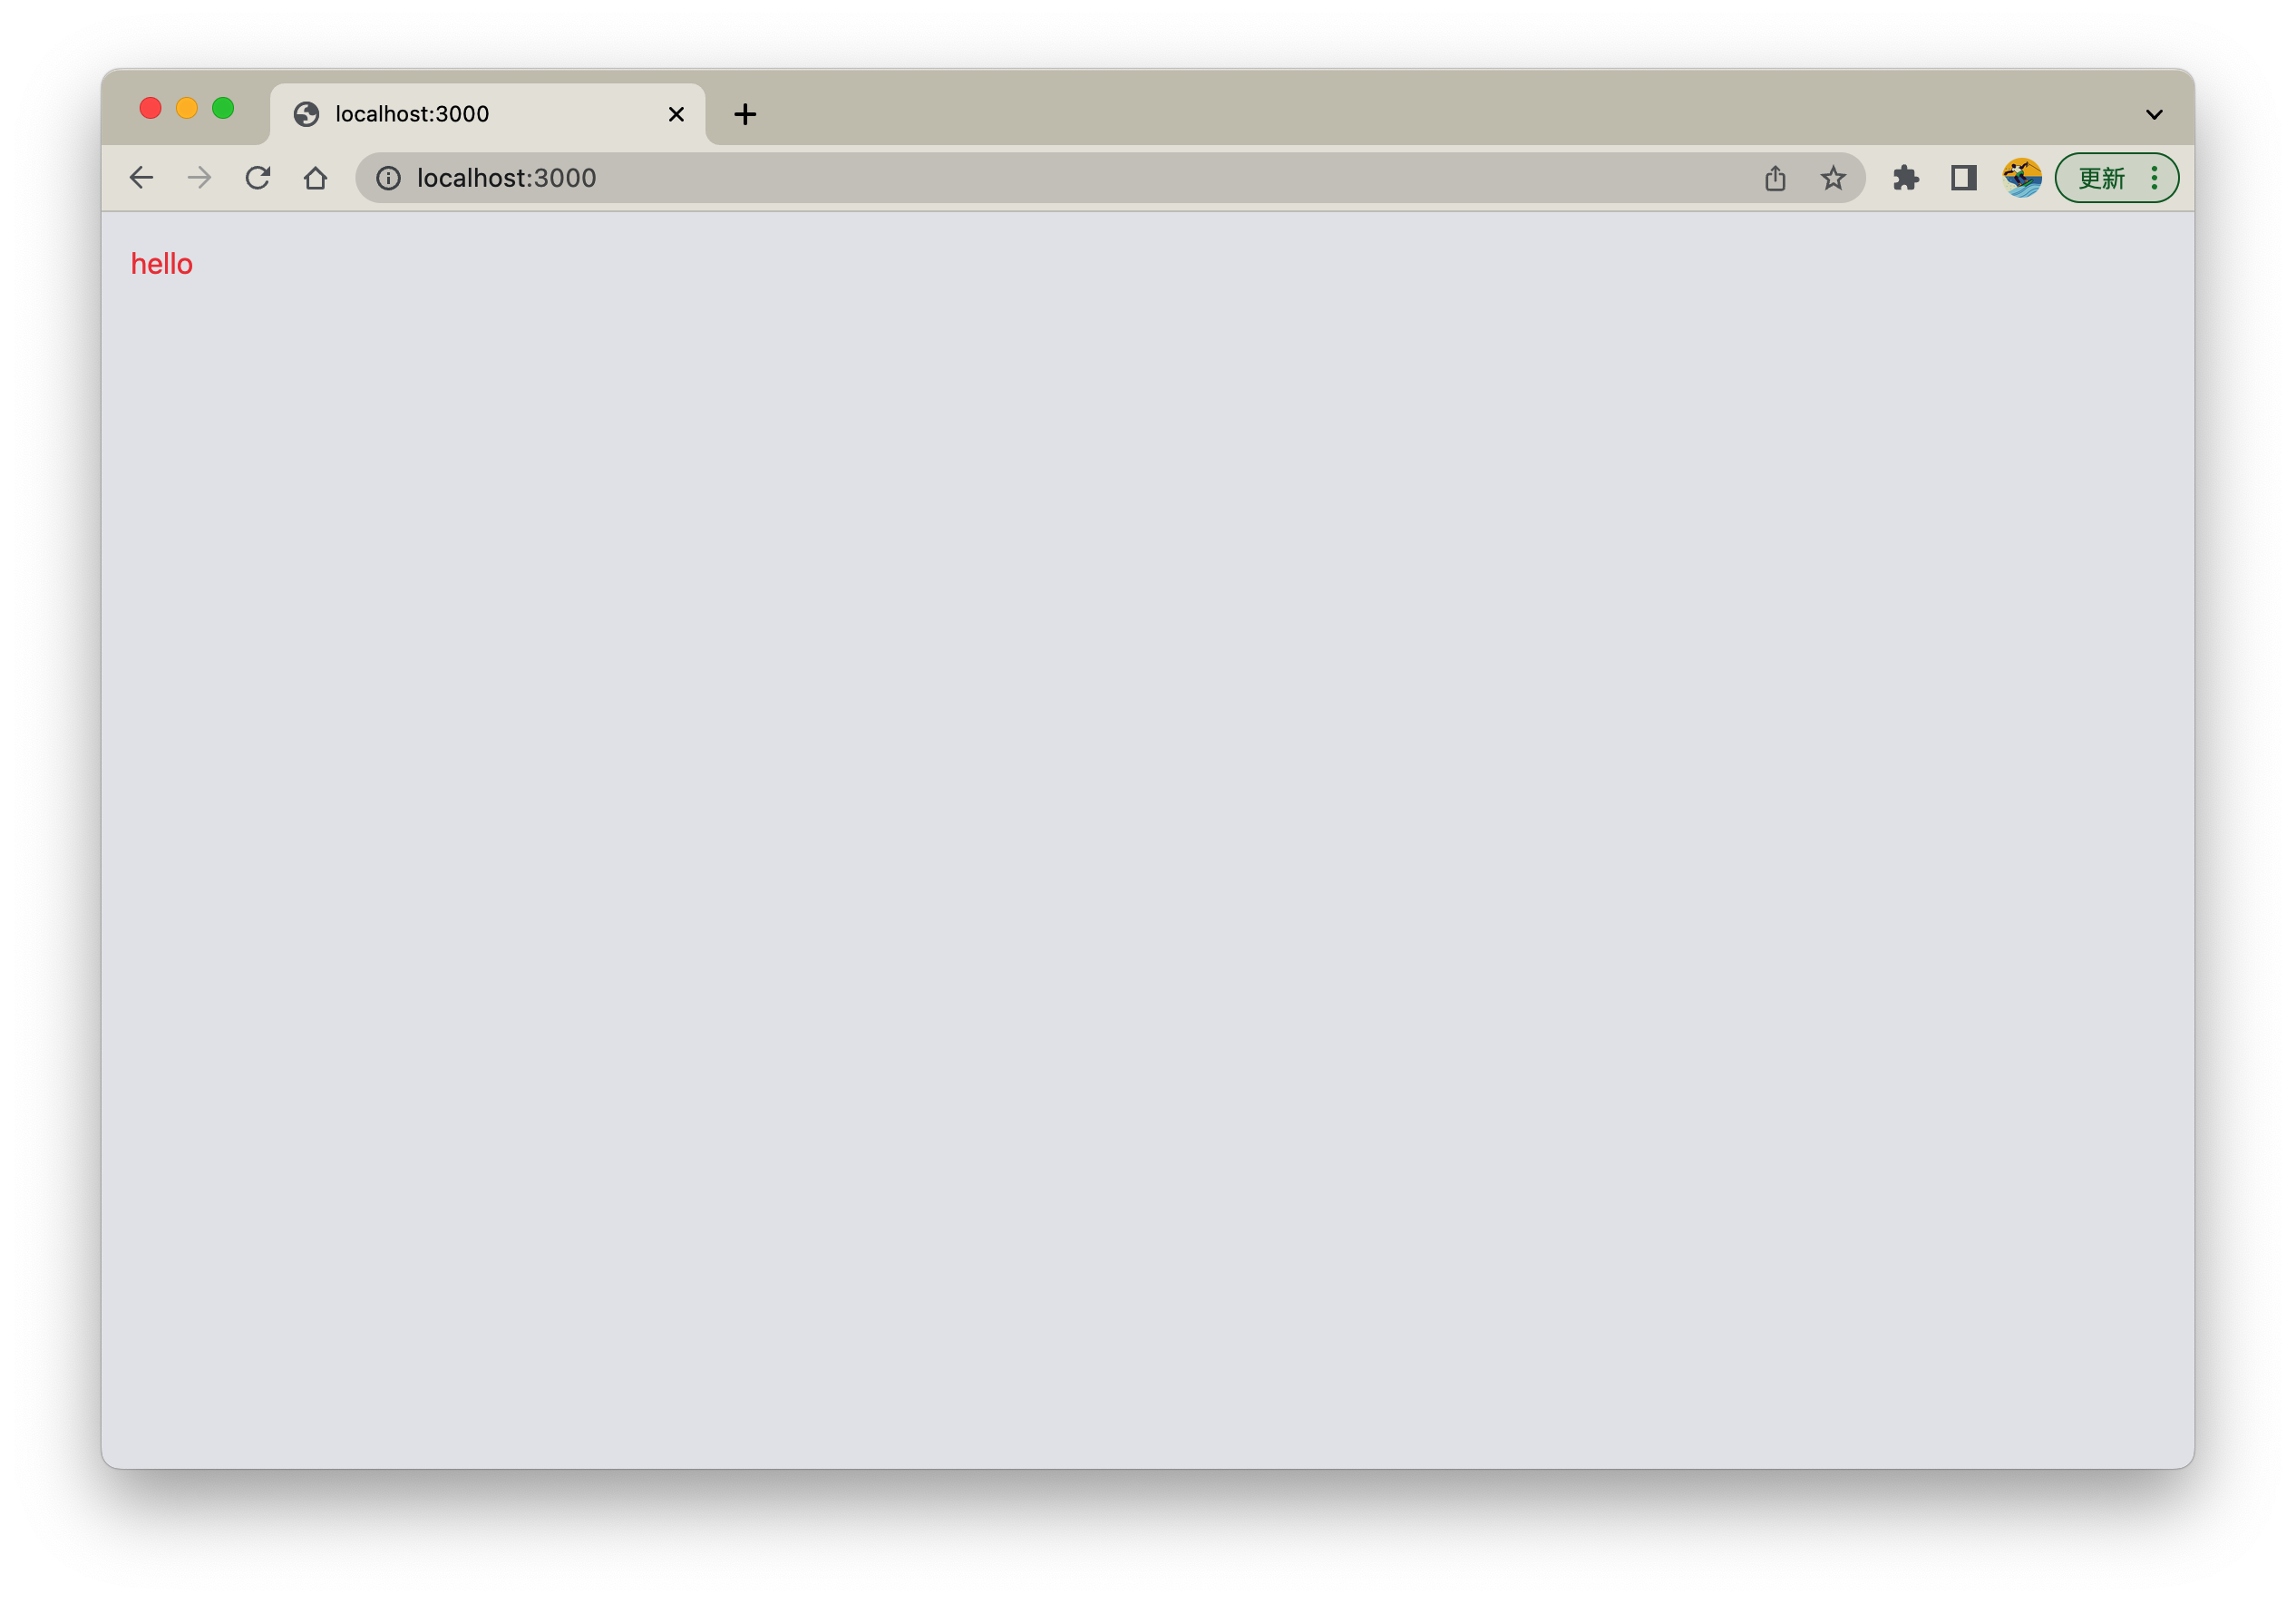
这里登录后跳转到我们的首页了,这是 NextAuth 默认的登录成功跳转页 /
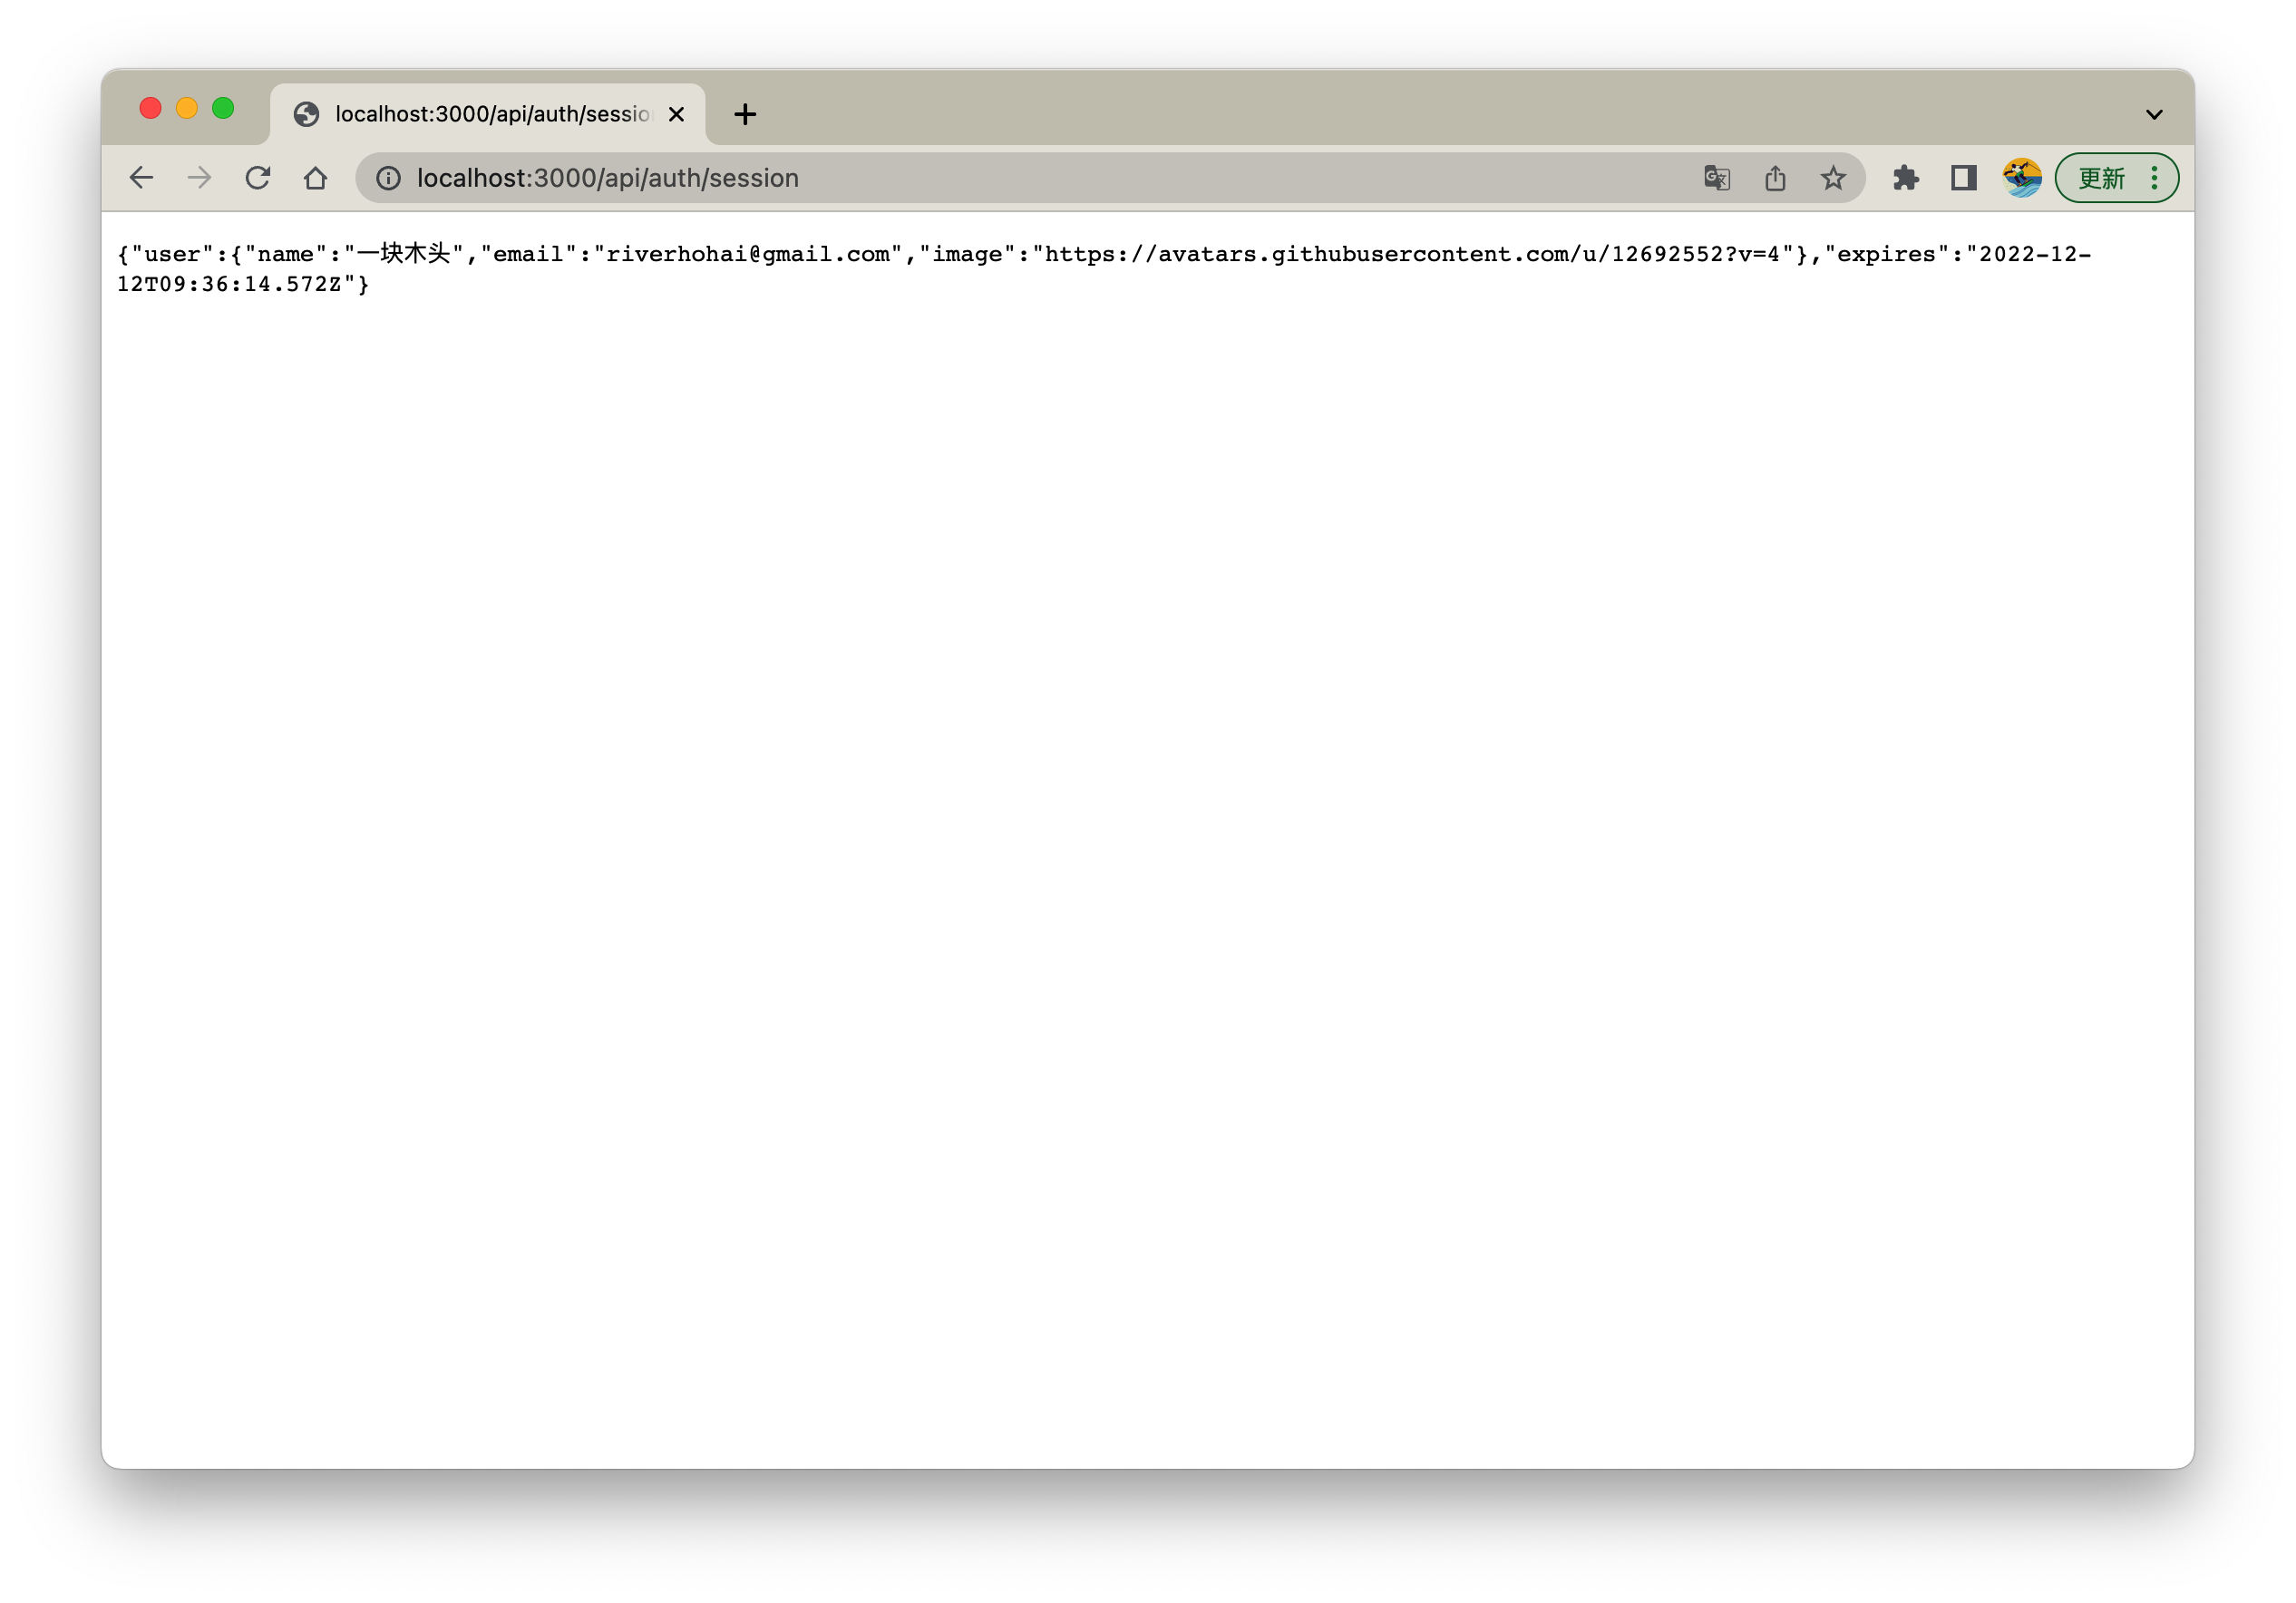
- 查看登录
Session访问:http://localhost:3000/api/auth/session
- 退出登录,访问:
http://localhost:3000/api/auth/signout
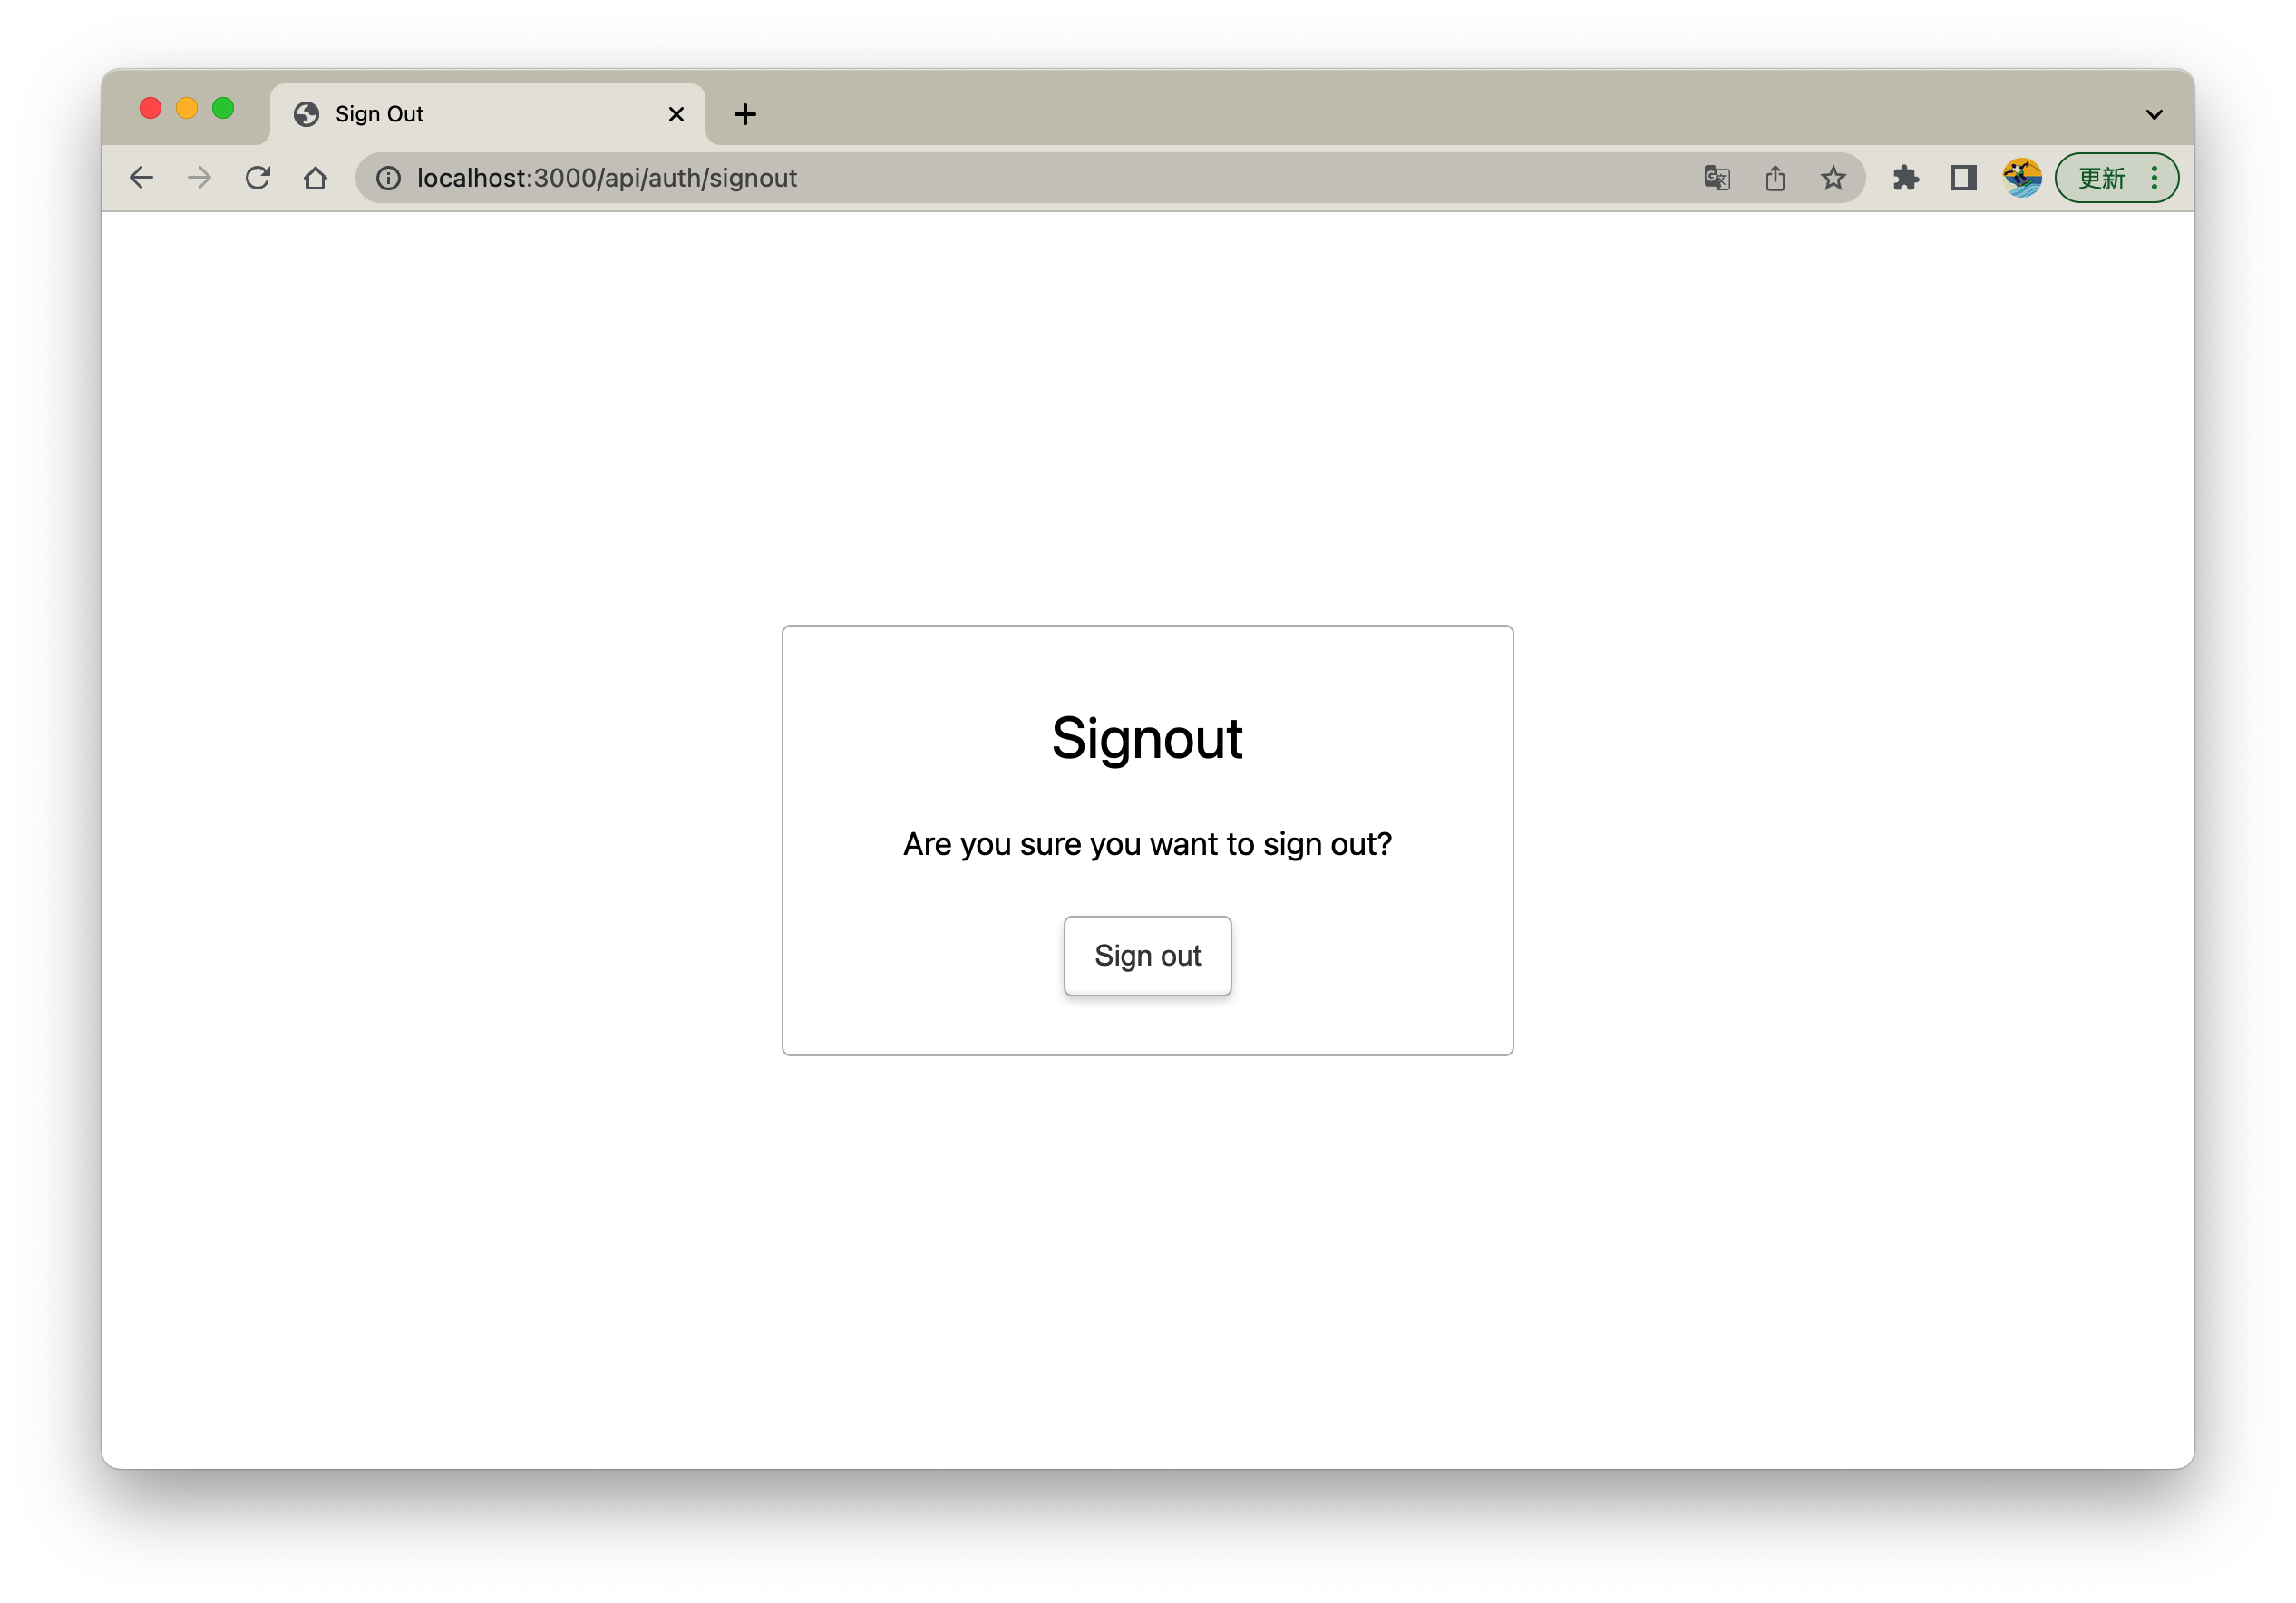
- 点击 "Sign out", 此时成功退出,将跳转到首页, 这也是 NextAuth 默认的
/
想要确认已经退出的话,可以访问: http://localhost:3000/api/auth/session
基础 UI
下面我们将编写一个简单的 UI,方便我们之后的操作。这里我们也会根据当前的登录状态显示隐藏一些界面元素。
先来介绍一下 NextAuth 封装的客户端登录信息获取
useSession()
import { useSession } from "next-auth/react";

export default function Component() {
  const { data: session, status } = useSession();

  if (status === "authenticated") {
    return <p>Signed in as {session.user.email}</p>;
  }

  return <a href="/api/auth/signin">Sign in</a>;
}
getSession()
async function myFunction() {
  const session = await getSession();
  /* ... */
}
Header
components/Header.tsx
import { useMemo } from "react";
import Link from "next/link";
import { useSession } from "next-auth/react";

const Header = () => {
  const { data: session, status } = useSession();

  const isLoading = useMemo(() => {
    return status === "loading";
  }, [status]);

  return (
    <div className="px-8 py-4 mx-auto">
      <div className="bg-white px-6 py-4 flex items-center justify-between">
        <div className="space-x-6">
          <Link href="/">
            <a className="bold">首页</a>
          </Link>
        </div>
        {isLoading ? (
          <div>验证中...</div>
        ) : (
          <div className="flex items-center space-x-6">
            {session ? (
              <>
                <p>
                  {session?.user?.name} ({session?.user?.email})
                </p>
                <Link href="/api/auth/signout">
                  <a>退出</a>
                </Link>
              </>
            ) : (
              <Link href="/api/auth/signin">
                <a>登录</a>
              </Link>
            )}
          </div>
        )}
      </div>
    </div>
  );
};

export default Header;
useSession(): 这里是一个 hook,内部是有获取 Context 的,我们需要设置 NextAuthReact 的SessionProvider(见下文)status === 'loading':Session有三个状态(loading验证中,authenticated已认证,unauthenticated未认证)session:Session中的信息可在api/auth/session查看
{
  "user": {
    "name": "一块木头",
    "email": "riverhohai@gmail.com",
    "image": "https://avatars.githubusercontent.com/u/12692552?v=4"
  },
  "expires": "2022-12-13T01:33:02.088Z"
}
pages/_app.tsx
import { AppProps } from "next/app";
import { SessionProvider } from "next-auth/react";
import { Session } from "next-auth";

import "styles/globals.css";

const App = ({ Component, pageProps }: AppProps<{ session?: Session }>) => {
  return (
    <SessionProvider session={pageProps.session}>
      <Component {...pageProps} />
    </SessionProvider>
  );
};

export default App;
components/Layout.tsx
import React, { ReactNode } from "react";
import Header from "./Header";

const Layout: React.FC<{ children?: ReactNode }> = (props) => (
  <div>
    <Header />
    <div className="px-8">{props.children}</div>
  </div>
);

export default Layout;
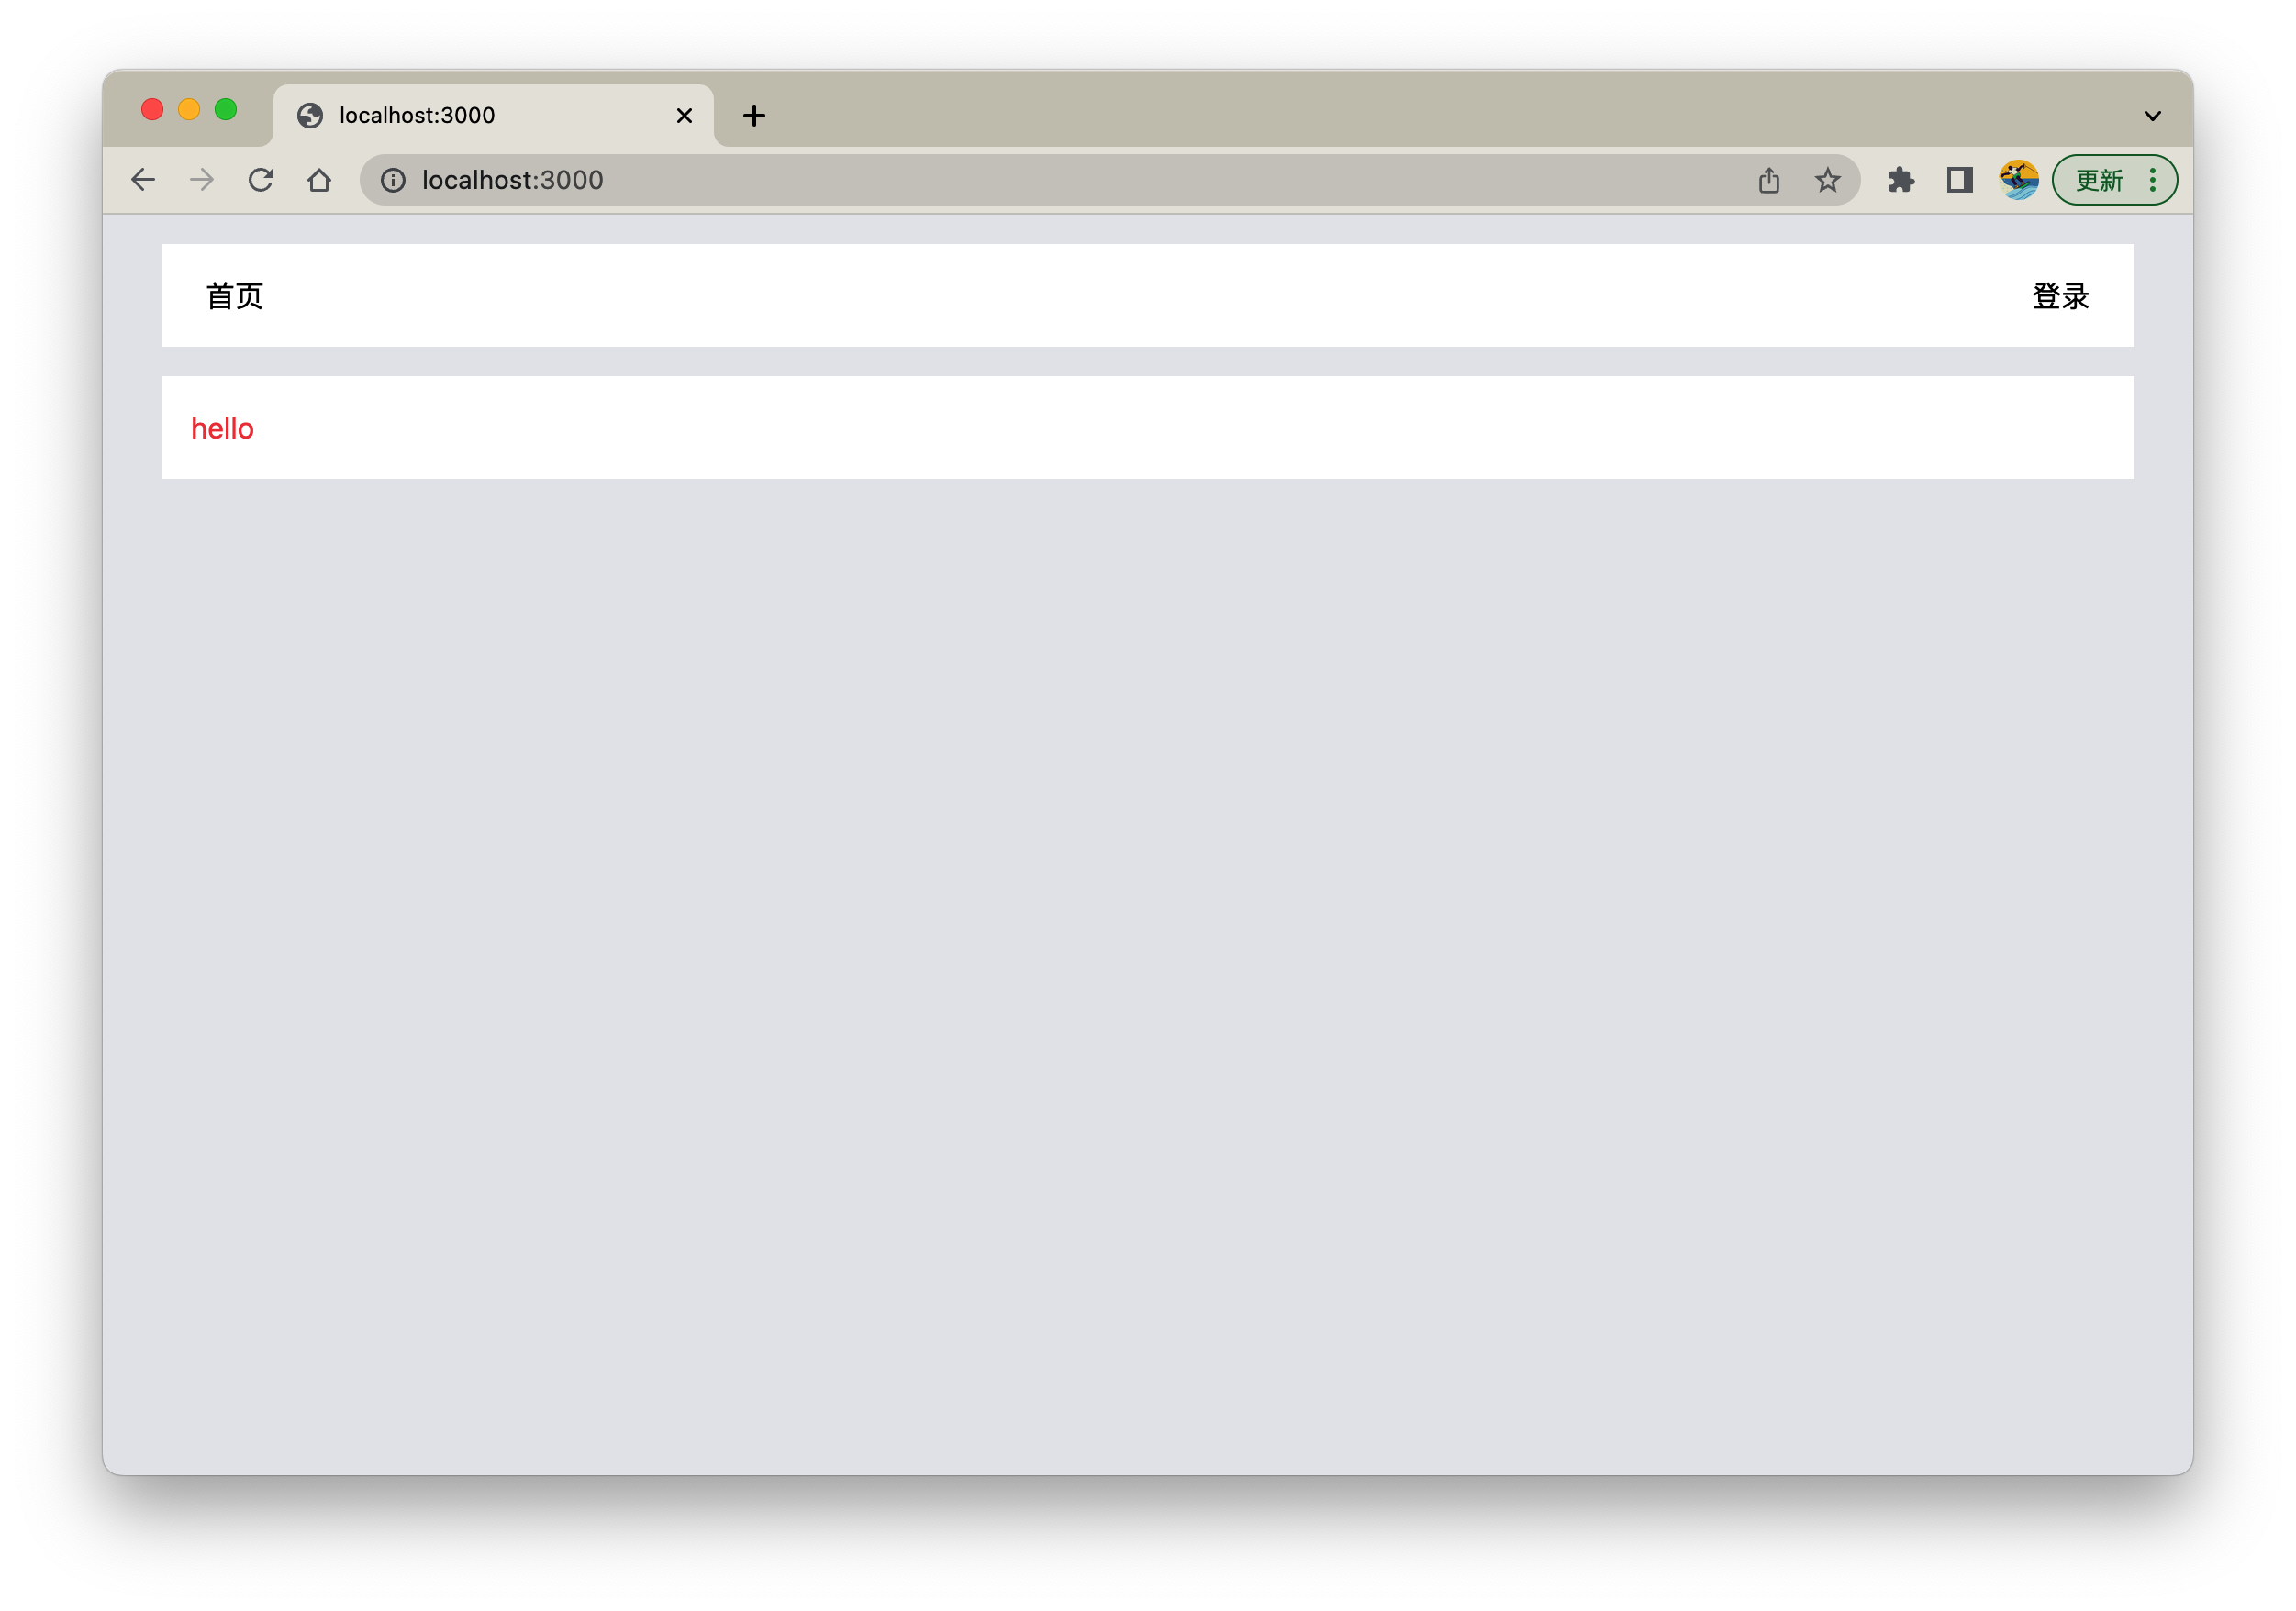
components/index.tsx
import Layout from "../components/Layout";

export default function () {
  return (
    <Layout>
      <main className="bg-white">
        <div className="text-red-500 p-4">hello</div>
      </main>
    </Layout>
  );
}
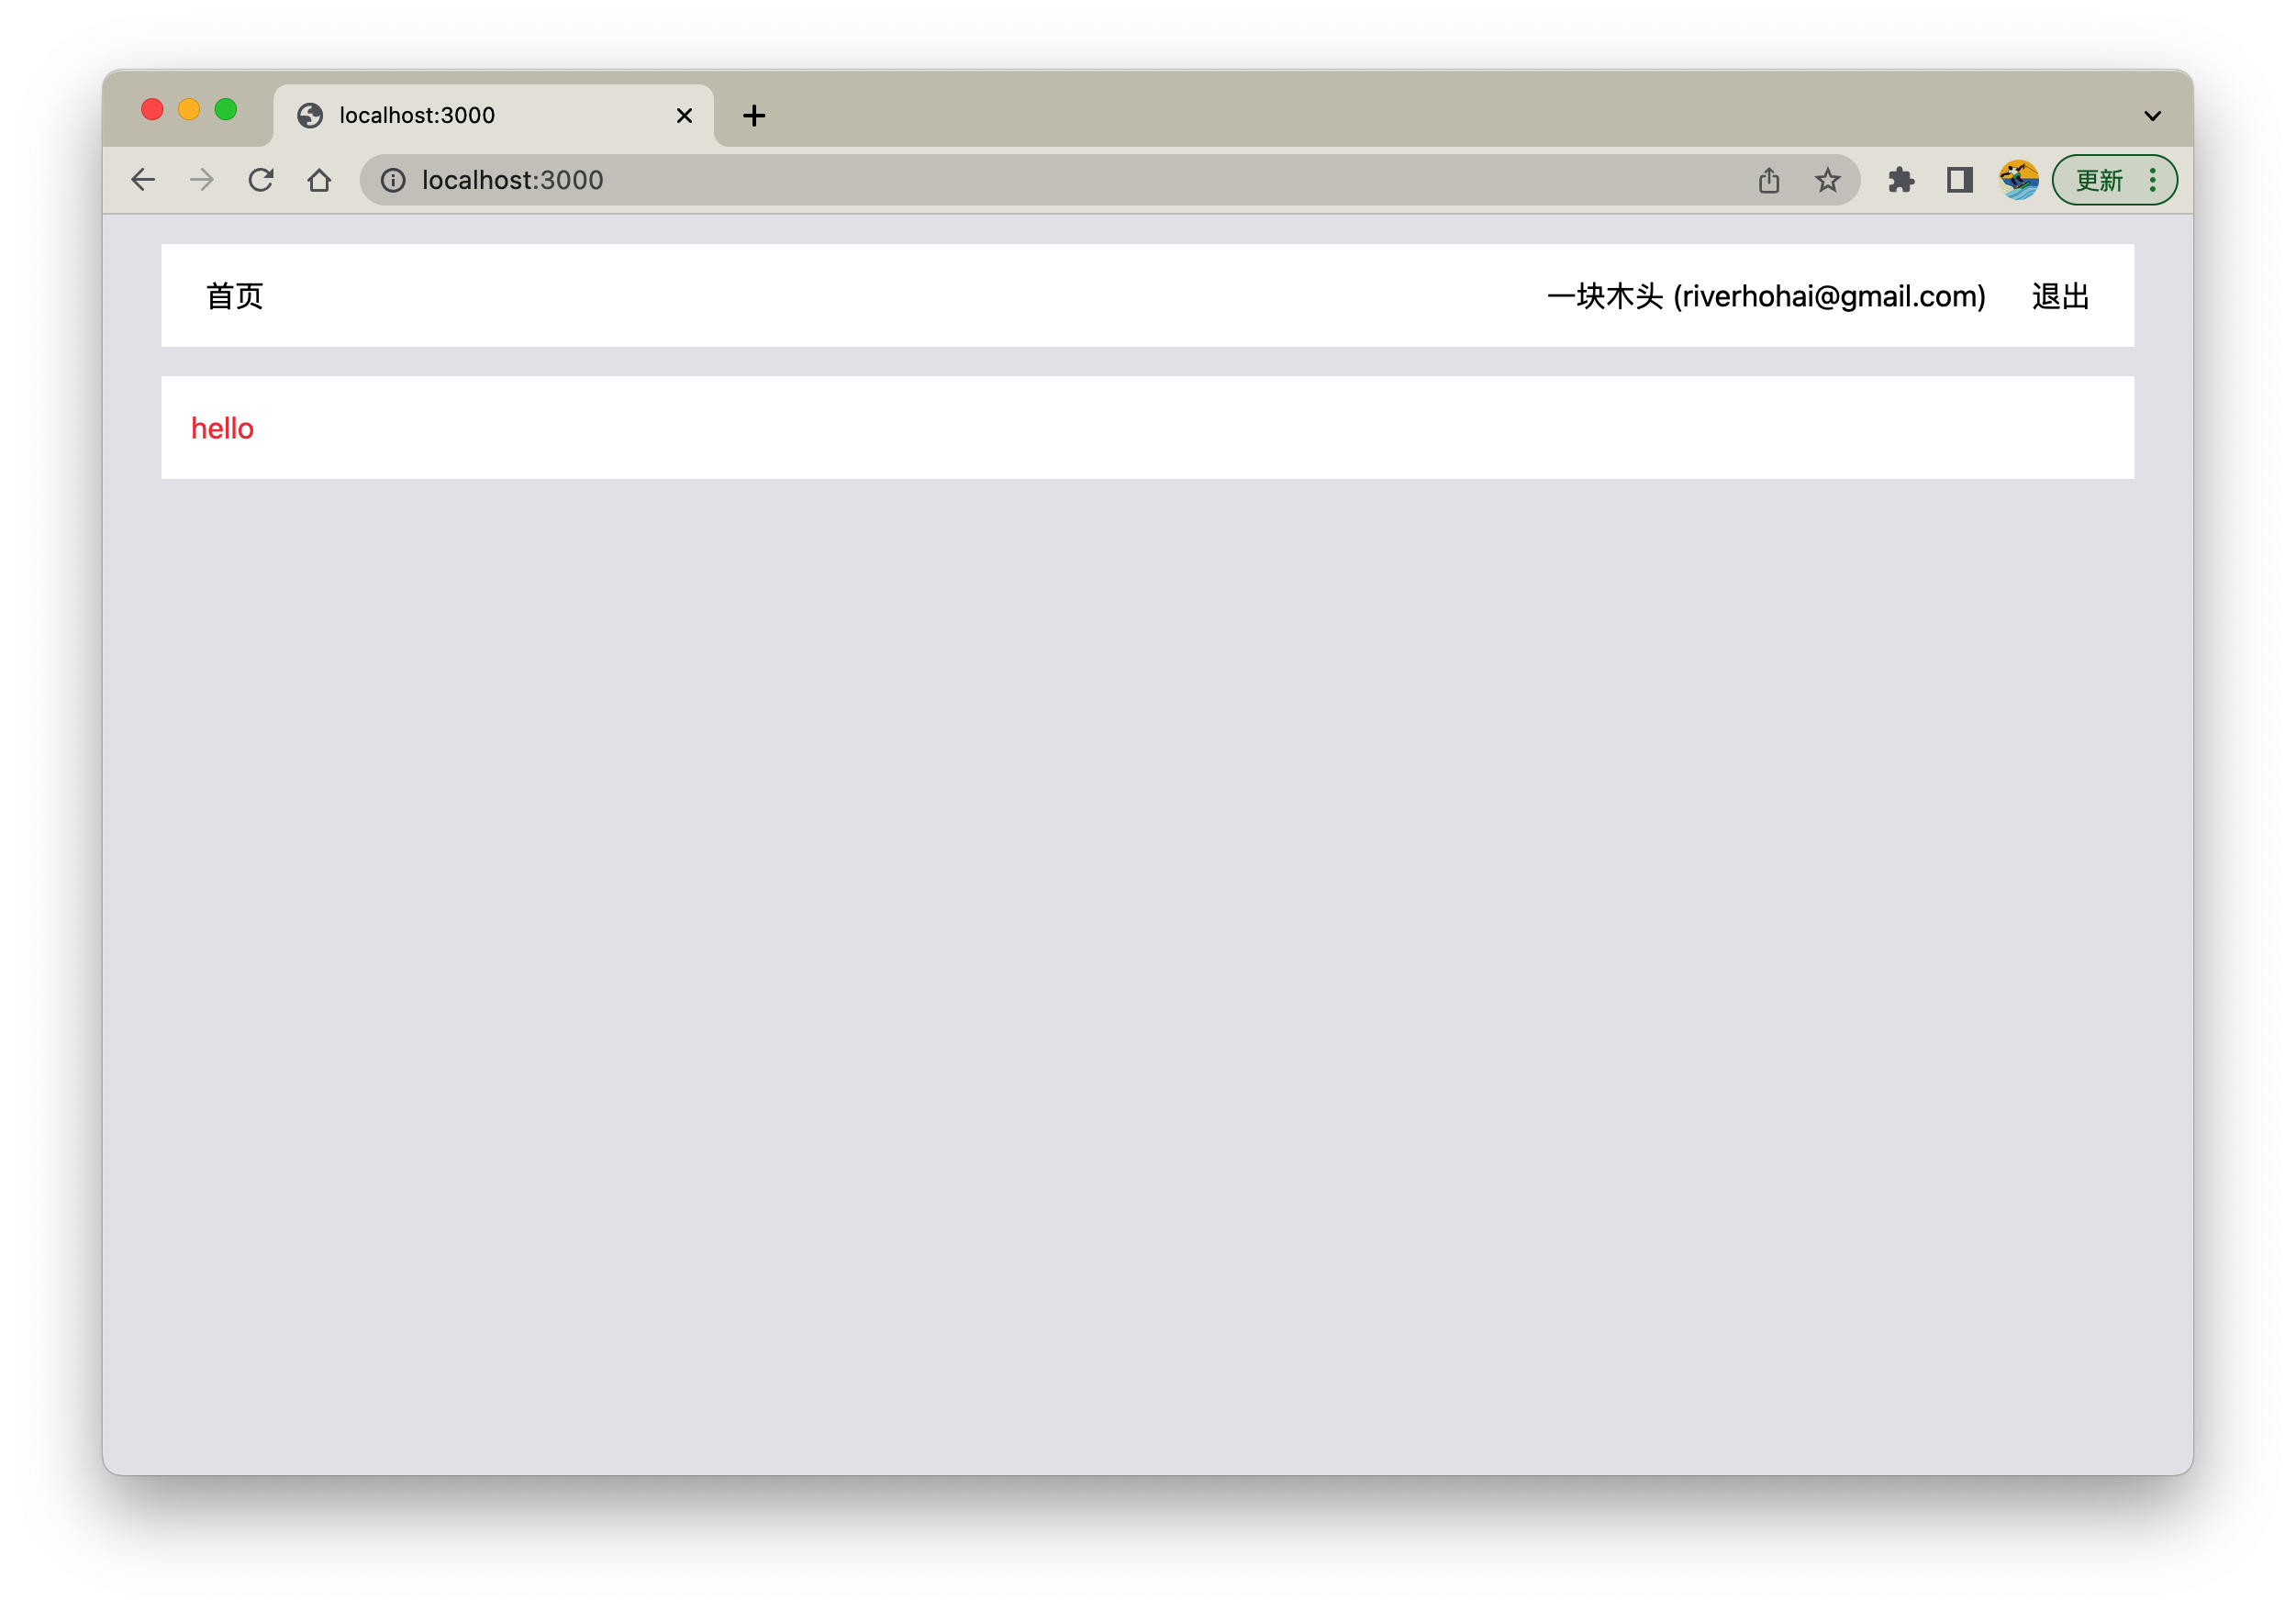
文件树
.
├── components
│   ├── Header.tsx
│   └── Layout.tsx
├── pages
│   ├── _app.tsx
│   ├── api
│   │   └── auth
│   │       └── [...nextauth].ts
│   └── index.tsx
├── .env
├── .gitignore
├── next-env.d.ts
├── package.json
├── pnpm-lock.yaml
├── postcss.config.js
├── styles
│   └── globals.css
├── tailwind.config.js
└── tsconfig.json
基础 Prisma
pnpm add prisma @prisma/client @next-auth/prisma-adapter
package.json
"dependencies": {
	...
    "@next-auth/prisma-adapter": "^1.0.5",
    "@prisma/client": "^4.6.1",
    "prisma": "^4.6.1",
    ...
},
初始化 Prisma 项目
npx prisma init

✔ Your Prisma schema was created at prisma/schema.prisma
  You can now open it in your favorite editor.

warn You already have a .gitignore file. Don't forget to add `.env` in it to not commit any private information.

Next steps:
1. Set the DATABASE_URL in the .env file to point to your existing database. If your database has no tables yet, read https://pris.ly/d/getting-started
2. Set the provider of the datasource block in schema.prisma to match your database: postgresql, mysql, sqlite, sqlserver, mongodb or cockroachdb.
3. Run prisma db pull to turn your database schema into a Prisma schema.
4. Run prisma generate to generate the Prisma Client. You can then start querying your database.

More information in our documentation:
https://pris.ly/d/getting-started
可以看到新文件 prisma/schema.prisma
// This is your Prisma schema file,
// learn more about it in the docs: https://pris.ly/d/prisma-schema

generator client {
  provider = "prisma-client-js"
}

datasource db {
  provider = "postgresql"
  url      = env("DATABASE_URL")
}
generator client: 是 Prisma 用于客户端类型生成的配置,这里provider使用目前官方的prisma-client-js(目前官方近这一个生成器)datasource db: 数据库连接器的配置,这里连接的是postgresql地址这里使用环境变量
我们再看 .env 文件,可以发现 Prisma 初始化自动为我们添加了 DATABASE_URL。
# Github OAuth
GITHUB_ID=Github_Client_ID
GITHUB_SECRET=Github_Client_secret


# This was inserted by `prisma init`:
# Environment variables declared in this file are automatically made available to Prisma.
# See the documentation for more detail: https://pris.ly/d/prisma-schema#accessing-environment-variables-from-the-schema

# Prisma supports the native connection string format for PostgreSQL, MySQL, SQLite, SQL Server, MongoDB and CockroachDB.
# See the documentation for all the connection string options: https://pris.ly/d/connection-strings

DATABASE_URL="postgresql://johndoe:randompassword@localhost:5432/mydb?schema=public"
- User: 数据库名称
- Password: 数据库密码
- Host: 数据库 IP 地址
- Port: 数据库 端口
- Database name: 数据库名称
- 其他的为连接查询参数配置,可选
- 创建数据库 首先你的电脑要有安装 Postgresql 数据库,并且配置了 Bin Path,这要才可以更方便的使用终端命令
createdb my-blog
🤙  my-blog git:(main) ✗ psql
psql (14.5 (Homebrew))
Type "help" for help.

guanwei=# \l
                            List of databases
    Name    |  Owner  | Encoding | Collate | Ctype |  Access privileges
------------+---------+----------+---------+-------+---------------------
 my-blog    | guanwei | UTF8     | C       | C     |
 ...
(7 rows)

guanwei=#
否则,可以使用 UI 来连接创建数据库
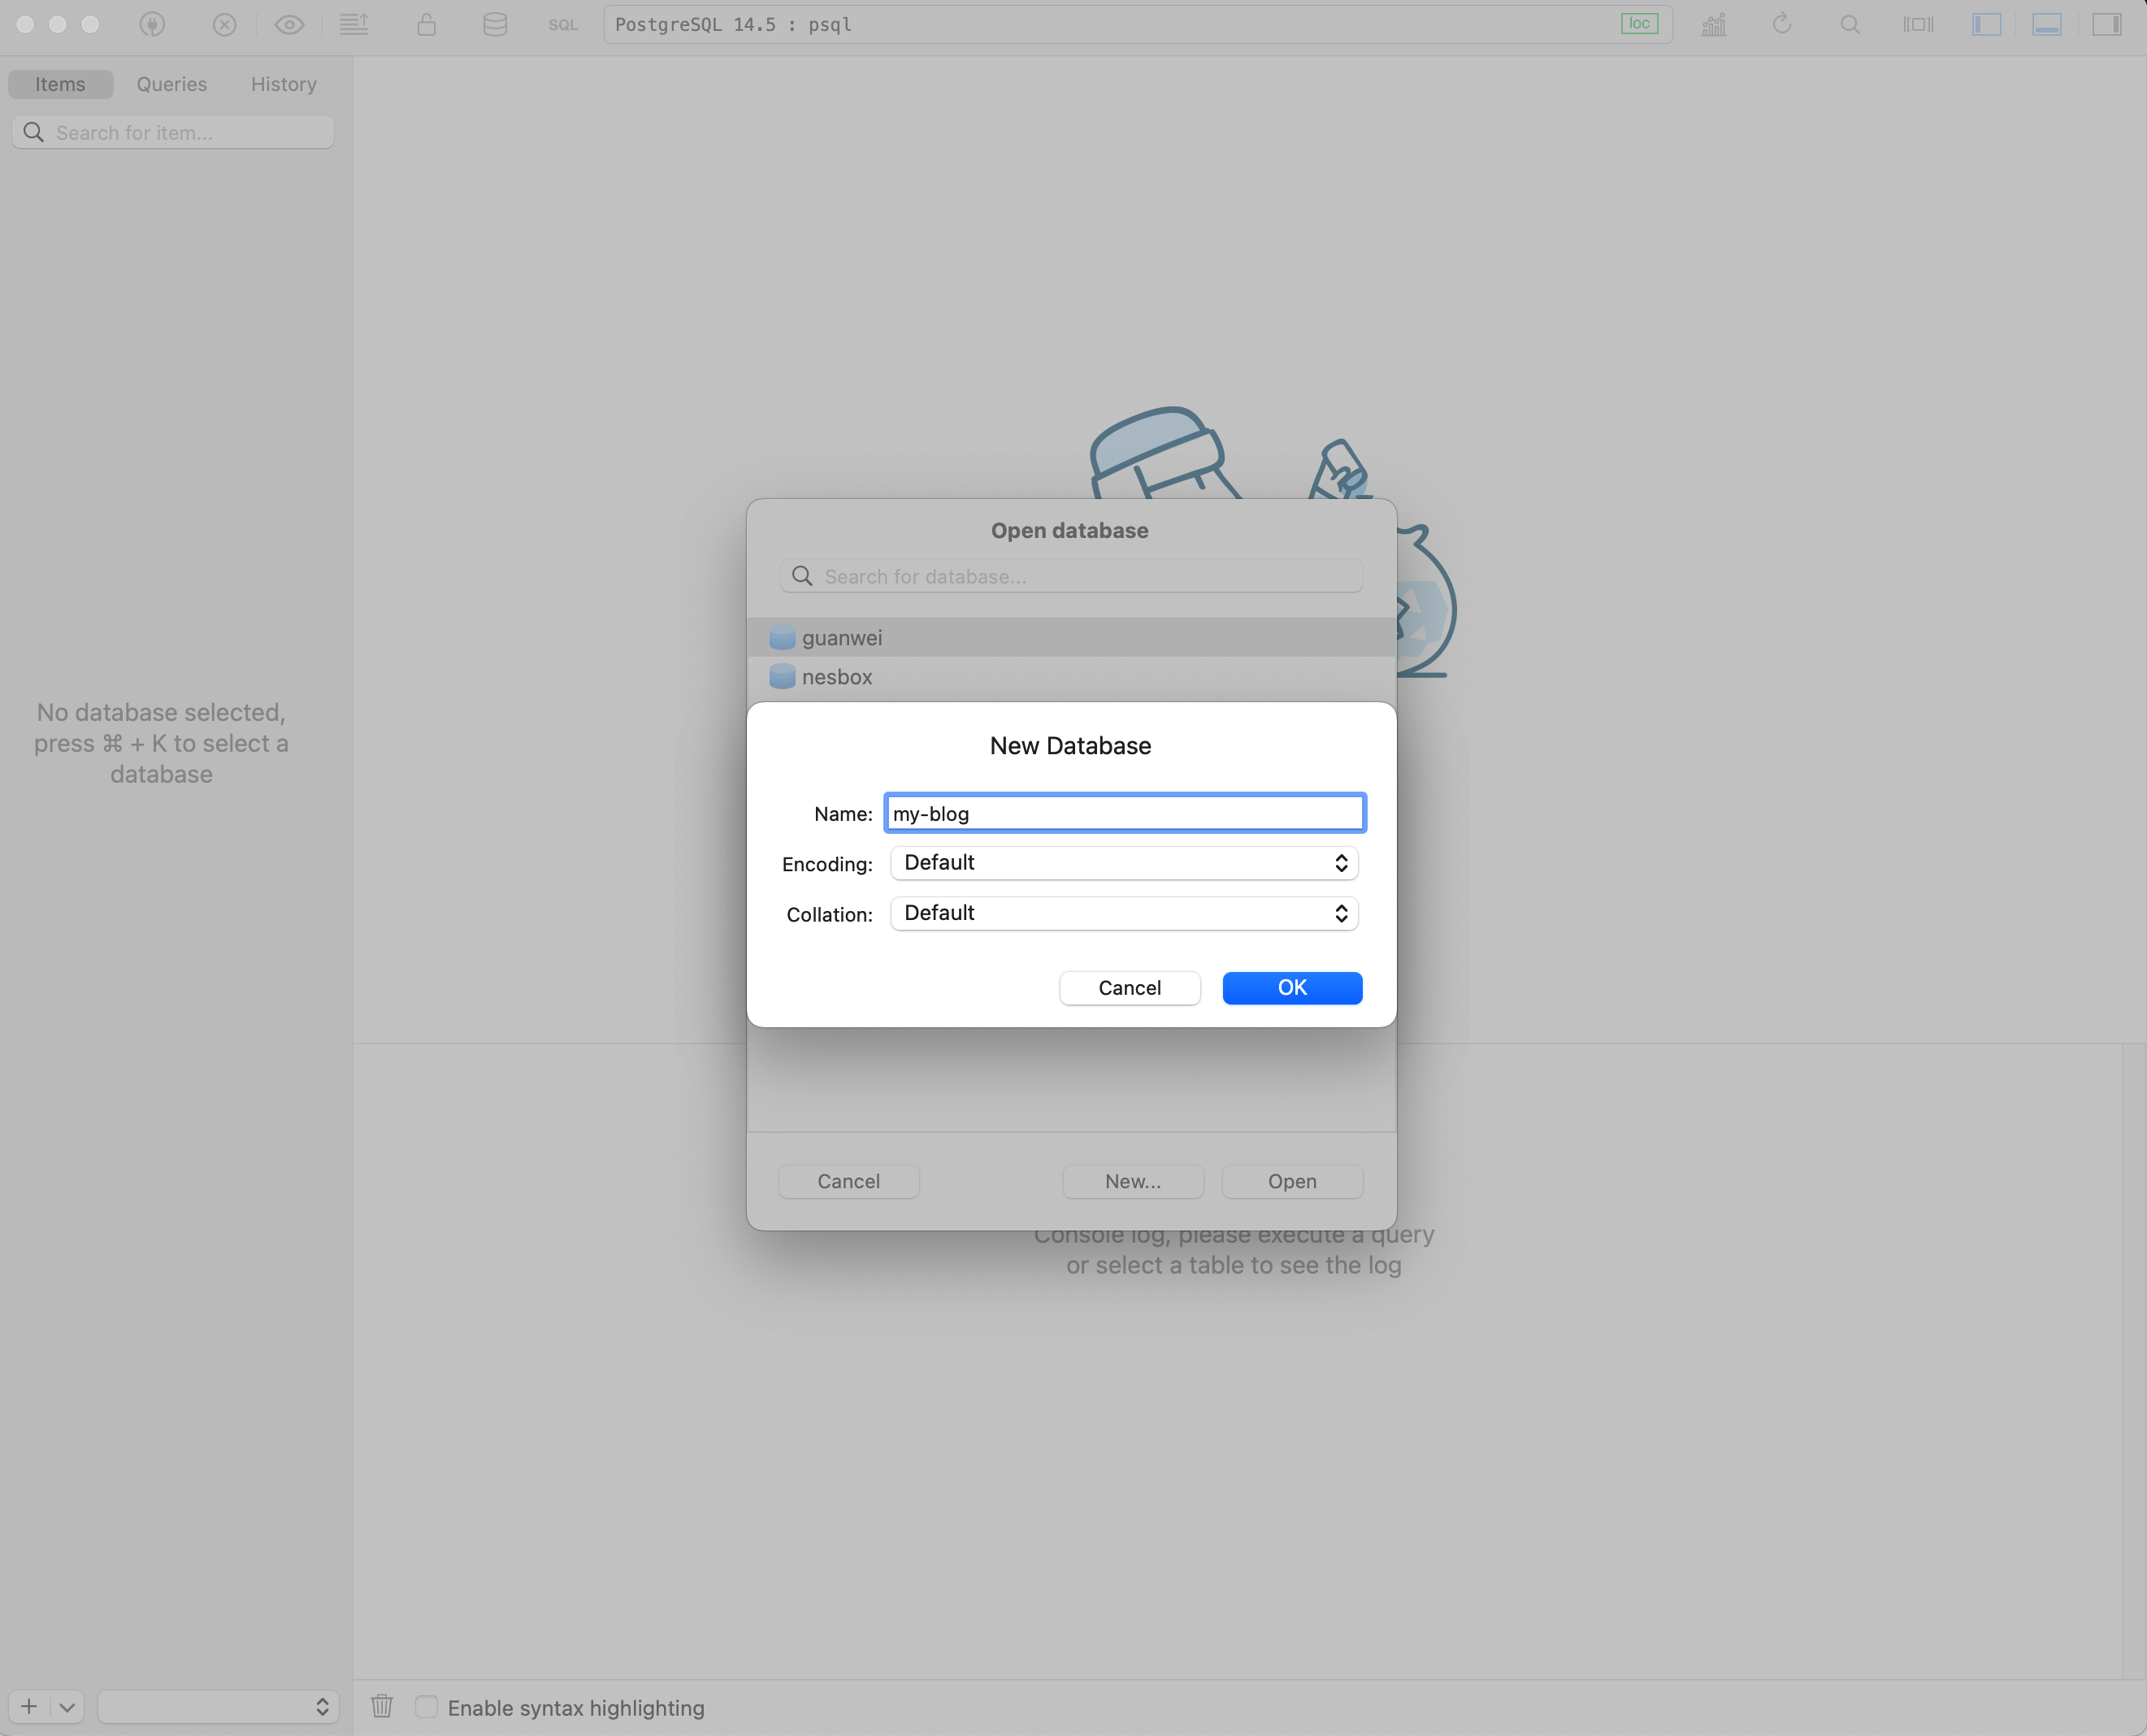
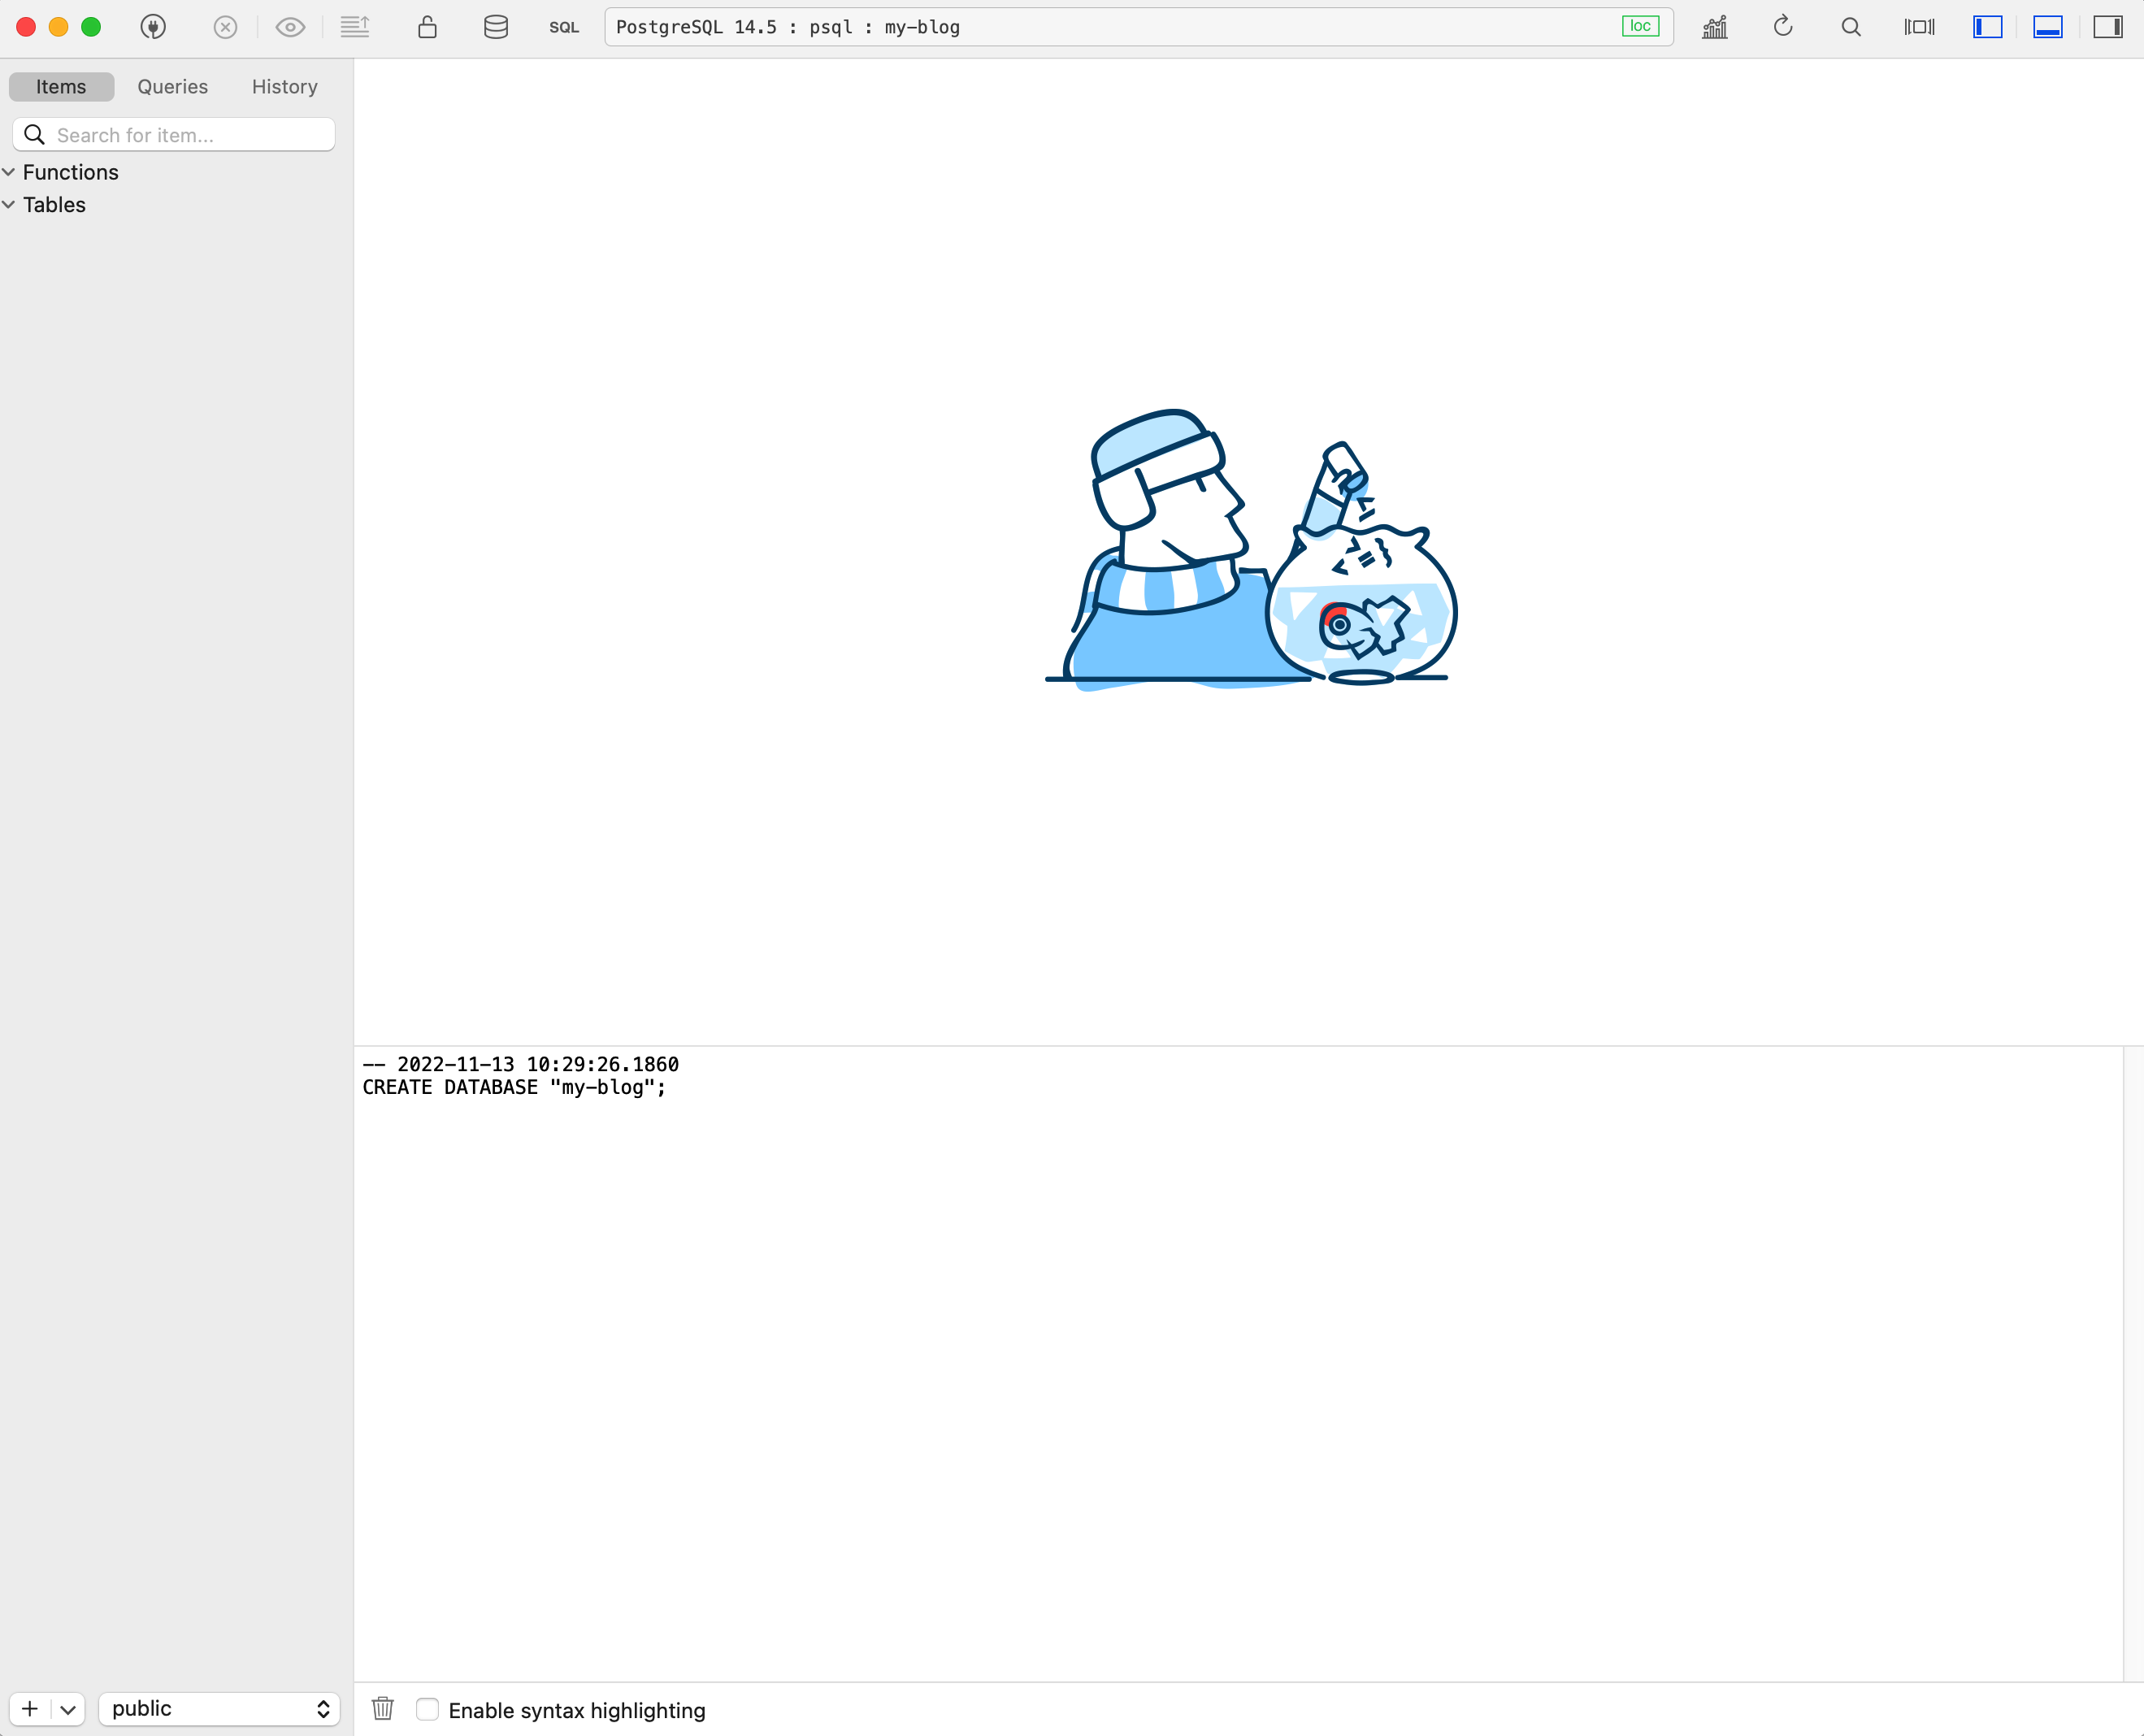
测试我们是否配置正常,我们执行 npx prisma db pull
🤙  my-blog git:(main) ✗ npx prisma db pull
Prisma schema loaded from prisma/schema.prisma
Environment variables loaded from .env
Datasource "db": PostgreSQL database "my-blog", schema "public" at "localhost:5432"

✖ Introspecting based on datasource defined in prisma/schema.prisma
Error:
P4001 The introspected database was empty:

prisma db pull could not create any models in your schema.prisma file and you will not be able to generate Prisma Client with the prisma generate command.

To fix this, you have two options:

- manually create a table in your database.
- make sure the database connection URL inside the datasource block in schema.prisma points to a database that is not empty (it must contain at least one table).

Then you can run prisma db pull again.
db pull: 从数据库拉取表结构,生成对应的 Prisma Schema
此时我们的数据库是空的,所以这里有一个 P4001 的错误,不过别担心,起码我们可以连接到数据库了。
- 编写 Prisma Schema
prisma/schema.prisma
// This is your Prisma schema file,
// learn more about it in the docs: https://pris.ly/d/prisma-schema

generator client {
  provider = "prisma-client-js"
}

datasource db {
  provider = "postgresql"
  url      = env("DATABASE_URL")
}

model User {
  id            String    @id @default(cuid())
  name          String?
  email         String?   @unique
  emailVerified DateTime? @map("email_verified")
  image         String?
  createdAt     DateTime  @default(now()) @map("created_at")
  updatedAt     DateTime? @updatedAt @map("updated_at")

  accounts Account[]
  sessions Session[]

  @@map("users")
}

model Account {
  id                String   @id @default(cuid())
  type              String
  provider          String
  providerAccountId String   @map("provider_account_id")
  refresh_token     String?
  access_token      String?
  expires_at        Int?
  token_type        String?
  scope             String?
  id_token          String?
  session_state     String?
  createdAt         DateTime @default(now()) @map(name: "created_at")
  updatedAt         DateTime @updatedAt @map(name: "updated_at")
  userId            String   @map("user_id")

  user User @relation(fields: [userId], references: [id], onDelete: Cascade)

  @@unique([provider, providerAccountId])
  @@map("accounts")
}

model Session {
  id           String   @id @default(cuid())
  sessionToken String   @unique @map("session_token")
  expires      DateTime
  userId       String   @map("user_id")

  user User @relation(fields: [userId], references: [id], onDelete: Cascade)

  @@map("sessions")
}

model VerificationToken {
  identifier String
  token      String   @unique
  expires    DateTime

  @@unique([identifier, token])
  @@map("verification_tokens")
}
此数据来自 NextAuthPrismaAdapter 这里有些简单的表和字段的名称调整,不过你要是直接使用 NextAuth 的也可以,原谅我强迫症 🫣。
有关 Prisma Schema 的语法,可以参考官方文档,下面我近介绍些基本的语法,方便理解
model: 理解为数据库表,而model后的名称,默认是数据库表名,但但我们在 Schema 底部设置了@@map('...')时,Prisma 将以该名称映射到数据库表String Int DateTime代码的数据类型,因为我们使用的是 Postgresql 所以这里直接使用 Prisma 处理的默认类型就行,若是 MySQL 的话,对于access_tokenPrisma 的String会默认使用CARHCAR(191)的长度,这里可能不够,需要使用String @db.Text这种,标明数据库字段类型?表示该字段值可以为空,这其实就是DEFAULT NULL,相反的是NOT NULL@id:表主键@unique:唯一键,这里不在字段后使用的,而在 Schema 中直接设置的@@unique([...])表示符合唯一键@default(...): 字段默认值,但字段没有?并且没有设置默认值,那么这个字段就是必填的@map(...): 表字段名称@updatedAt和创建时间默认时间为现在的不同,这里是 Prisma 表示修改时间,实际 Prisma 会识别该值为一个 hook,在数据修改时,调用 hook 修改该时间(原子操作),这样就不需要我们再处理了cuid(), now()这些是 Prisma Schema 中内置的函数,执行后会返回一个或多个值,方便其他函数自己调用@relation这就是表关联的标识,如果你清楚 SQL 类数据库的表关联形式,那么这个 Schema 实际很直观,这几不多介绍了,可参考官网文档
ok,再来介绍下,这些表分别是干什么的
User: 用户Account: 账号Session: 登录身份标识VerificationToken: 验证信息
在 NextAuth 的设计中,用户是以 email 做唯一标识的,这就代表,用户 A 它有一个 Github 账号,使用了 a@gmail.com 注册的,还有一个 Apple 账号也使用 a@gmail.com 那么此只有一个 用户 A ,但有两个账号 Github, Apple 他们因 a@gmail.com 产生关联。
Session 的话其实和我们之前查看的 /api/auth/session 有关联,这会键登录身份在服务端持久化,且这里报错的验证 token 确保客户端的 session 数据有效
VerificationToken 是用来存储验证信息的,场景:服务器给 用户 X 的 x@gmail.com 发送了一个验证邮件,用户 X 收到邮件,点击验证连接(或看到一串验证码),返回我们的页面,输入信息点击验证,此时我们服务器拿到数据信息,需要和数据库查询验证信息的有效性(是否为该邮件的,有没有过期)。同理我们国内常用的手机短信验证。
- 映射 Schema 到数据库
🤙  my-blog git:(main) npx prisma migrate dev --name auth-base

Environment variables loaded from .env
Prisma schema loaded from prisma/schema.prisma
Datasource "db": PostgreSQL database "my-blog", schema "public" at "localhost:5432"

Applying migration `20221113032027_auth_base`

The following migration(s) have been created and applied from new schema changes:

migrations/
  └─ 20221113032027_auth_base/
    └─ migration.sql

Your database is now in sync with your schema.

✔ Generated Prisma Client (4.6.1 | library) to ./node_modules/.pnpm/registry.npmmirror.com+@prisma+client@4.6.1_prisma@4.6.1/node_module
s/@prisma/client in 204ms
migrate dev: 这是 Prisma 内置的数据结构管理工具,这里使用dev开发模式--name auth-base: 自定义 migrate 名称
这里其实可以直接使用 npx prisma db push 此命令将 Schema 强制映射到数据库,这也是因为数据库是空的,否则不建议使用(除非你确定你在干什么)!
执行完该命令后,会在 prisma/ 下生成 migrate 管理文件
prisma/
├── migrations
│   ├── 20221113032027_auth_base
│   │   └── migration.sql
│   └── migration_lock.toml
└── schema.prisma
查看数据库
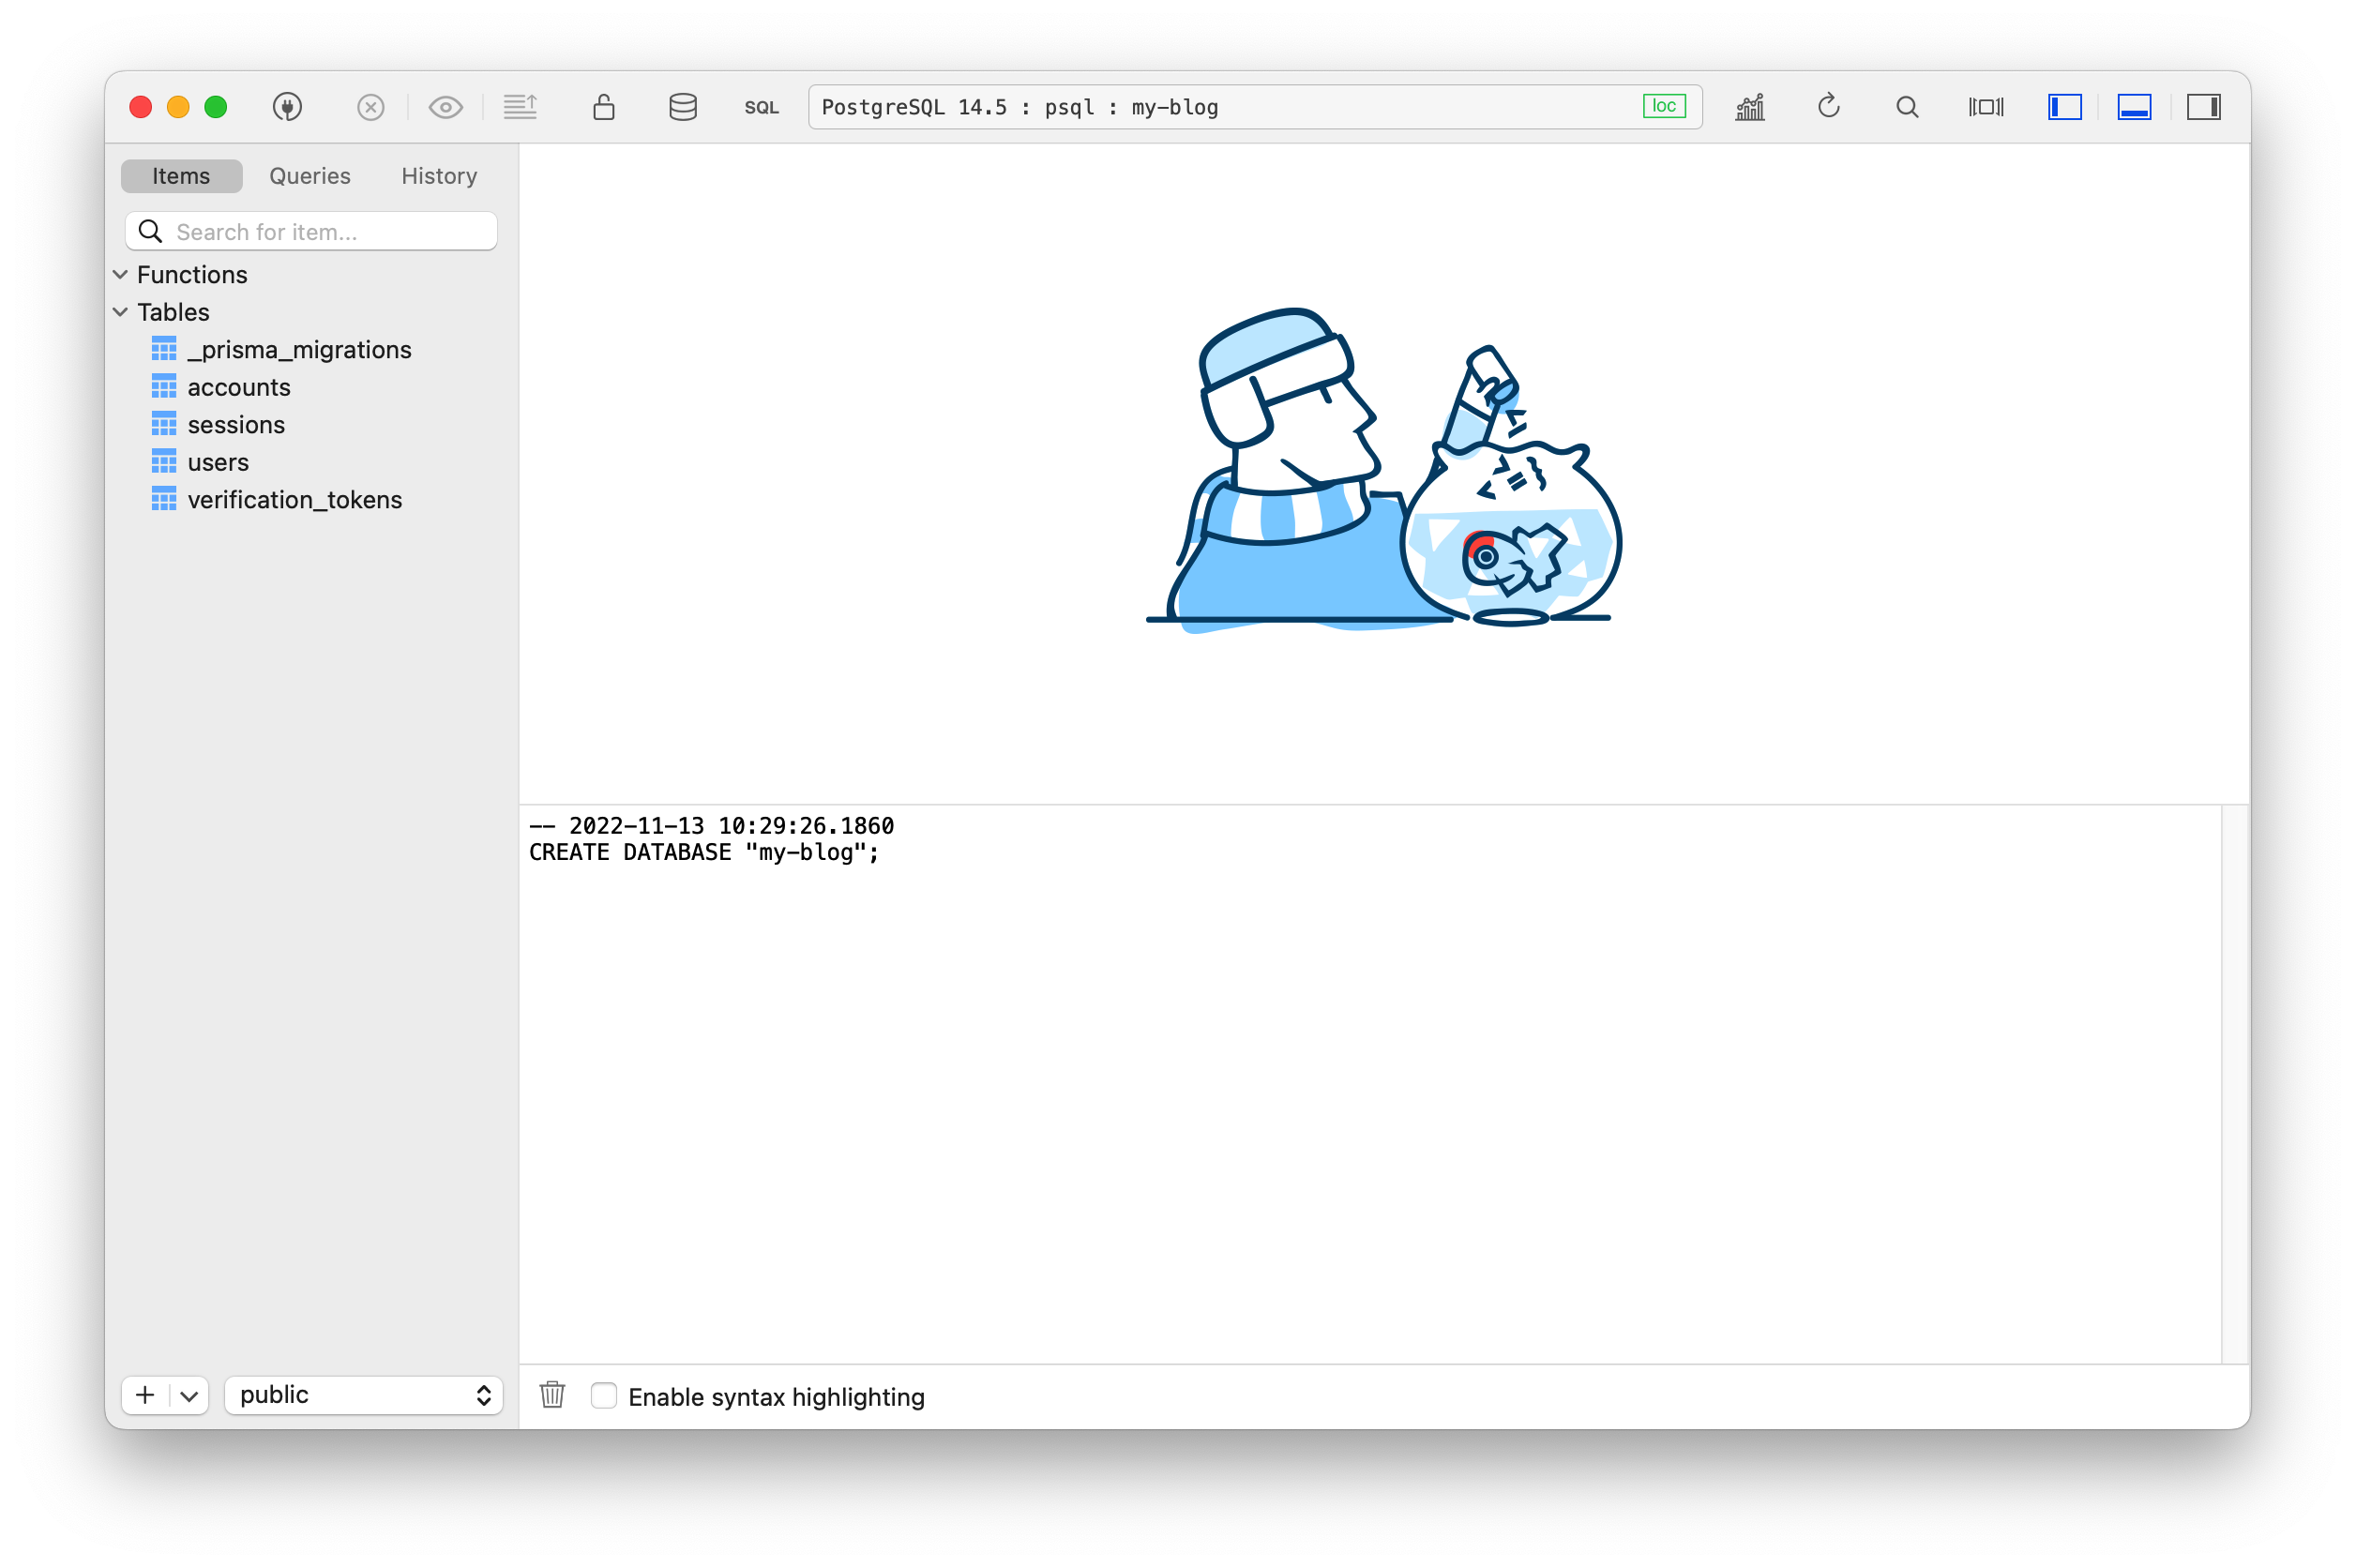
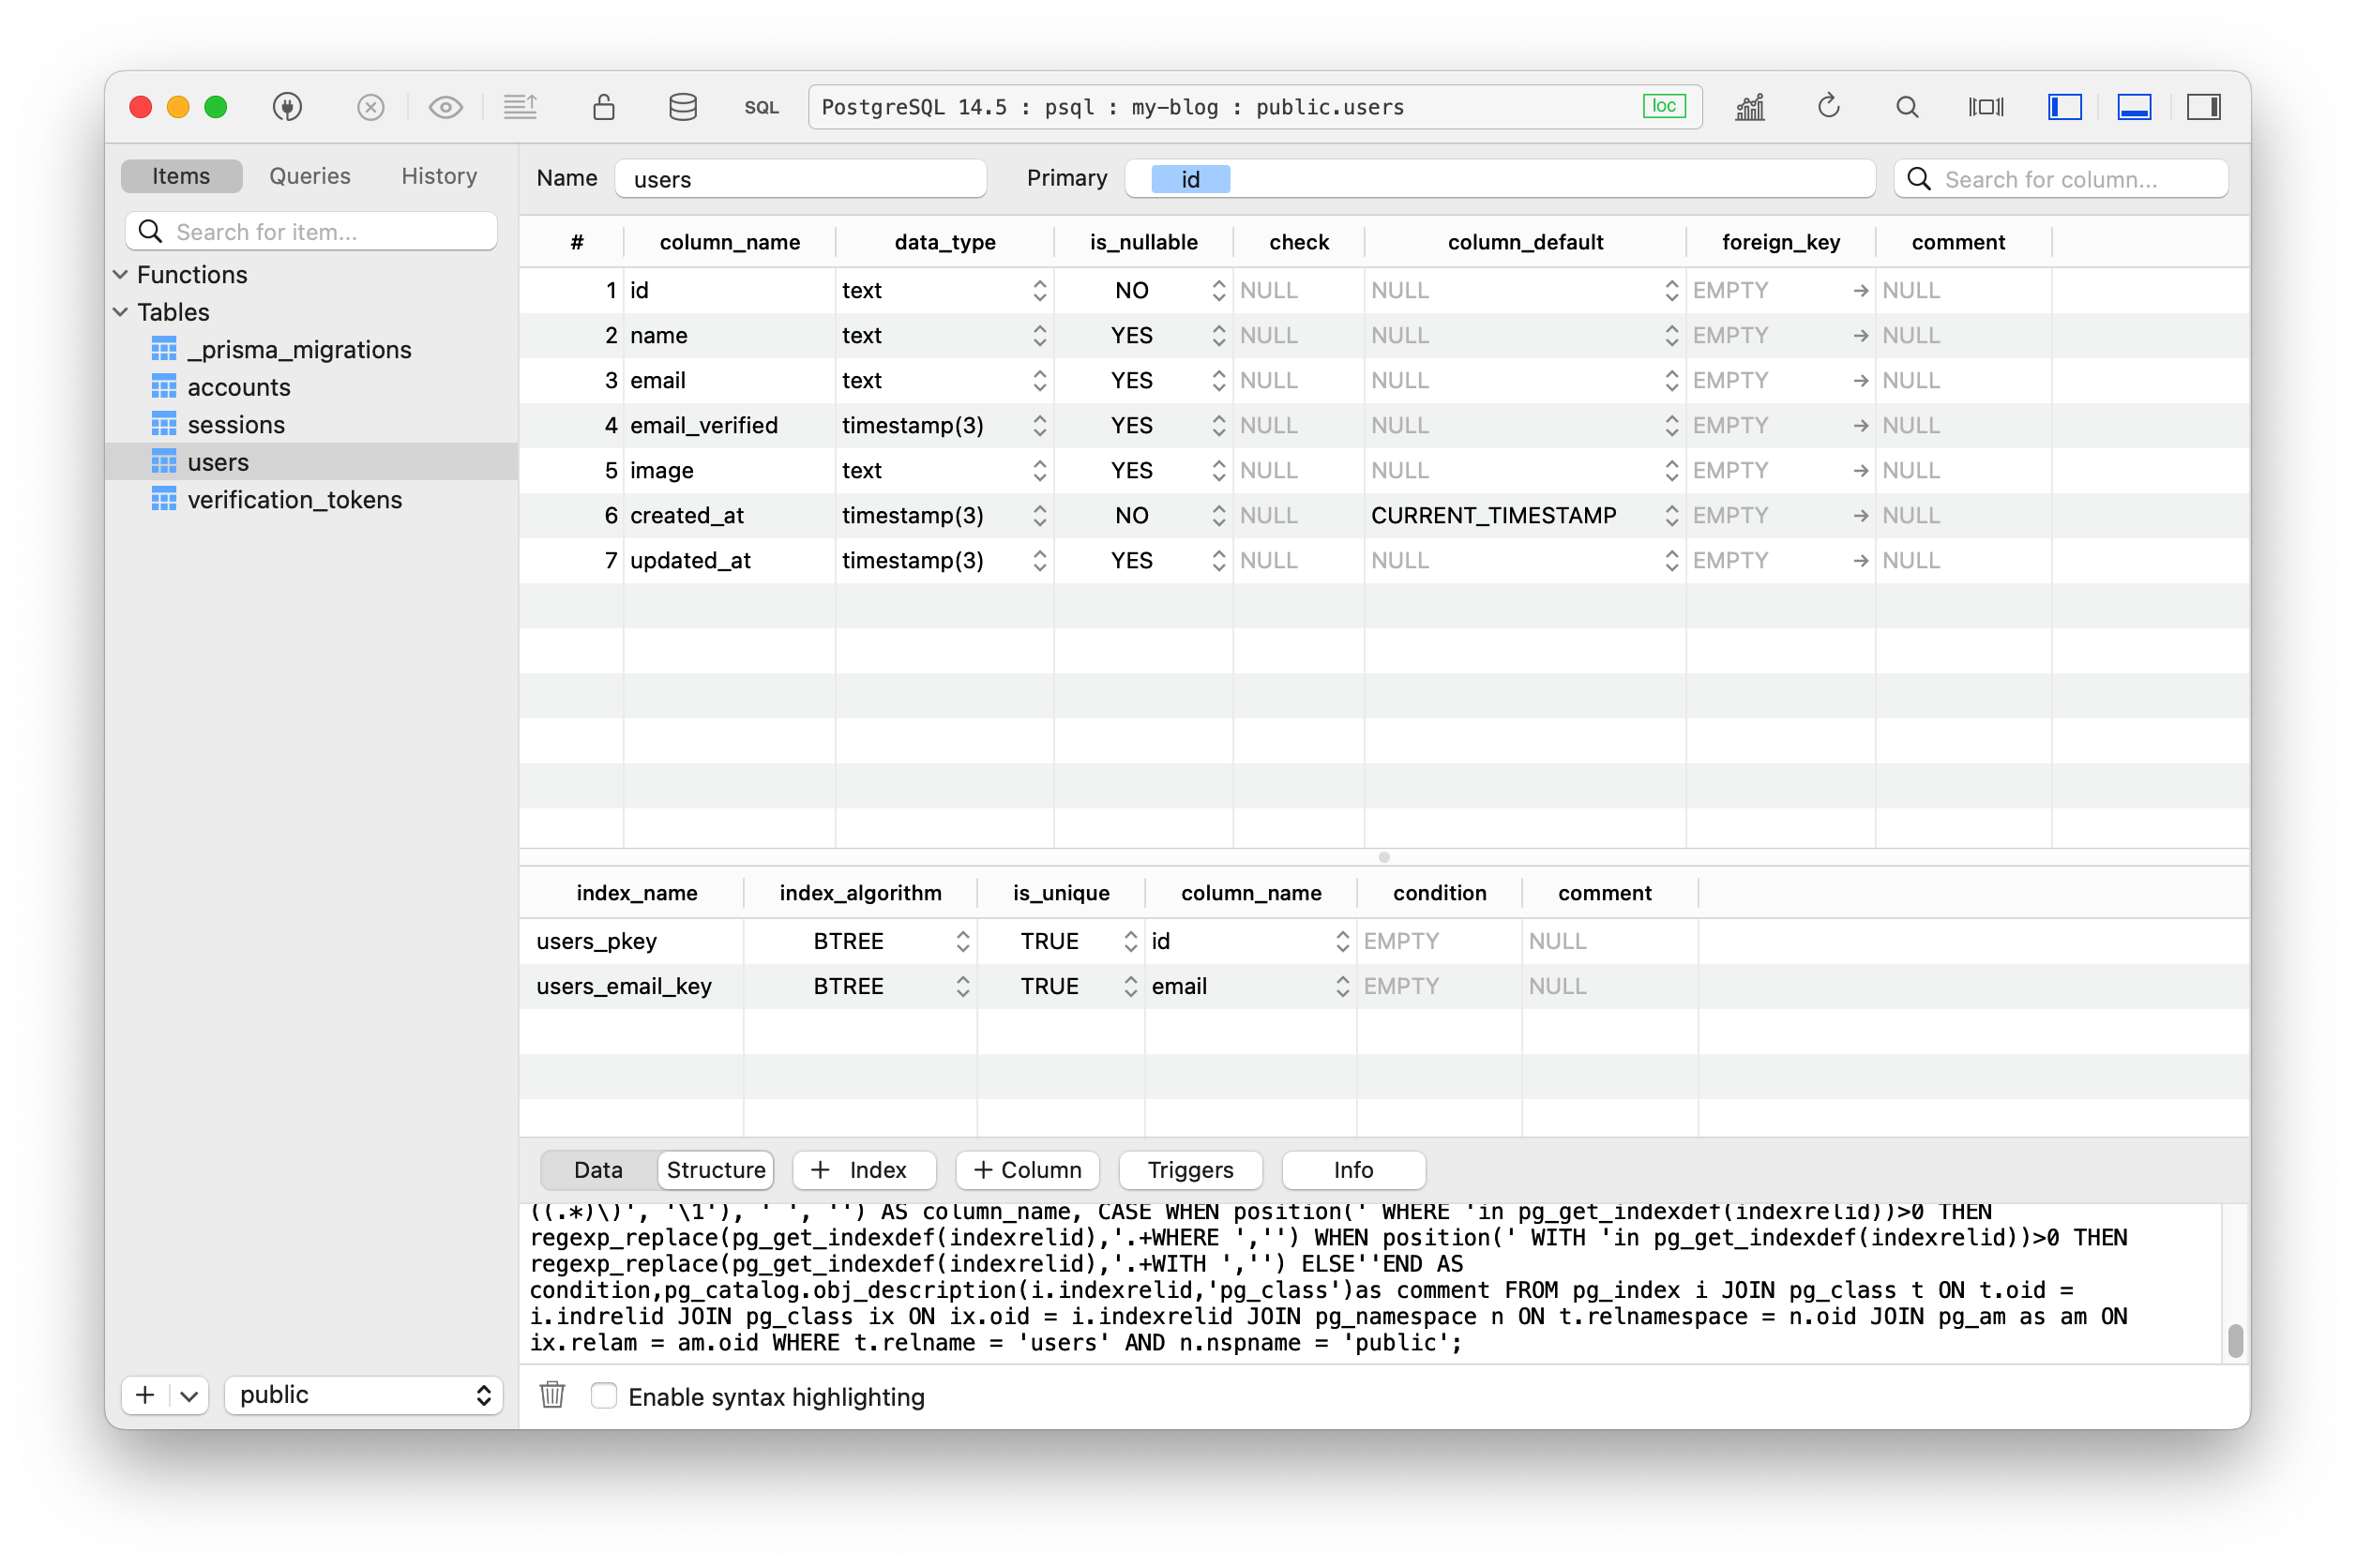
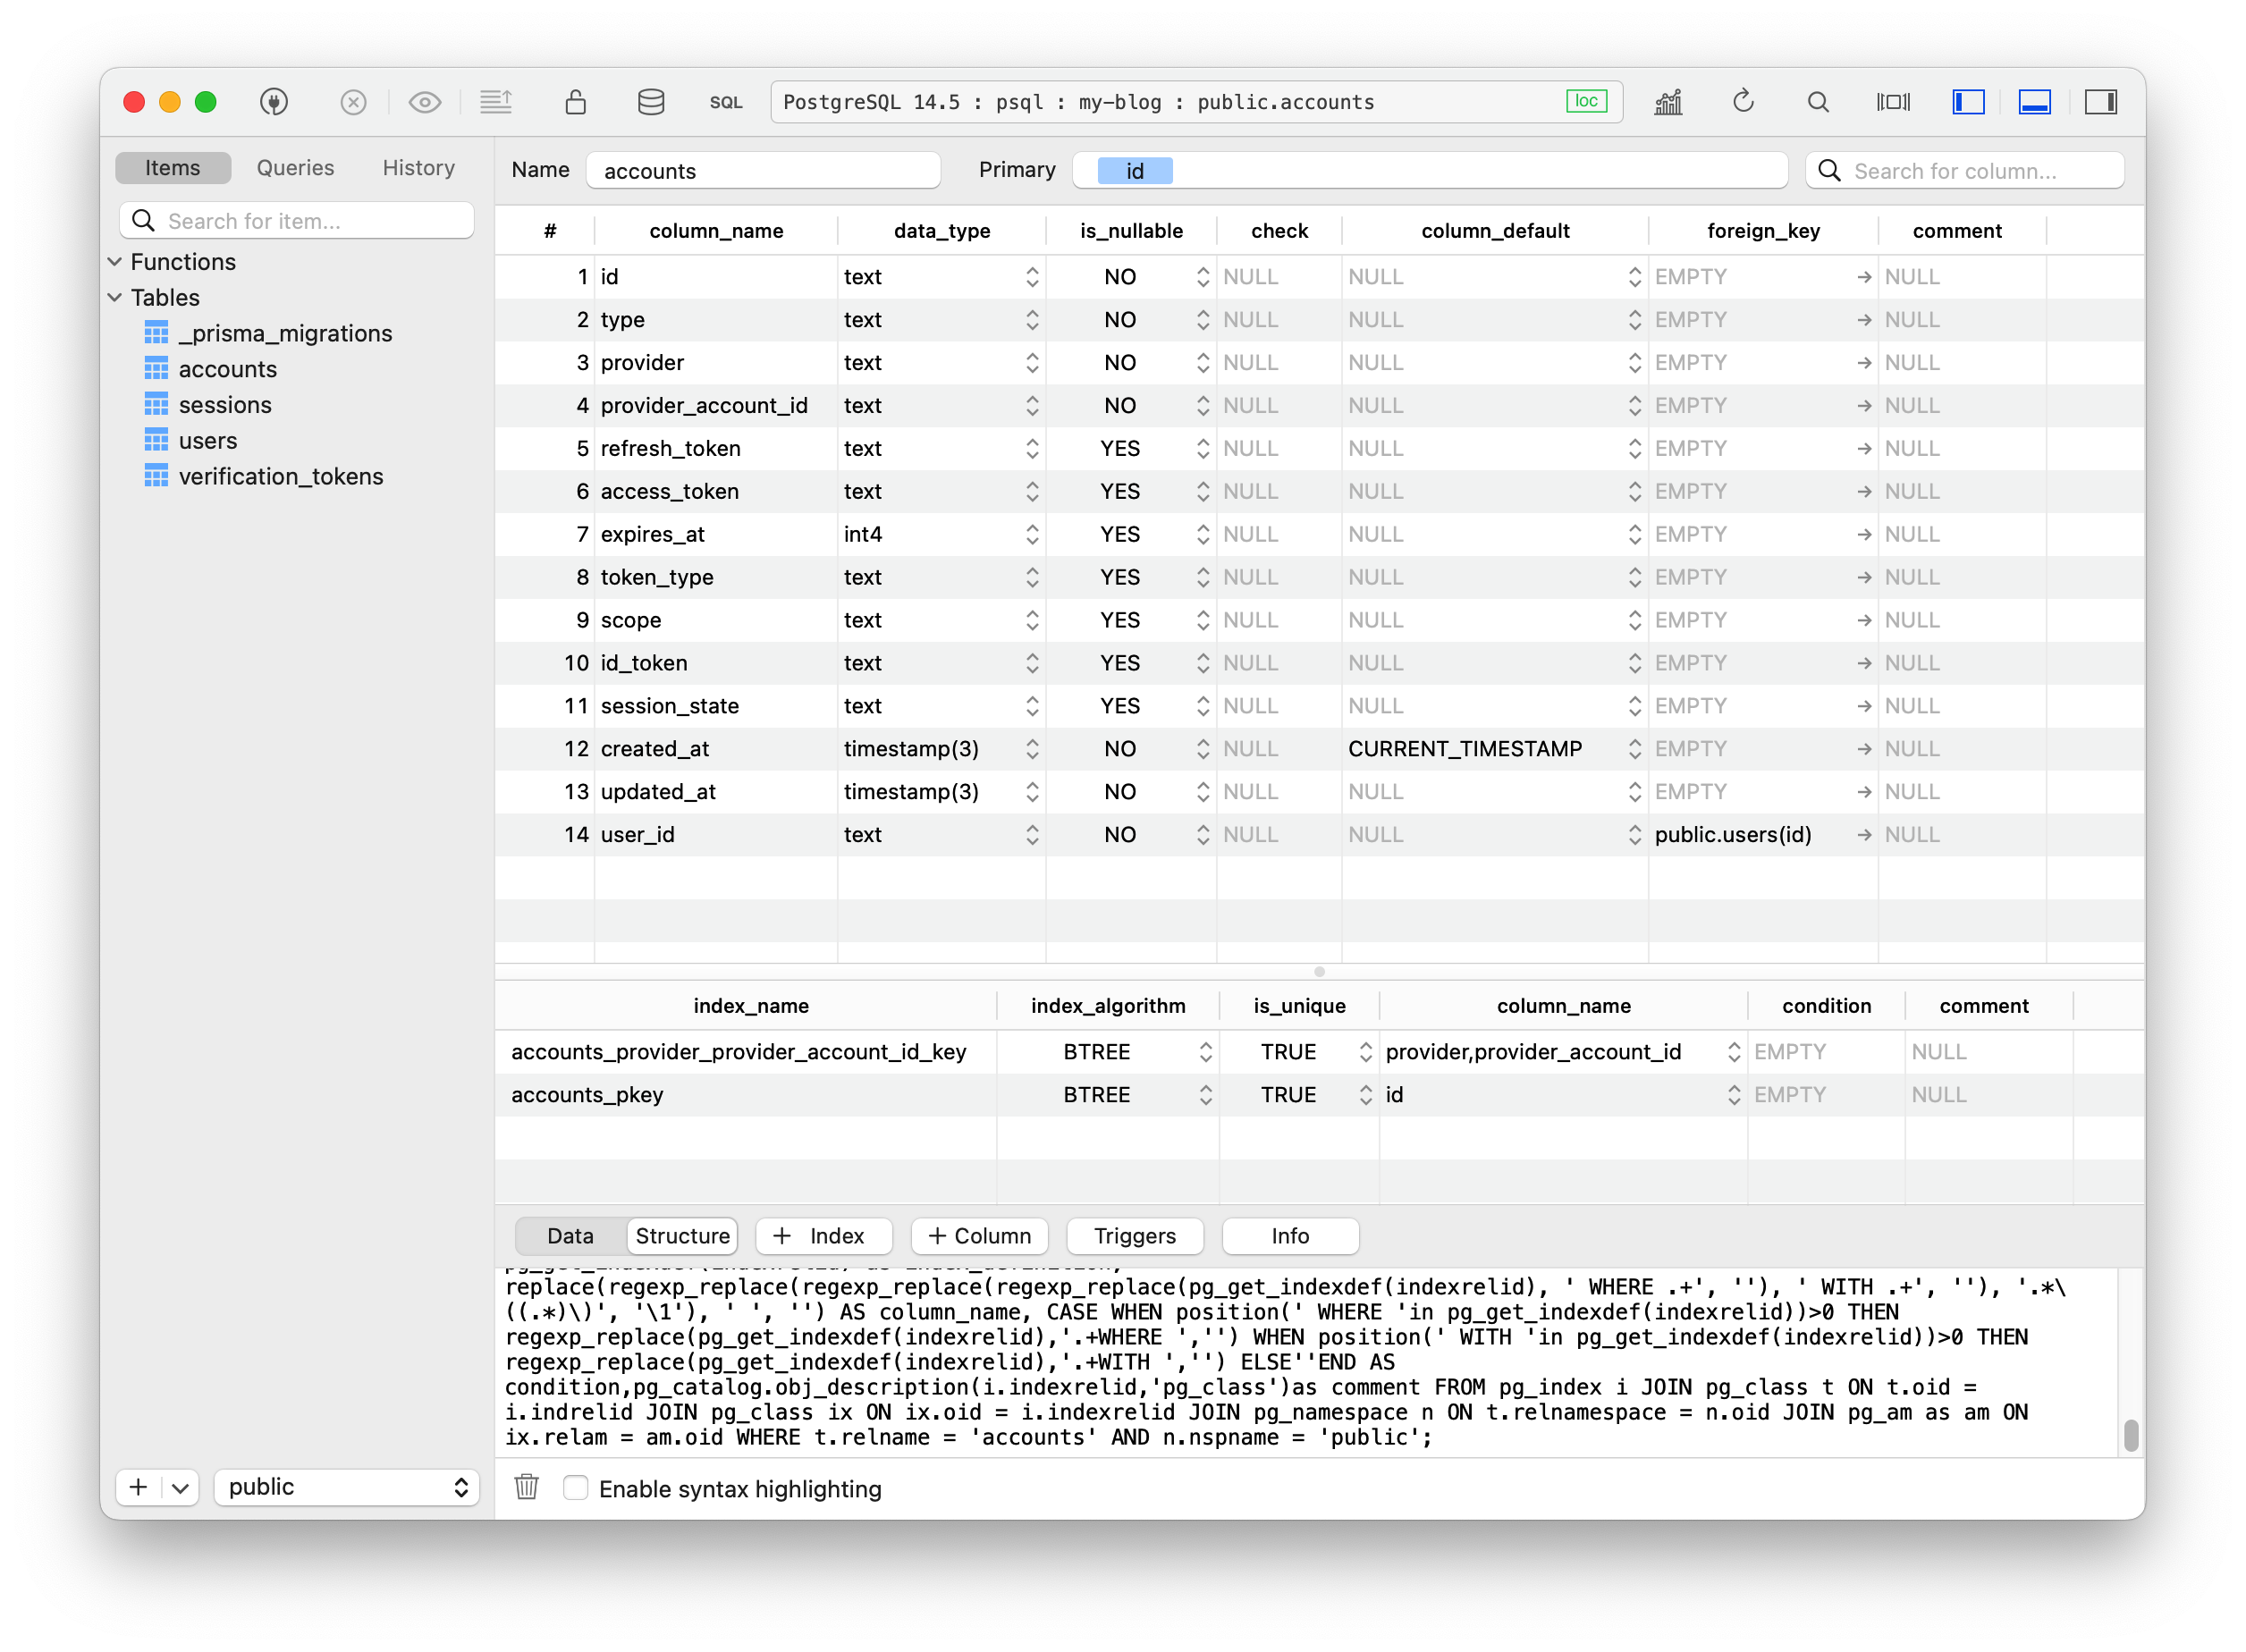
可以注意下表结构,关联表是使用了外键的方式处理。
使用 Prisma
首先我们要做的就是连接 Prisma,这里要创建一个全局的连接单例
lib/db/prisma.ts 在顶层新建一个 lib 目录
import { PrismaClient } from "@prisma/client";

declare global {
  var __db__: PrismaClient;
}

let prisma: PrismaClient;

if (process.env.NODE_ENV === "production") {
  prisma = new PrismaClient();
} else {
  if (!global.__db__) {
    global.__db__ = new PrismaClient();
  }
  prisma = global.__db__;
  prisma.$connect();
}

export const db = prisma;
declare gloabl __db__: 全局变量类型- 生产环境下,我们的服务在部署的时候会运行,也就代表仅在部署启动的时候会连接一次
- 非生产环境,热开发的情况为了避免多次创建连接实例,这里将第一次创建的实例挂在到全局,下一次直接使用乙存在的实例即可
prisma.$connect(): 初始化的时间先做一次连接,这是为了解决在开发模式下,重启服务后缓存是热开发的增量,此时数据库请求会出现未连接的错误(刷新页面-会好)。
这里为了方便引用,我们在 tsconfig.json 中设置路径别名
{
	"compilerOptions": {
		...
		"baseUrl": ".",
		"paths": {
		  "~/lib/*": [
			"lib/*"
		  ],
		  "~/components/*": [
			"components/*"
		  ]
		}
	}
}
这样,我们就可以以下面这种方式引用 lib 和 components
import { db } from "~/lib/db/prisma";
import Layout from "~/components/Layout";
ok, 先将 pages/index.tsx 中的路径优化下
// import Layout from "../components/Layout"; 替换
import Layout from "~/components/Layout";

...
接着我们优化下 .env 文件,并且配置两个新的额环境变量
# prisma db connect url
DATABASE_URL="postgresql://johndoe:randompassword@localhost:5432/mydb?schema=public"

# Github OAuth - https://github.com/settings/developers
GITHUB_ID=Github_Client_ID
GITHUB_SECRET=Github_Client_secret

# Next Auth url
NEXTAUTH_URL=http://localhost:3000

# Next Auth secret
SECRET=Some_secret
NEXTAUTH_URL: 在生产环境下有效,这里我们介绍一下,改值被 NextAuth 使用作为路径补全的,通常设置为部署应用的网址。如果使用 Vercel 可以不设置,部署环境变量会存在该值。更详细参考官网SECRET: 用户签发令牌的加密,之前设置是因为开发陌生下 NextAuth 会自己生成,这里我们自己设置下。Some_secret为你的密钥
如果你使用类 unix 系统,可以使用 openssl 生成一个
openssl rand 32 -base64

# qu0ue5LgDsYC+v4fvRzfBGJxUVwTOttVRSF6QdPo0Dw=
为 NextAuth 设置 Prisma 转接器
import { NextApiHandler } from "next";
import { NextAuthOptions } from "next-auth";
import { PrismaAdapter } from "@next-auth/prisma-adapter";
import GitHubProvider from "next-auth/providers/github";
import NextAuth from "next-auth/next";
import { db } from "~/lib/db/prisma";

const authOptions: NextAuthOptions = {
  adapter: PrismaAdapter(db),
  secret: process.env.SECRET,
  providers: [
    GitHubProvider({
      clientId: process.env.GITHUB_ID,
      clientSecret: process.env.GITHUB_SECRET,
    }),
  ],
};

const authHandler: NextApiHandler = (req, res) =>
  NextAuth(req, res, authOptions);

export default authHandler;
adapter: PrismaAdapter(db): 这里是官方的转接器,传递一个 Prisma 实例即可secret: process.env.SECRET: 这里使用刚刚设置的密钥环境变量
.
├── components
│   ├── Header.tsx
│   └── Layout.tsx
├── lib
│   └── db
│       └── prisma.ts
├── pages
│   ├── _app.tsx
│   ├── api
│   │   └── auth
│   │       └── [...nextauth].ts
│   └── index.tsx
├── .env
├── .gitignore
├── next-env.d.ts
├── package.json
├── pnpm-lock.yaml
├── postcss.config.js
├── prisma
│   ├── migrations
│   │   ├── 20221113032027_auth_base
│   │   │   └── migration.sql
│   │   └── migration_lock.toml
│   └── schema.prisma
├── styles
│   └── globals.css
├── tailwind.config.js
└── tsconfig.json
ok, 下面我们启动
npm run dev

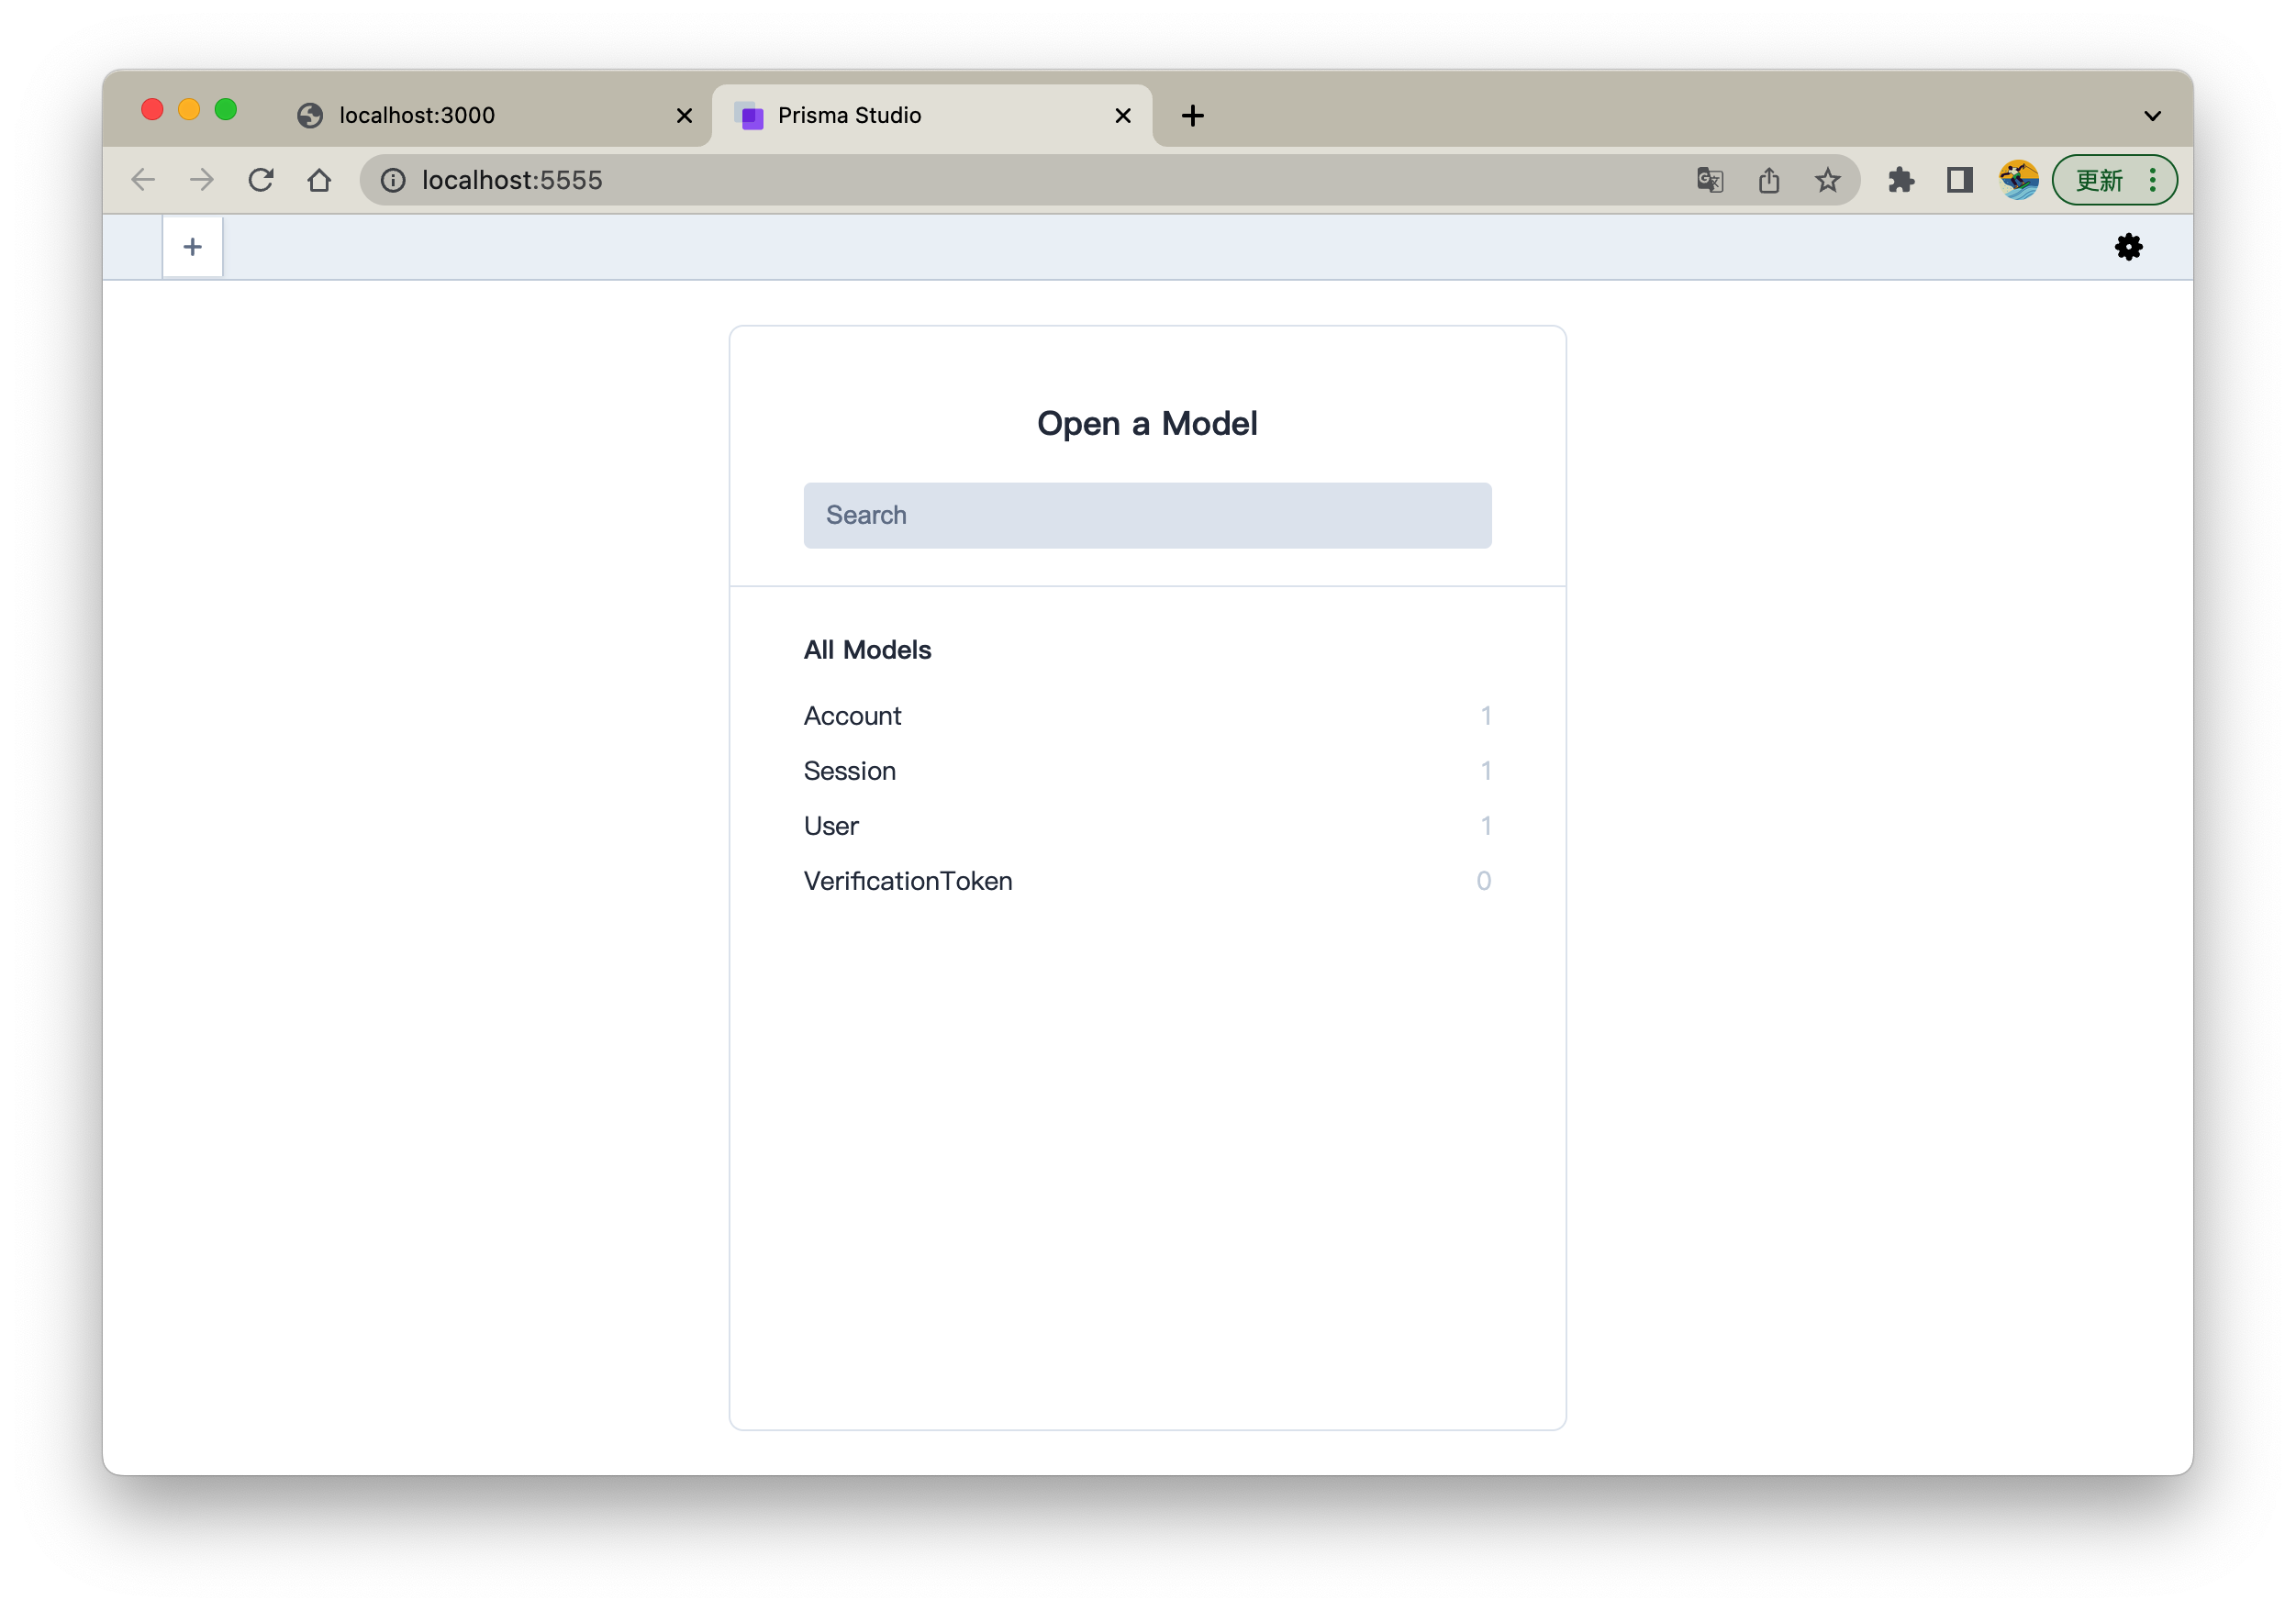
登录后,查看数据库。这里我们使用 Prisma 官方提供的 数据连接 UI 管理来查看
npx prisma studio

Environment variables loaded from .env
Prisma schema loaded from prisma/schema.prisma
Prisma Studio is up on http://localhost:5555
打开: http://localhost:5555
点击 "User"
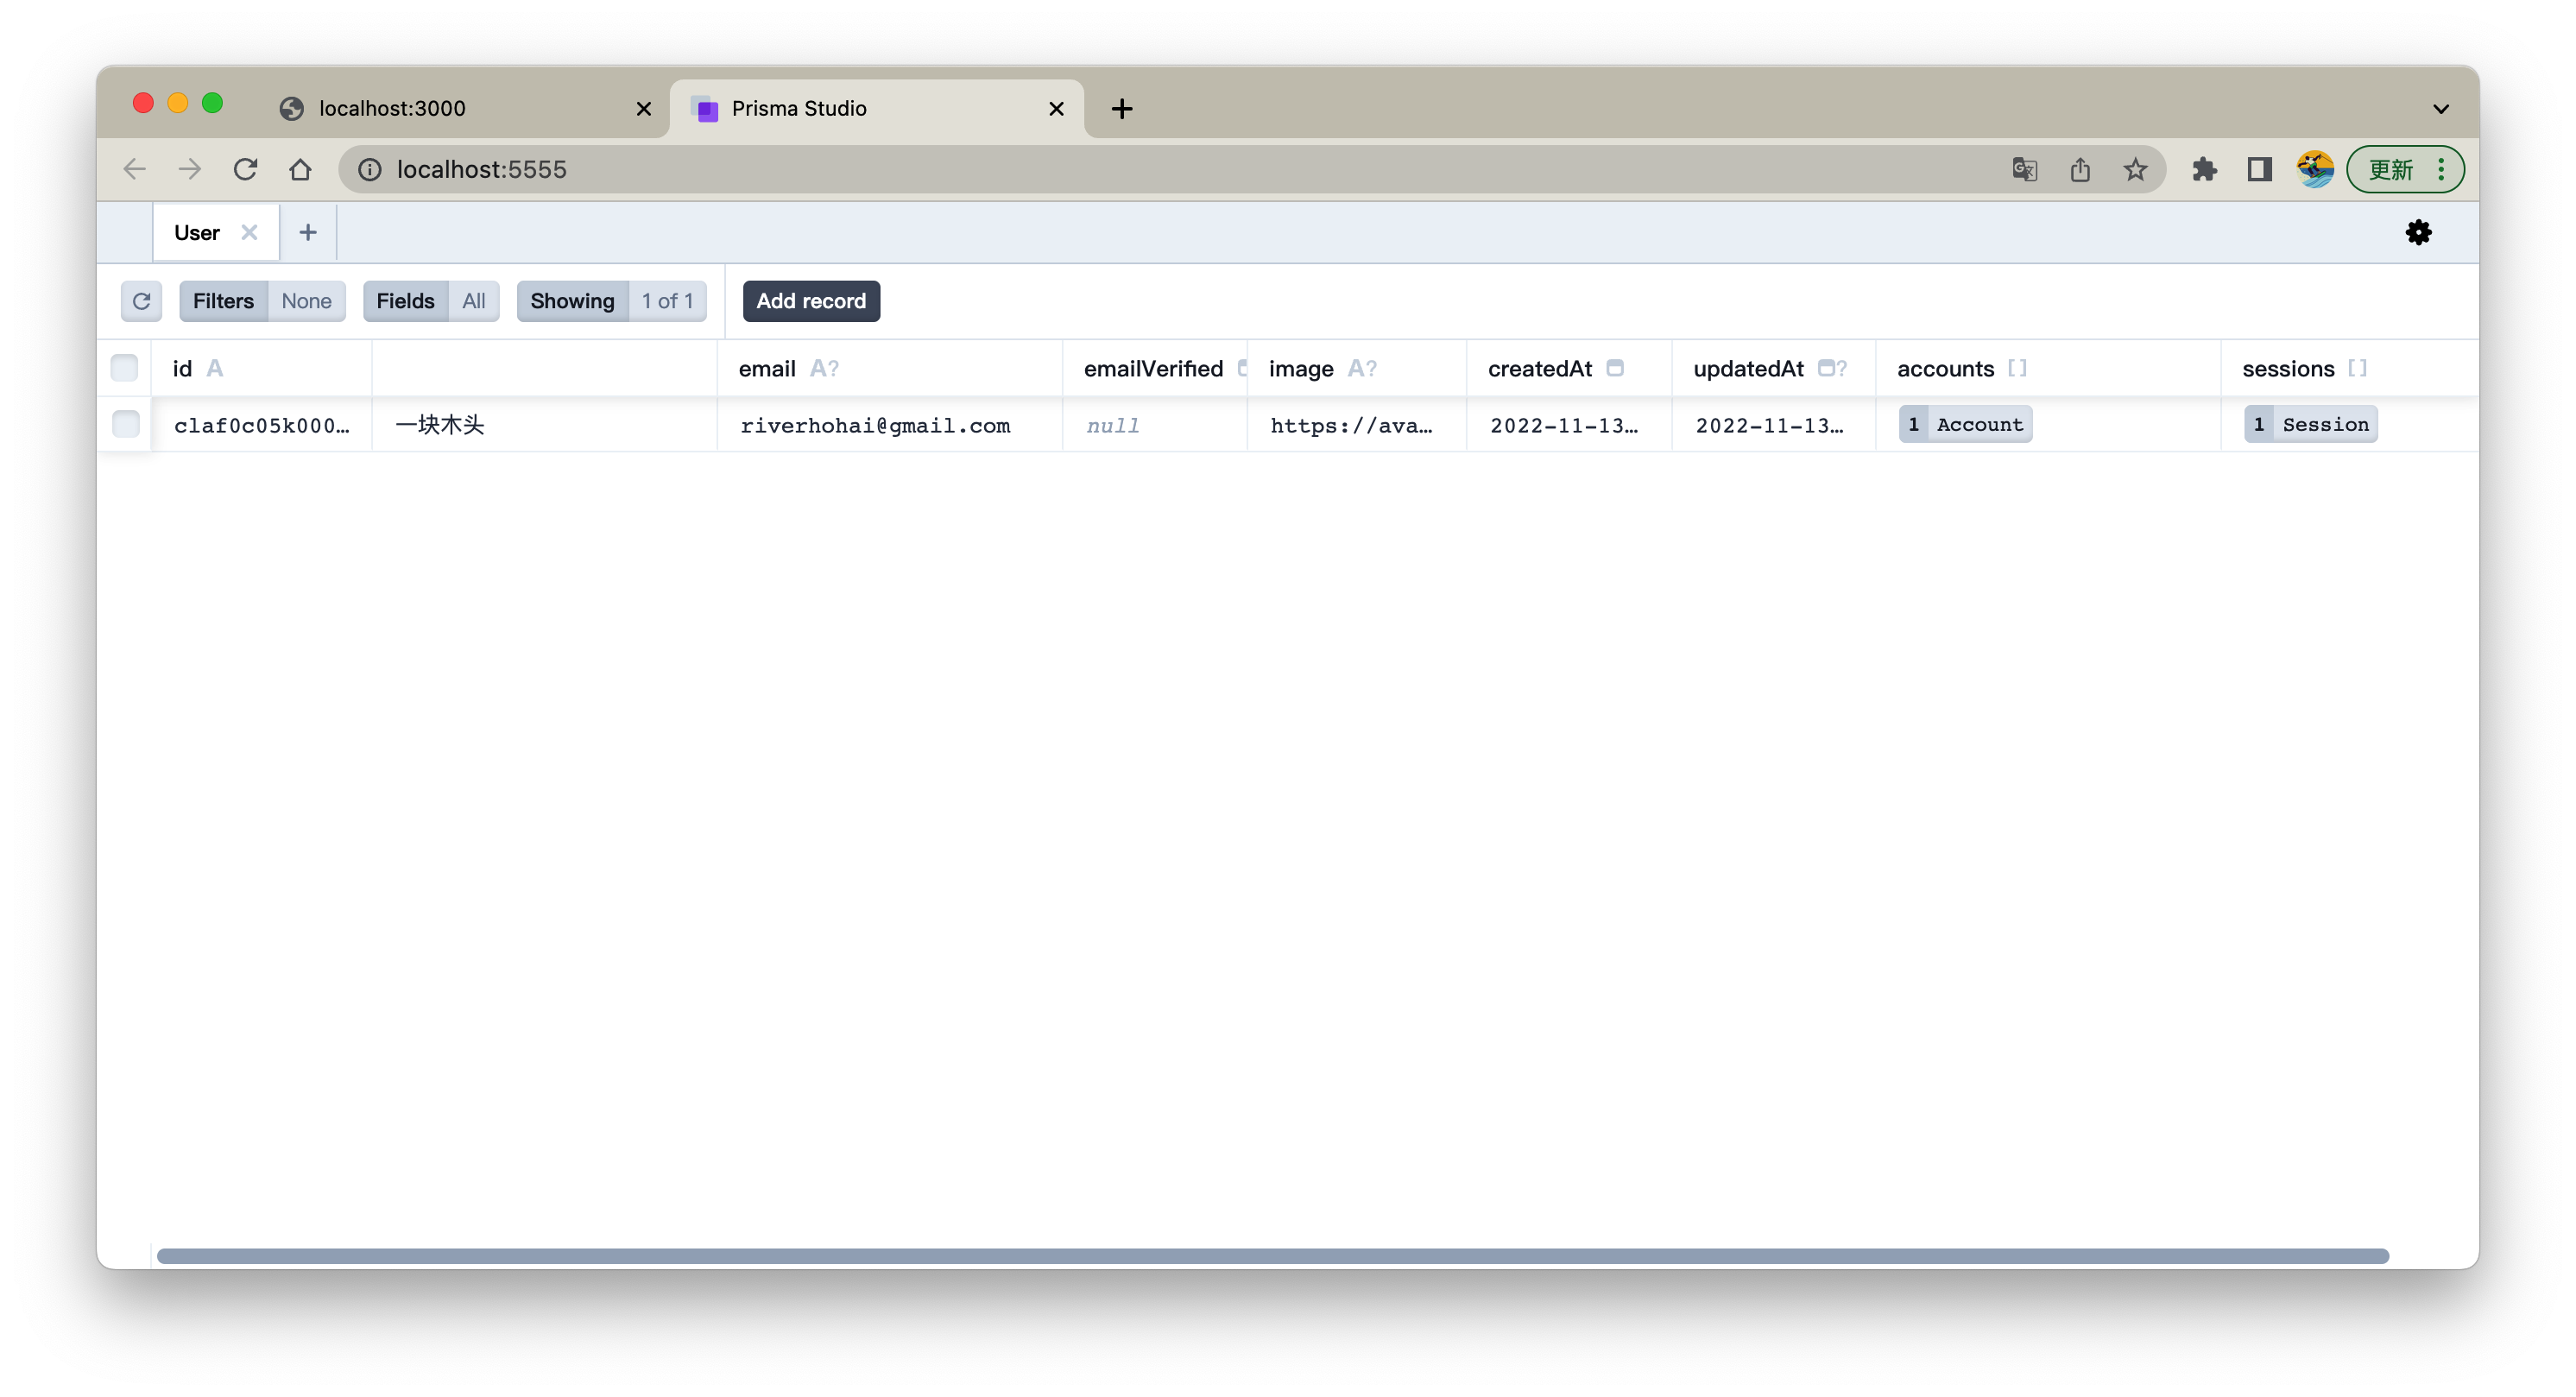
点击 "Account"
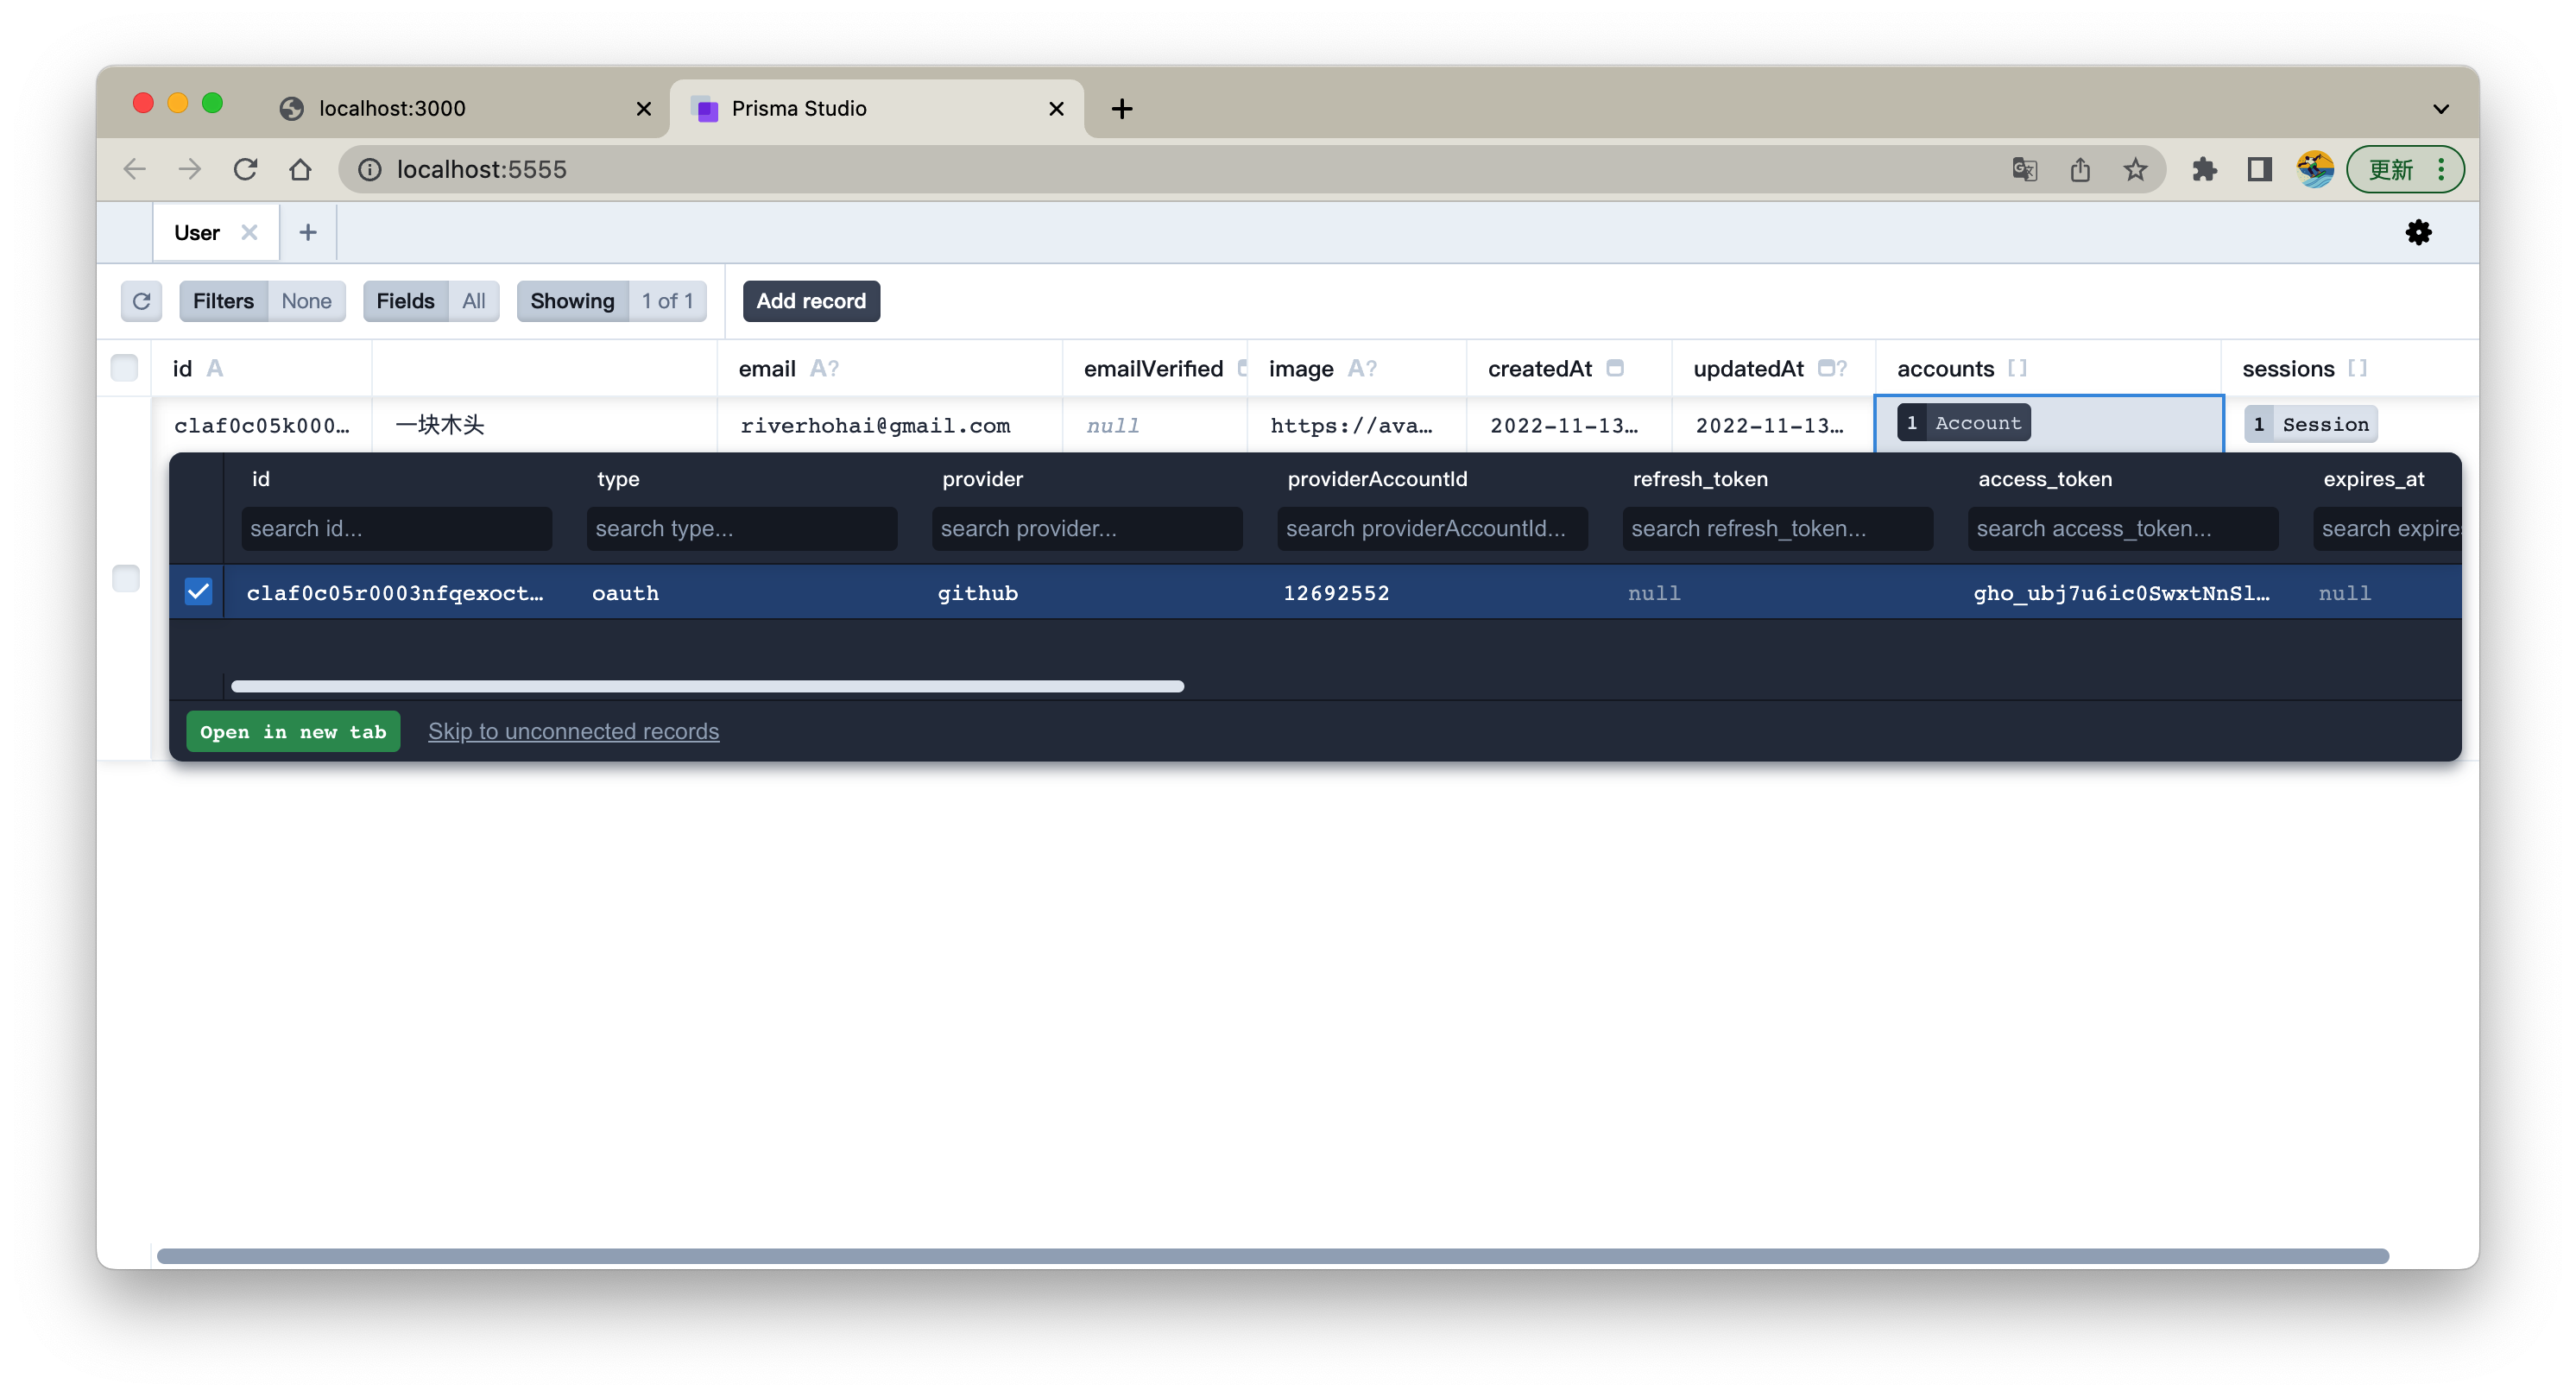
点击 "Session"
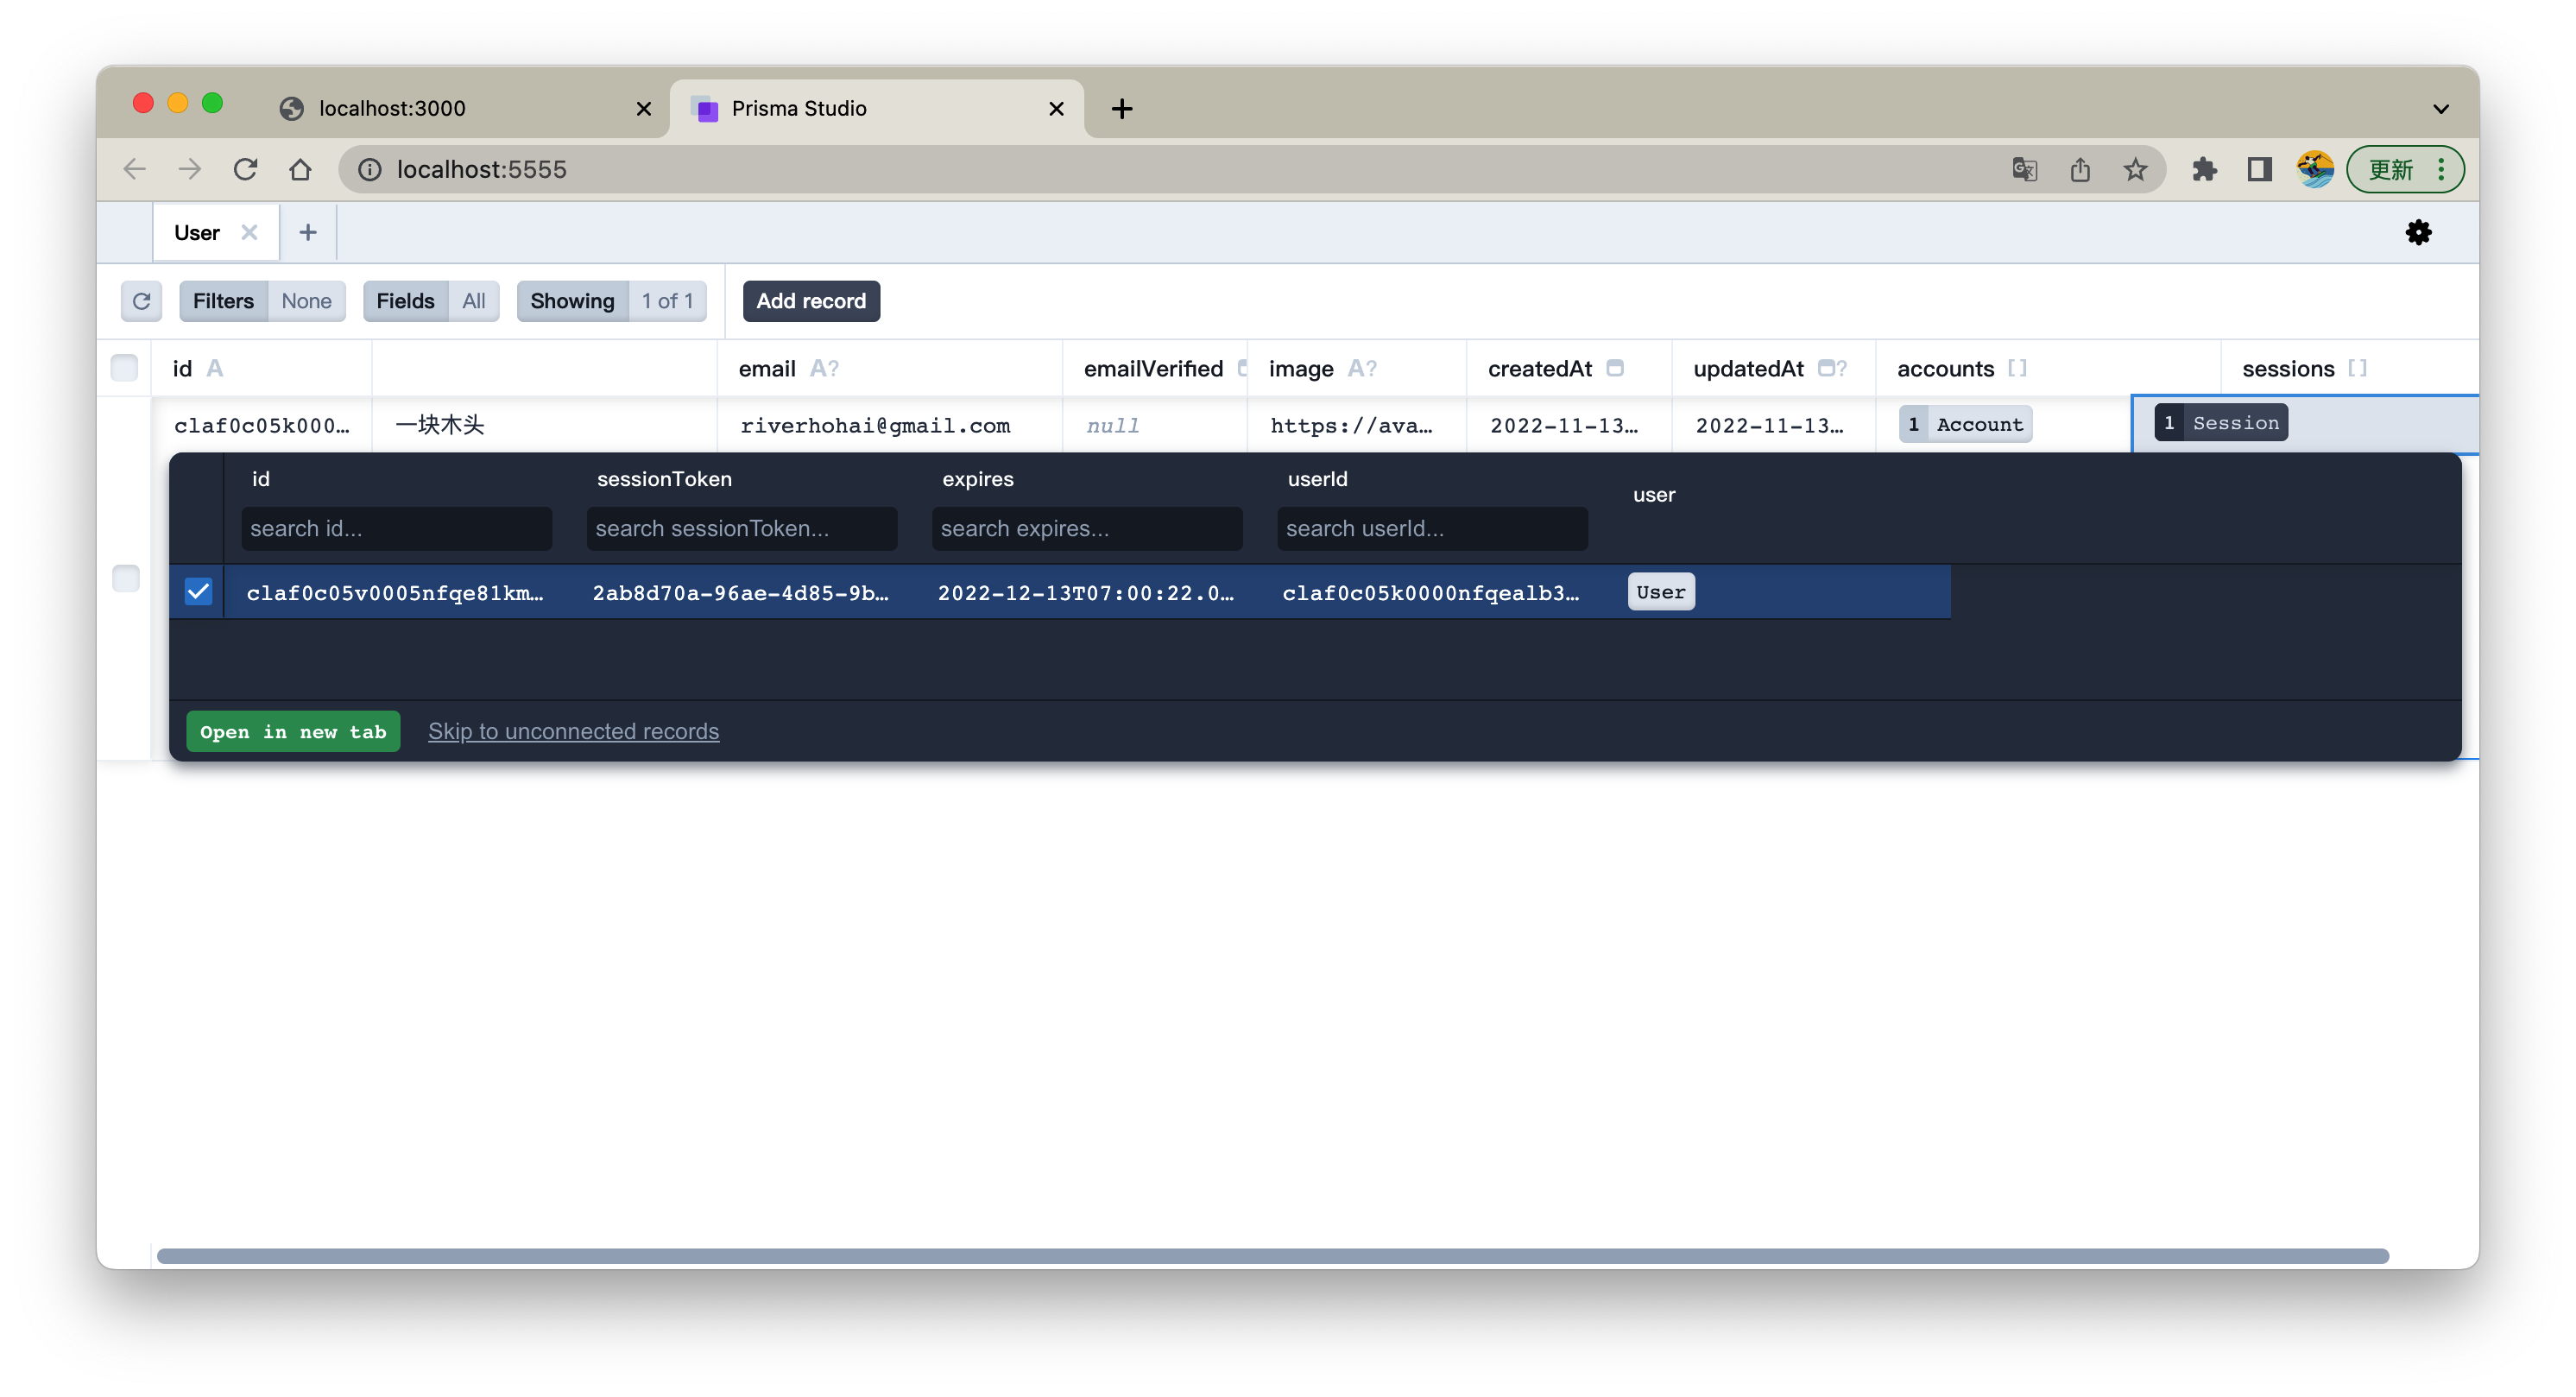
此时我们退出登录,刷新 Prisma Studio, 或点击“Filters” 前面的刷新按钮
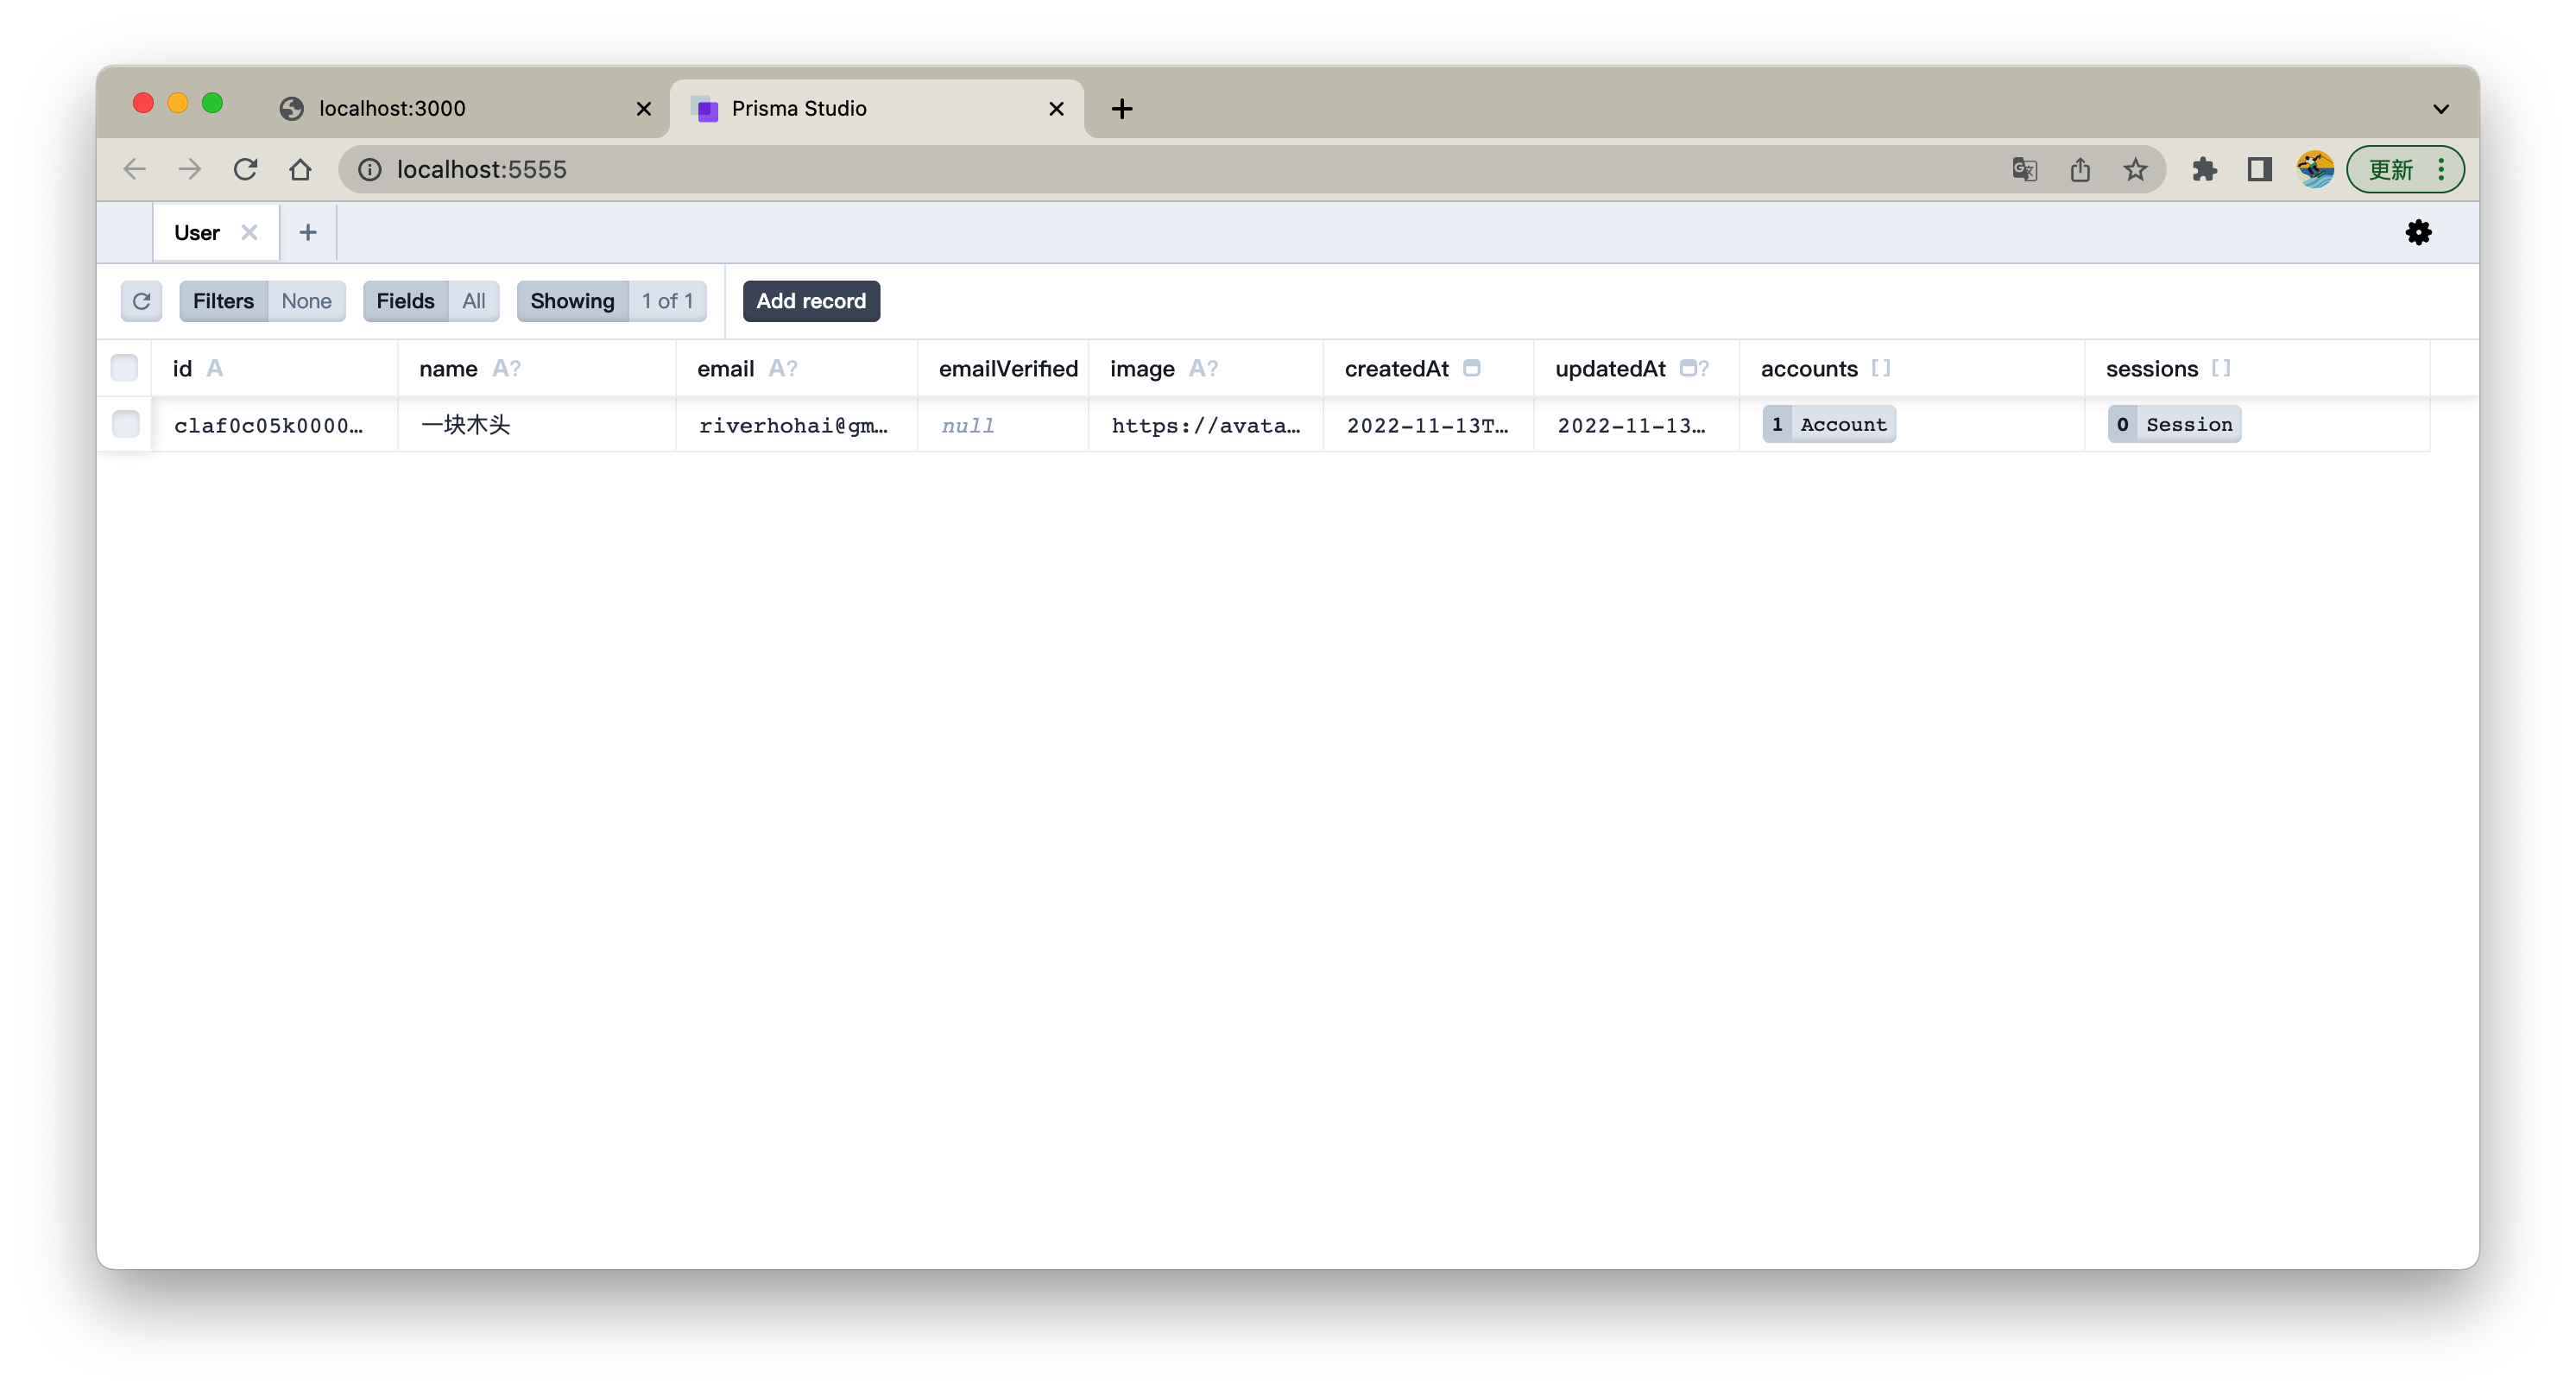
可以看到,"Session" 没有了
邮件登录
如果使用邮件,那么 NextAuth 必须有连接数据库,这也就是我们在设置了 Prisma 后,才使用 Email。
Email 的话,我们需要一个 SMTP 代理服务,这里我们直接使用 QQ 邮箱 这在国内更常用,可以更好的理解邮件登录的逻辑。
NextAuth 的邮件服务是使用 Nodemailer
pnpm add nodemailer
package.json
"dependencies": {
    ...
    "nodemailer": "^6.8.0",
	...
},
环境变量
.env
...

# Next Auth Email
EMAIL_SERVER_HOST=smtp.qq.com
EMAIL_SERVER_PORT=465
EMAIL_SERVER_USER=Your_qq_number@qq.com
EMAIL_SERVER_PASSWORD=Your_password
EMAIL_FROM=Your_qq_number@qq.com
EMAIL_SERVER_HOST和EMAIL_SERVER_PORT这是官方的地址smtp.qq.com, 端口可以使用465或587

EMAIL_SERVER_USER: 填完整的邮箱名,如:123456789@qq.com,包括@qq.com部分。EMAIL_SERVER_PASSWORD: 密码,这里要填授权码,不是我们登录的密码注意,下面我们申请一下。EMAIL_FROM: 是我们(发送方)的邮件地址,这里和EMAIL_SERVER_USER相同就好
申请邮箱授权码
-
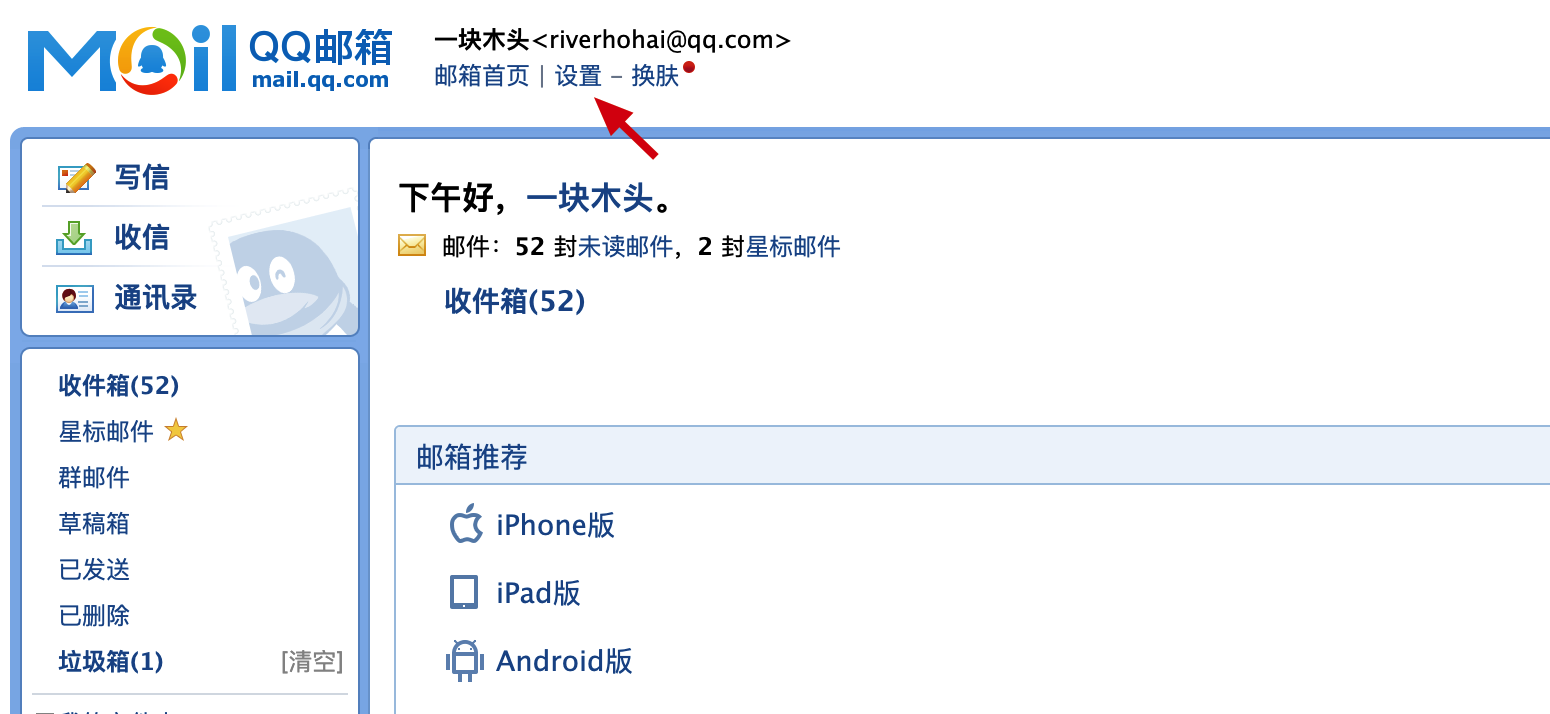
登录 QQ 邮箱
-
点击 "设置"
-
点击 "帐户"
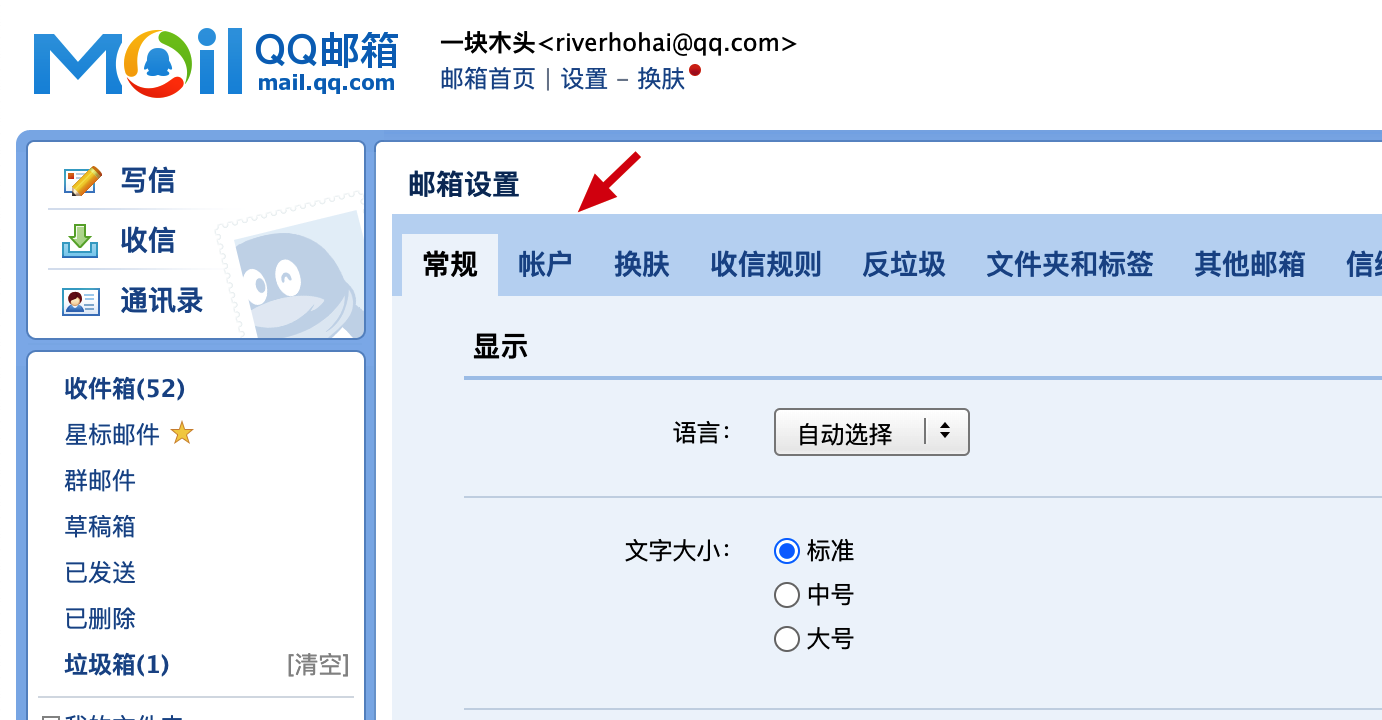
-
点击 "开启", 我们需要 SMTP 服务

开启时应该会需要验证,这里 QQ 邮箱时使用我们发短信给 QQ 邮箱认证中心相应的文字,来验证
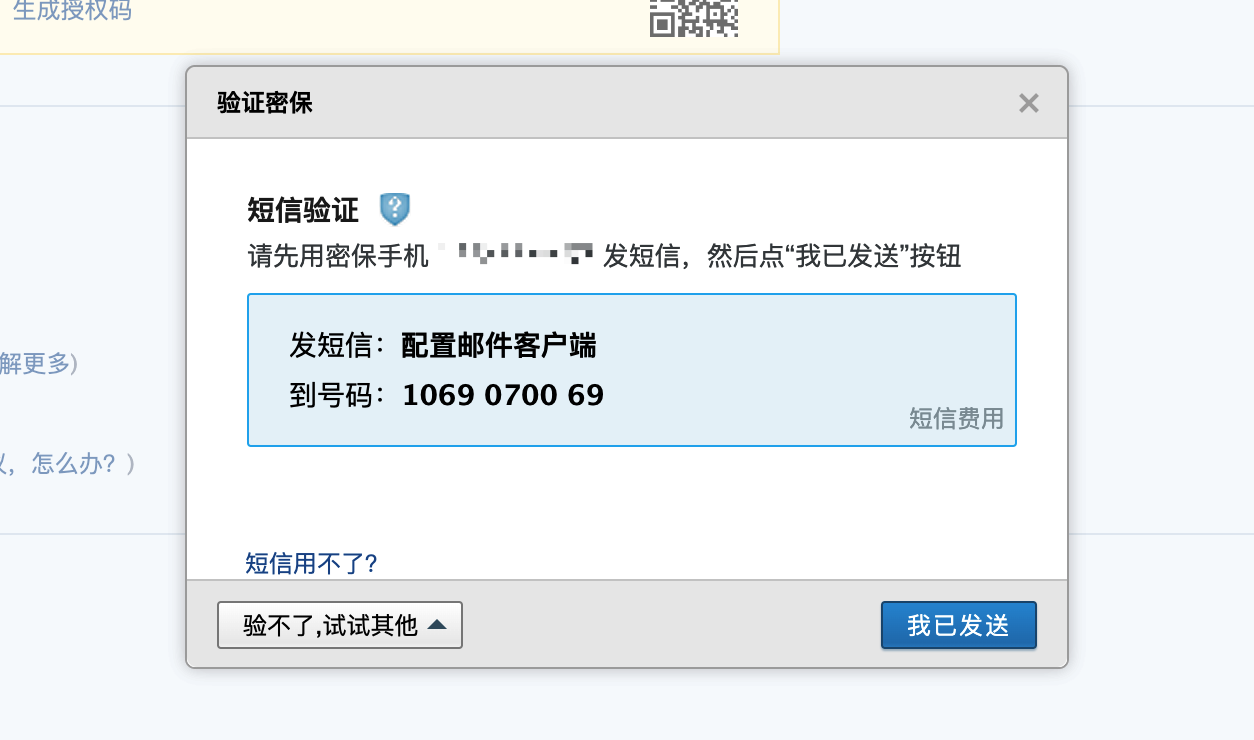
❗️ 如果我们有设置密保工具的话,点击 "验不了,试试其他"来使用(这样你就不用花短信费了)
- 当发送短信后,点击 "我已发送",此时验证成功会弹出授权码信息
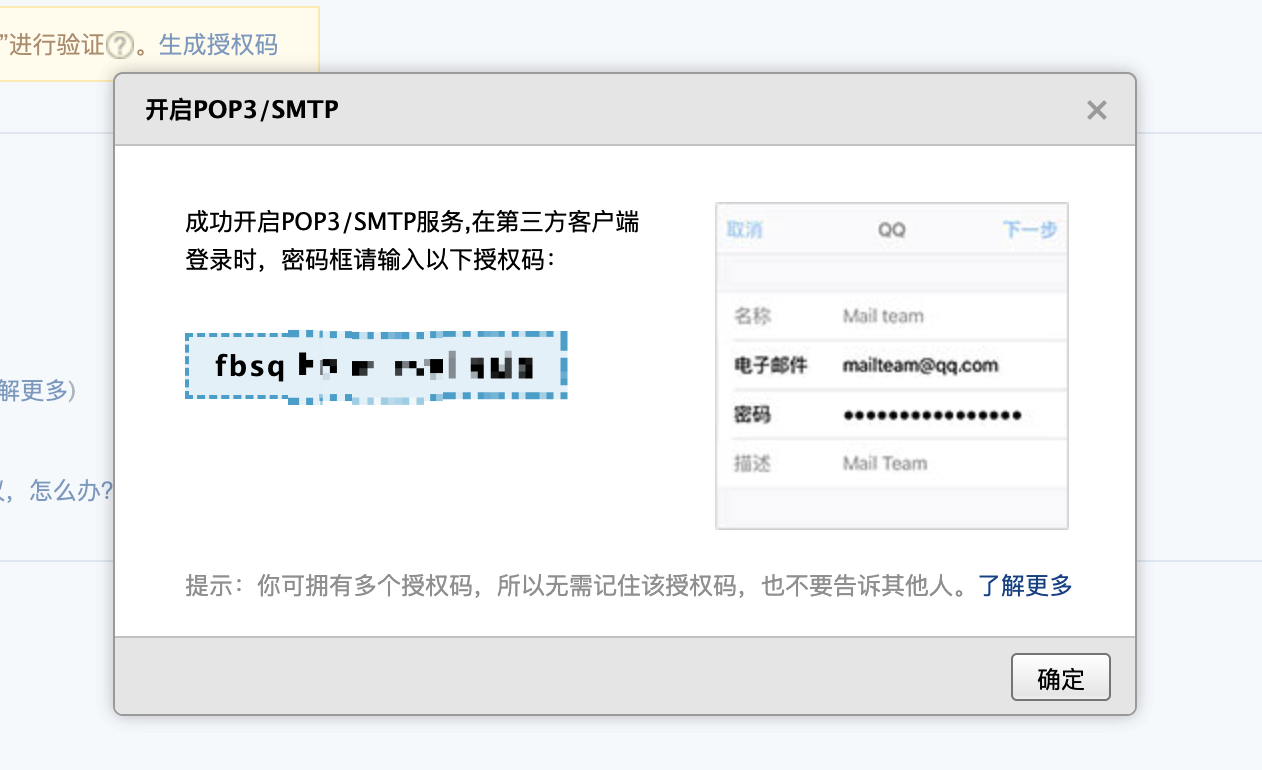
我们复制该授权码。添加到 EMAIL_SERVER_PASSWORD 后,注意该授权码可以多次申请
如果我们忘记了授权码,可以点击 "生成授权码" 再次验证申请

配置 NextAuth
import { NextApiHandler } from "next";
import { NextAuthOptions } from "next-auth";
import { PrismaAdapter } from "@next-auth/prisma-adapter";
import GitHubProvider from "next-auth/providers/github";
import EmailProvider from "next-auth/providers/email";
import NextAuth from "next-auth/next";
import { db } from "~/lib/db/prisma";

const authOptions: NextAuthOptions = {
  adapter: PrismaAdapter(db),
  secret: process.env.SECRET,
  providers: [
    GitHubProvider({
      clientId: process.env.GITHUB_ID,
      clientSecret: process.env.GITHUB_SECRET,
    }),
    EmailProvider({
      server: {
        host: process.env.EMAIL_SERVER_HOST,
        port: process.env.EMAIL_SERVER_PORT,
        auth: {
          user: process.env.EMAIL_SERVER_USER,
          pass: process.env.EMAIL_SERVER_PASSWORD,
        },
      },
      from: process.env.EMAIL_FROM,
    }),
  ],
};

const authHandler: NextApiHandler = (req, res) =>
  NextAuth(req, res, authOptions);

export default authHandler;
官方更详细说明: https://next-auth.js.org/providers/email
登录
- 启动服务
npm run dev
- 点击 "登录"
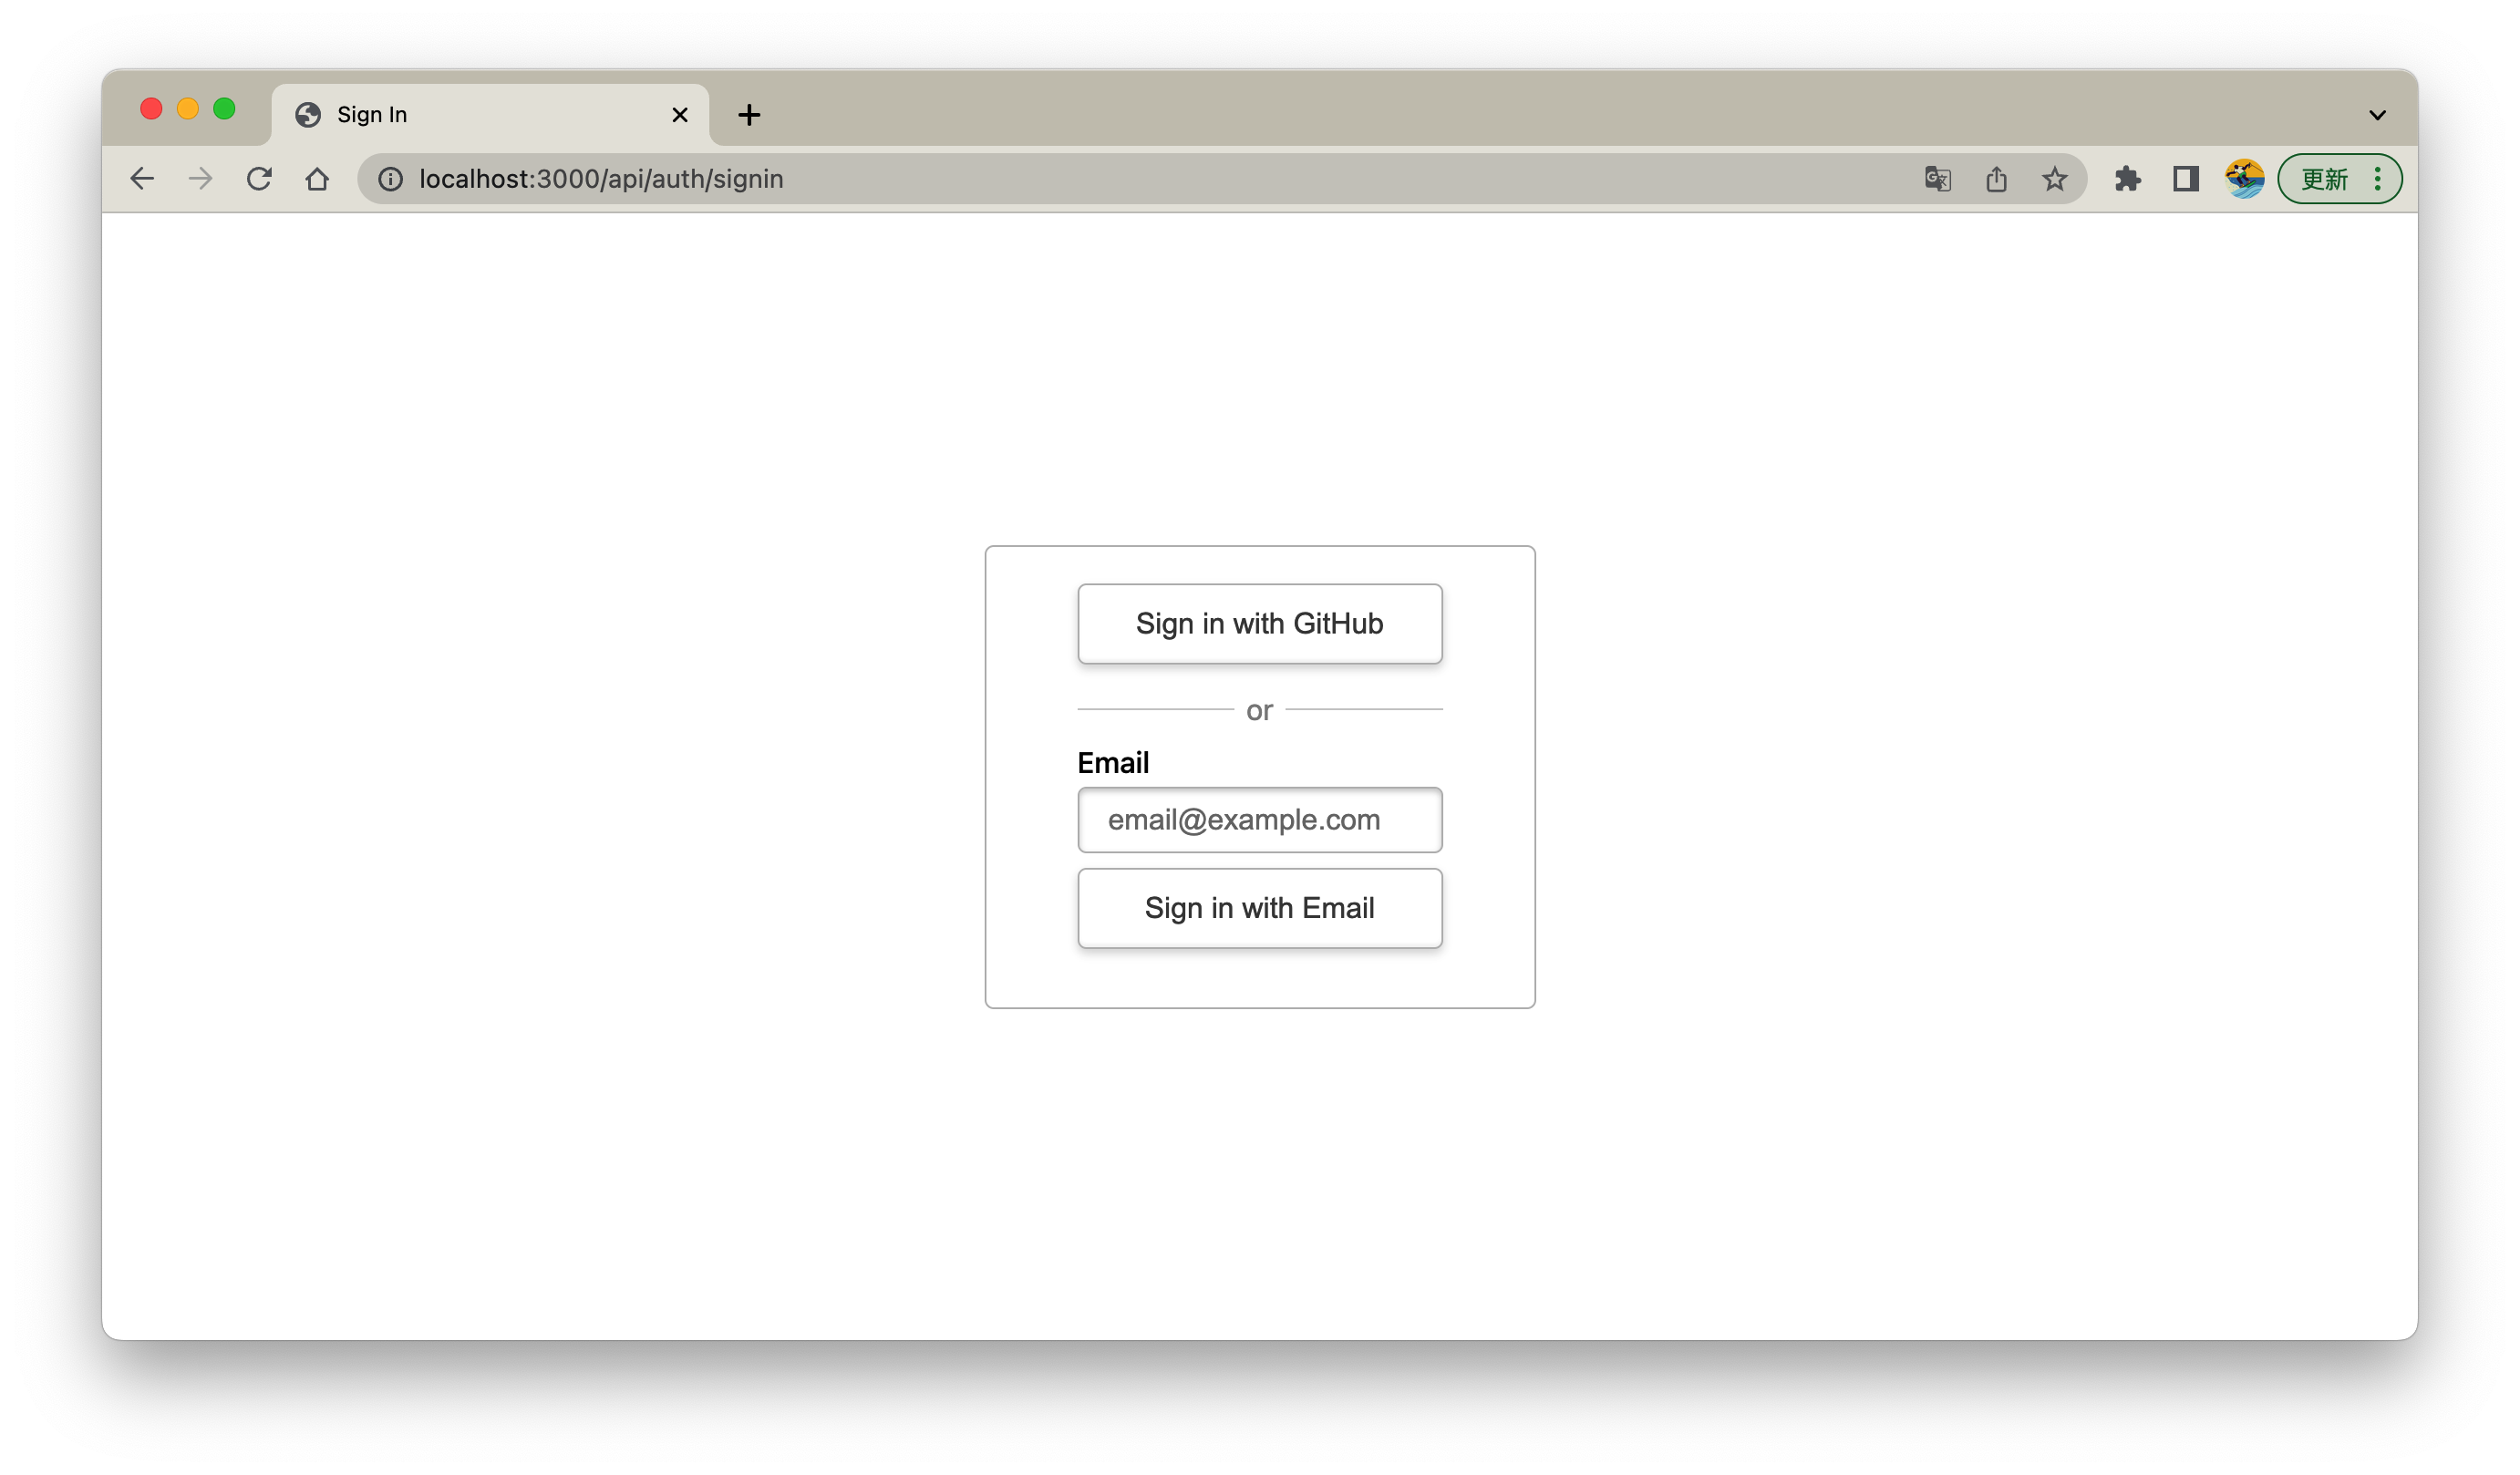
可以看到已经有 "邮箱登录" 方式了(登录方式的顺序来自 NextAuth Providers 配置的顺序)
- 这里输入一个测试邮箱,点击 "Sign in with Email"
你会跳转到
/api/auth/verify-request页面,这是 NextAuth 默认的
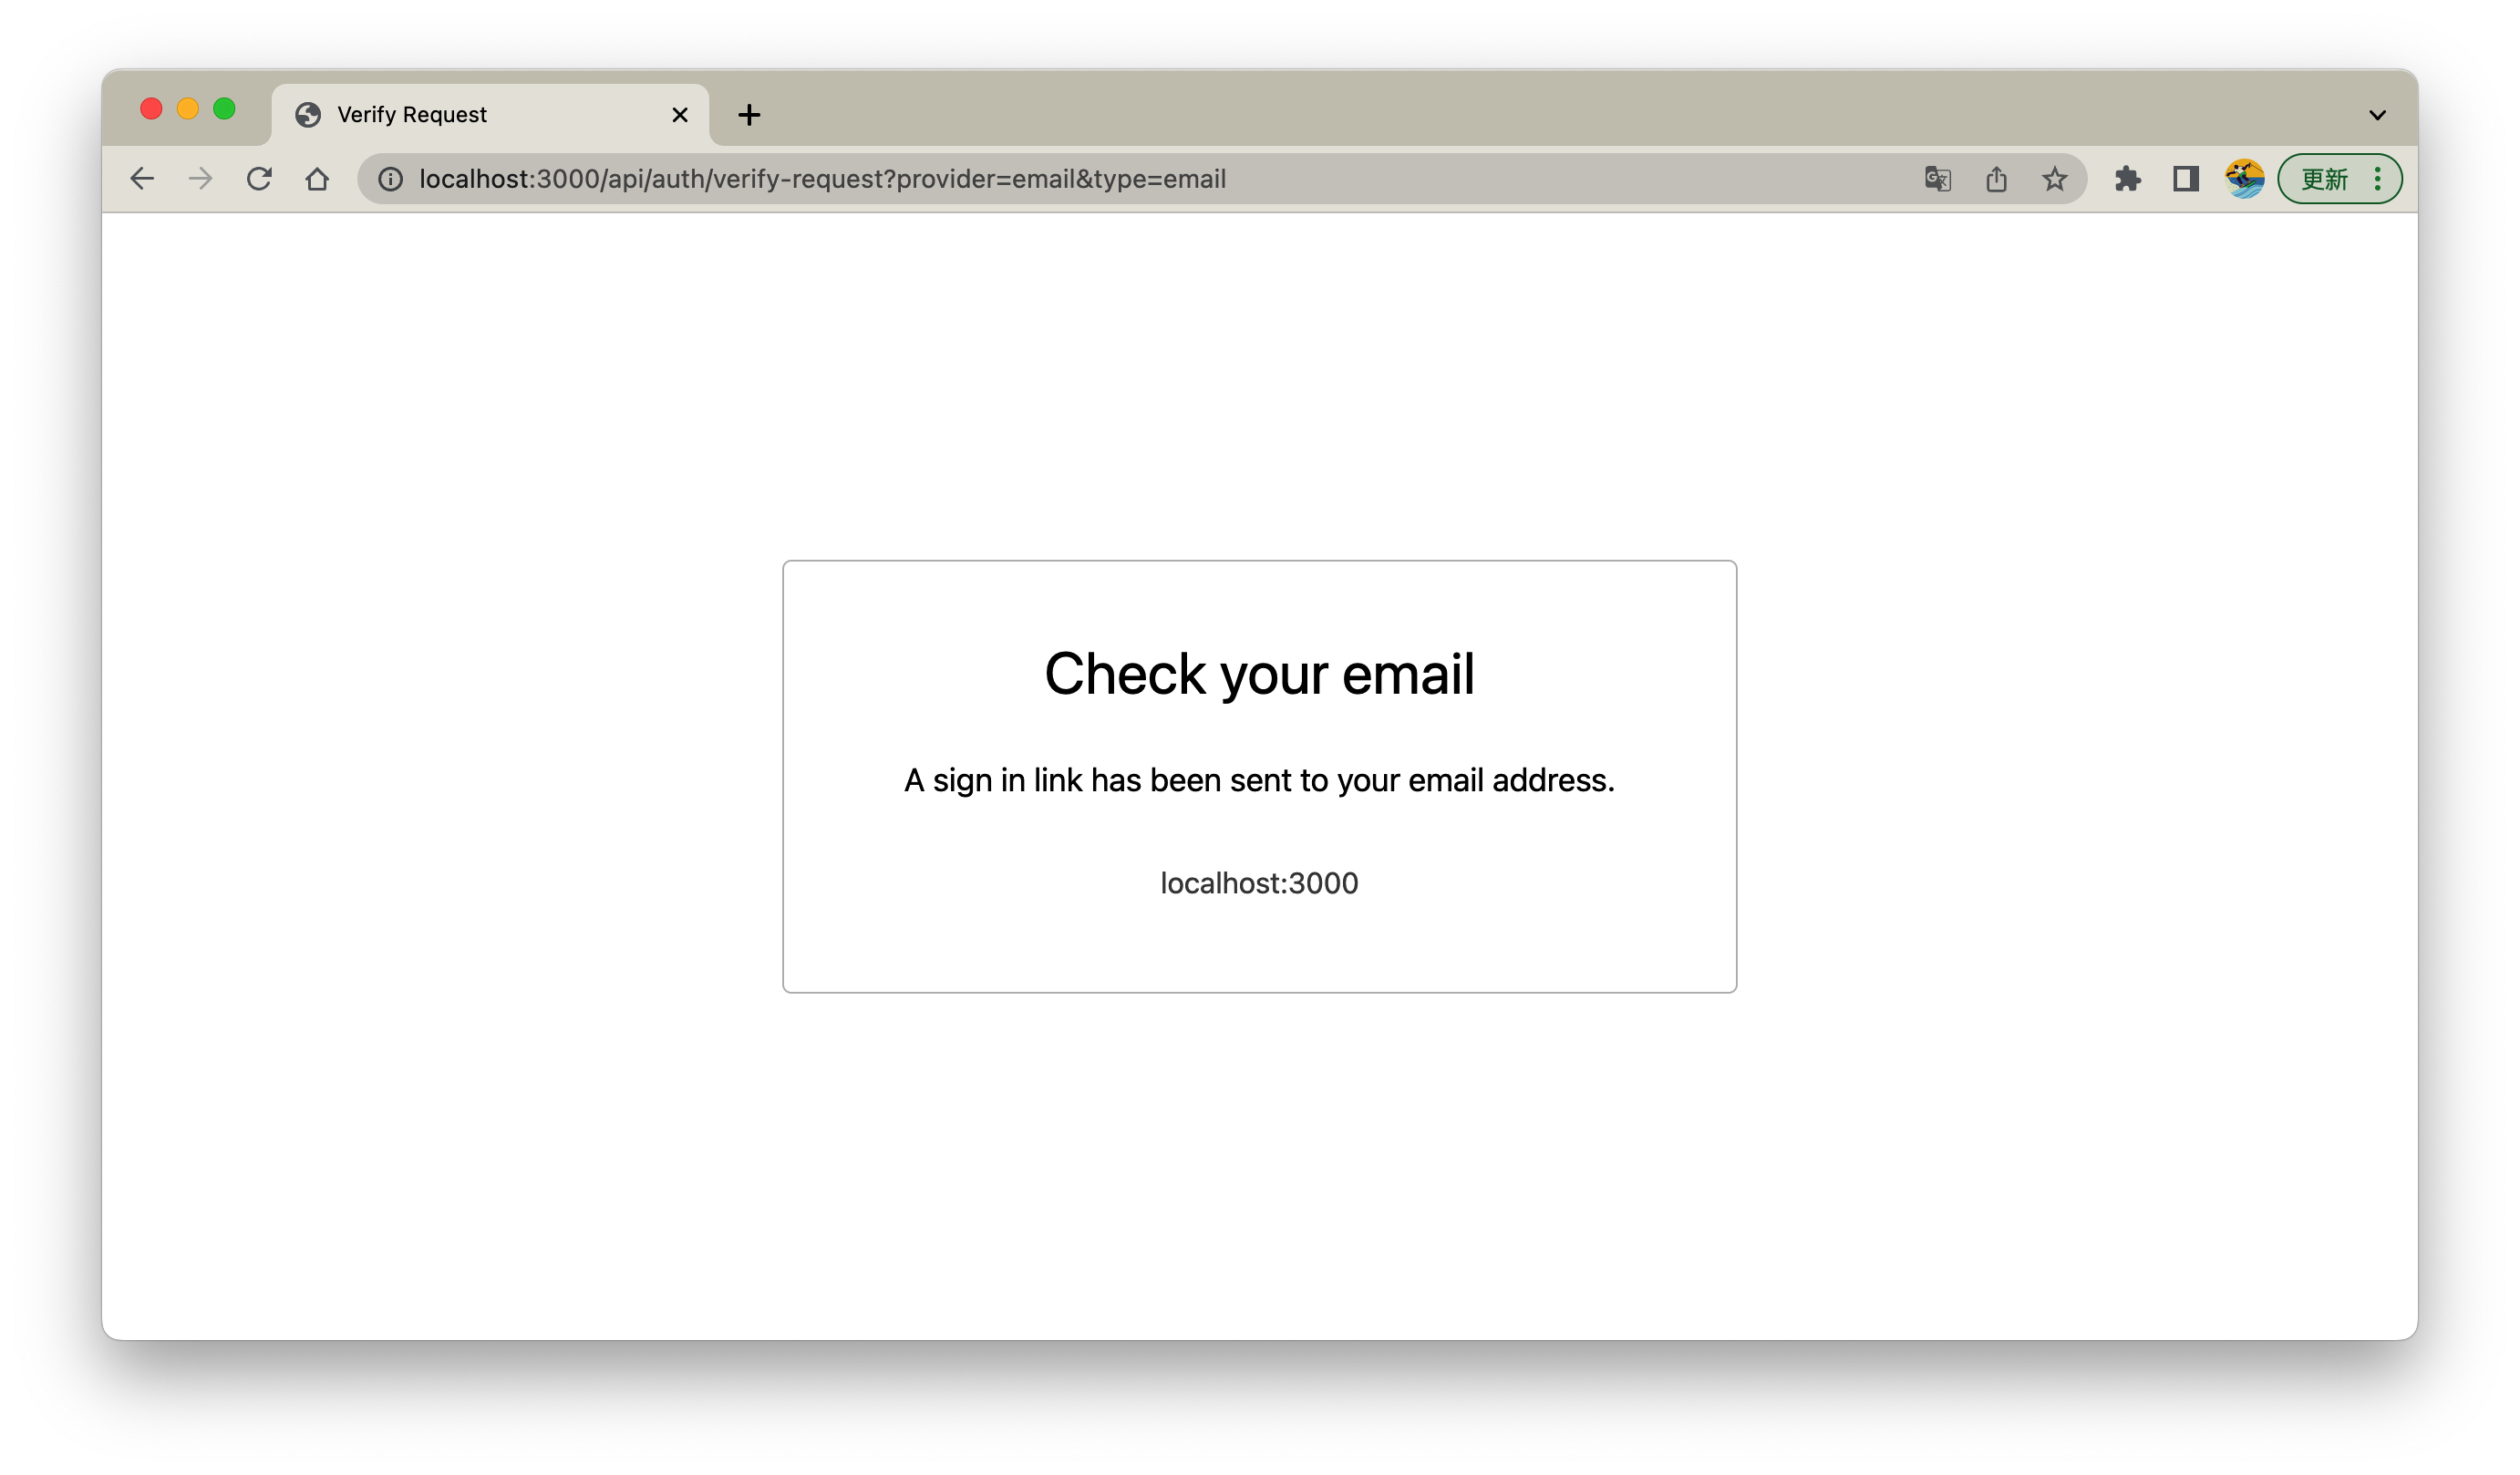
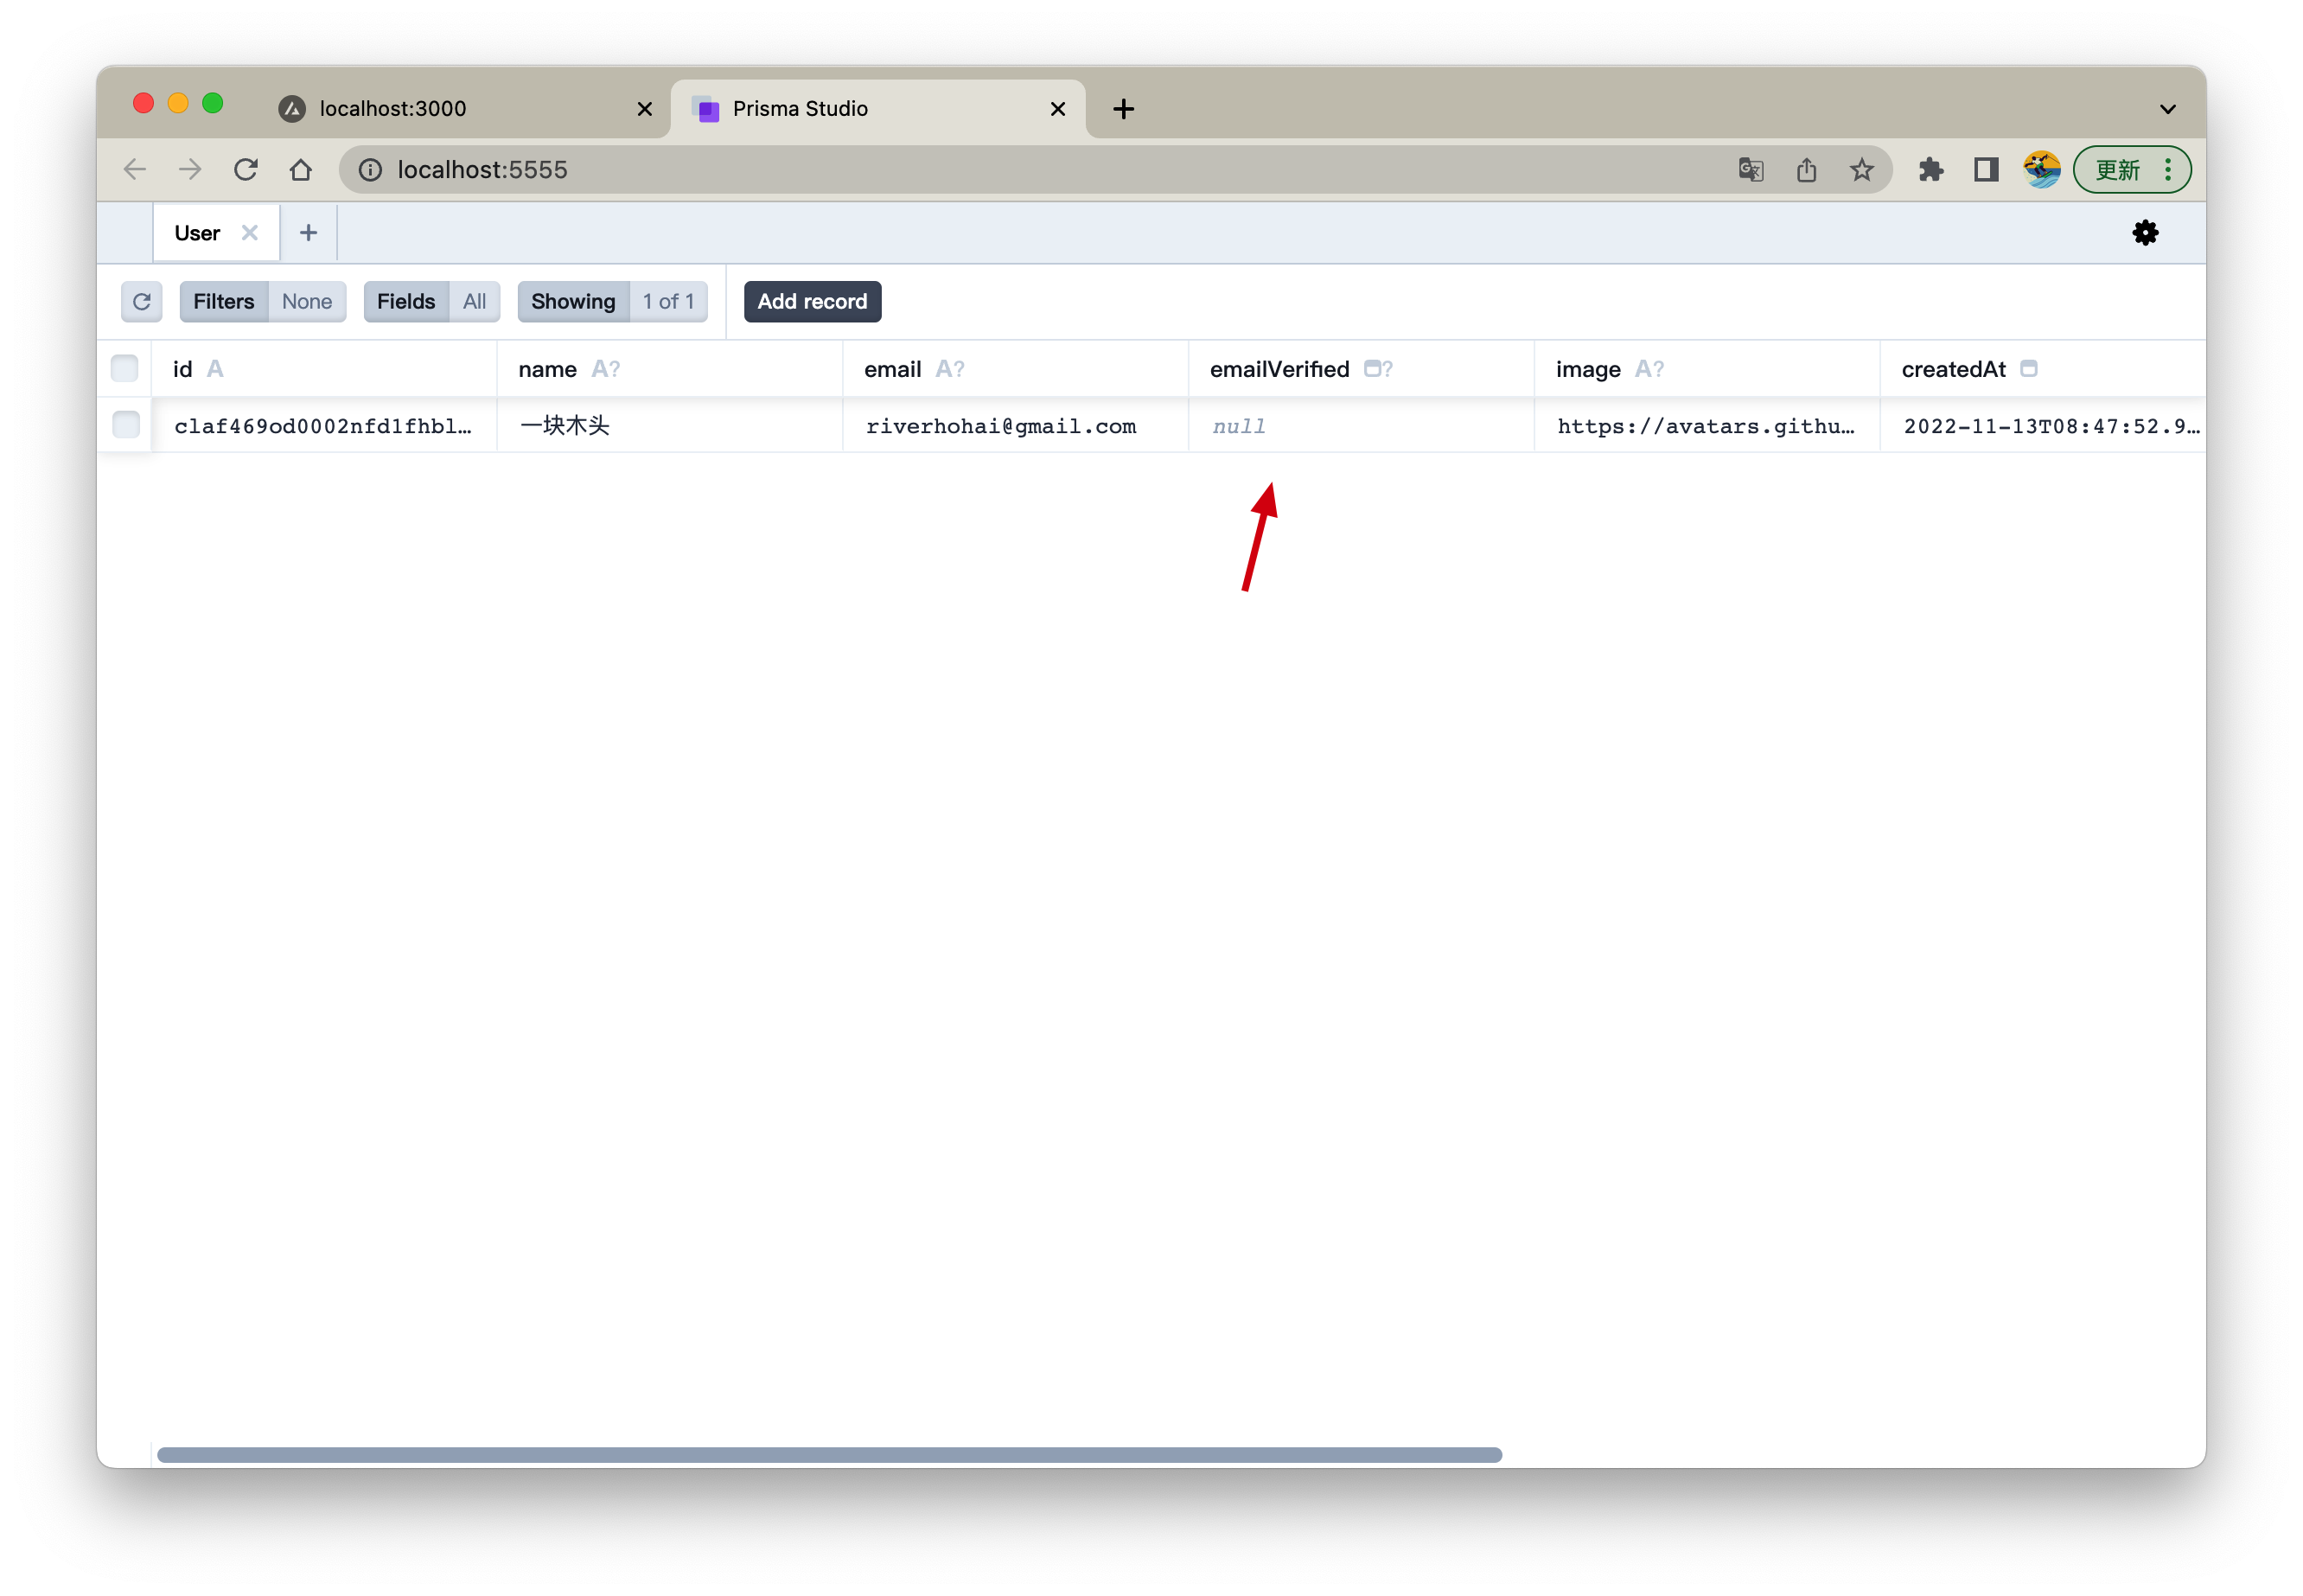
❗️ 我这里的测试邮件地址和之前的 Github 登录用户的邮件一样,如果你的不一样,那么会是一个新的用户
可以看到,用户 emailVerified 是空的
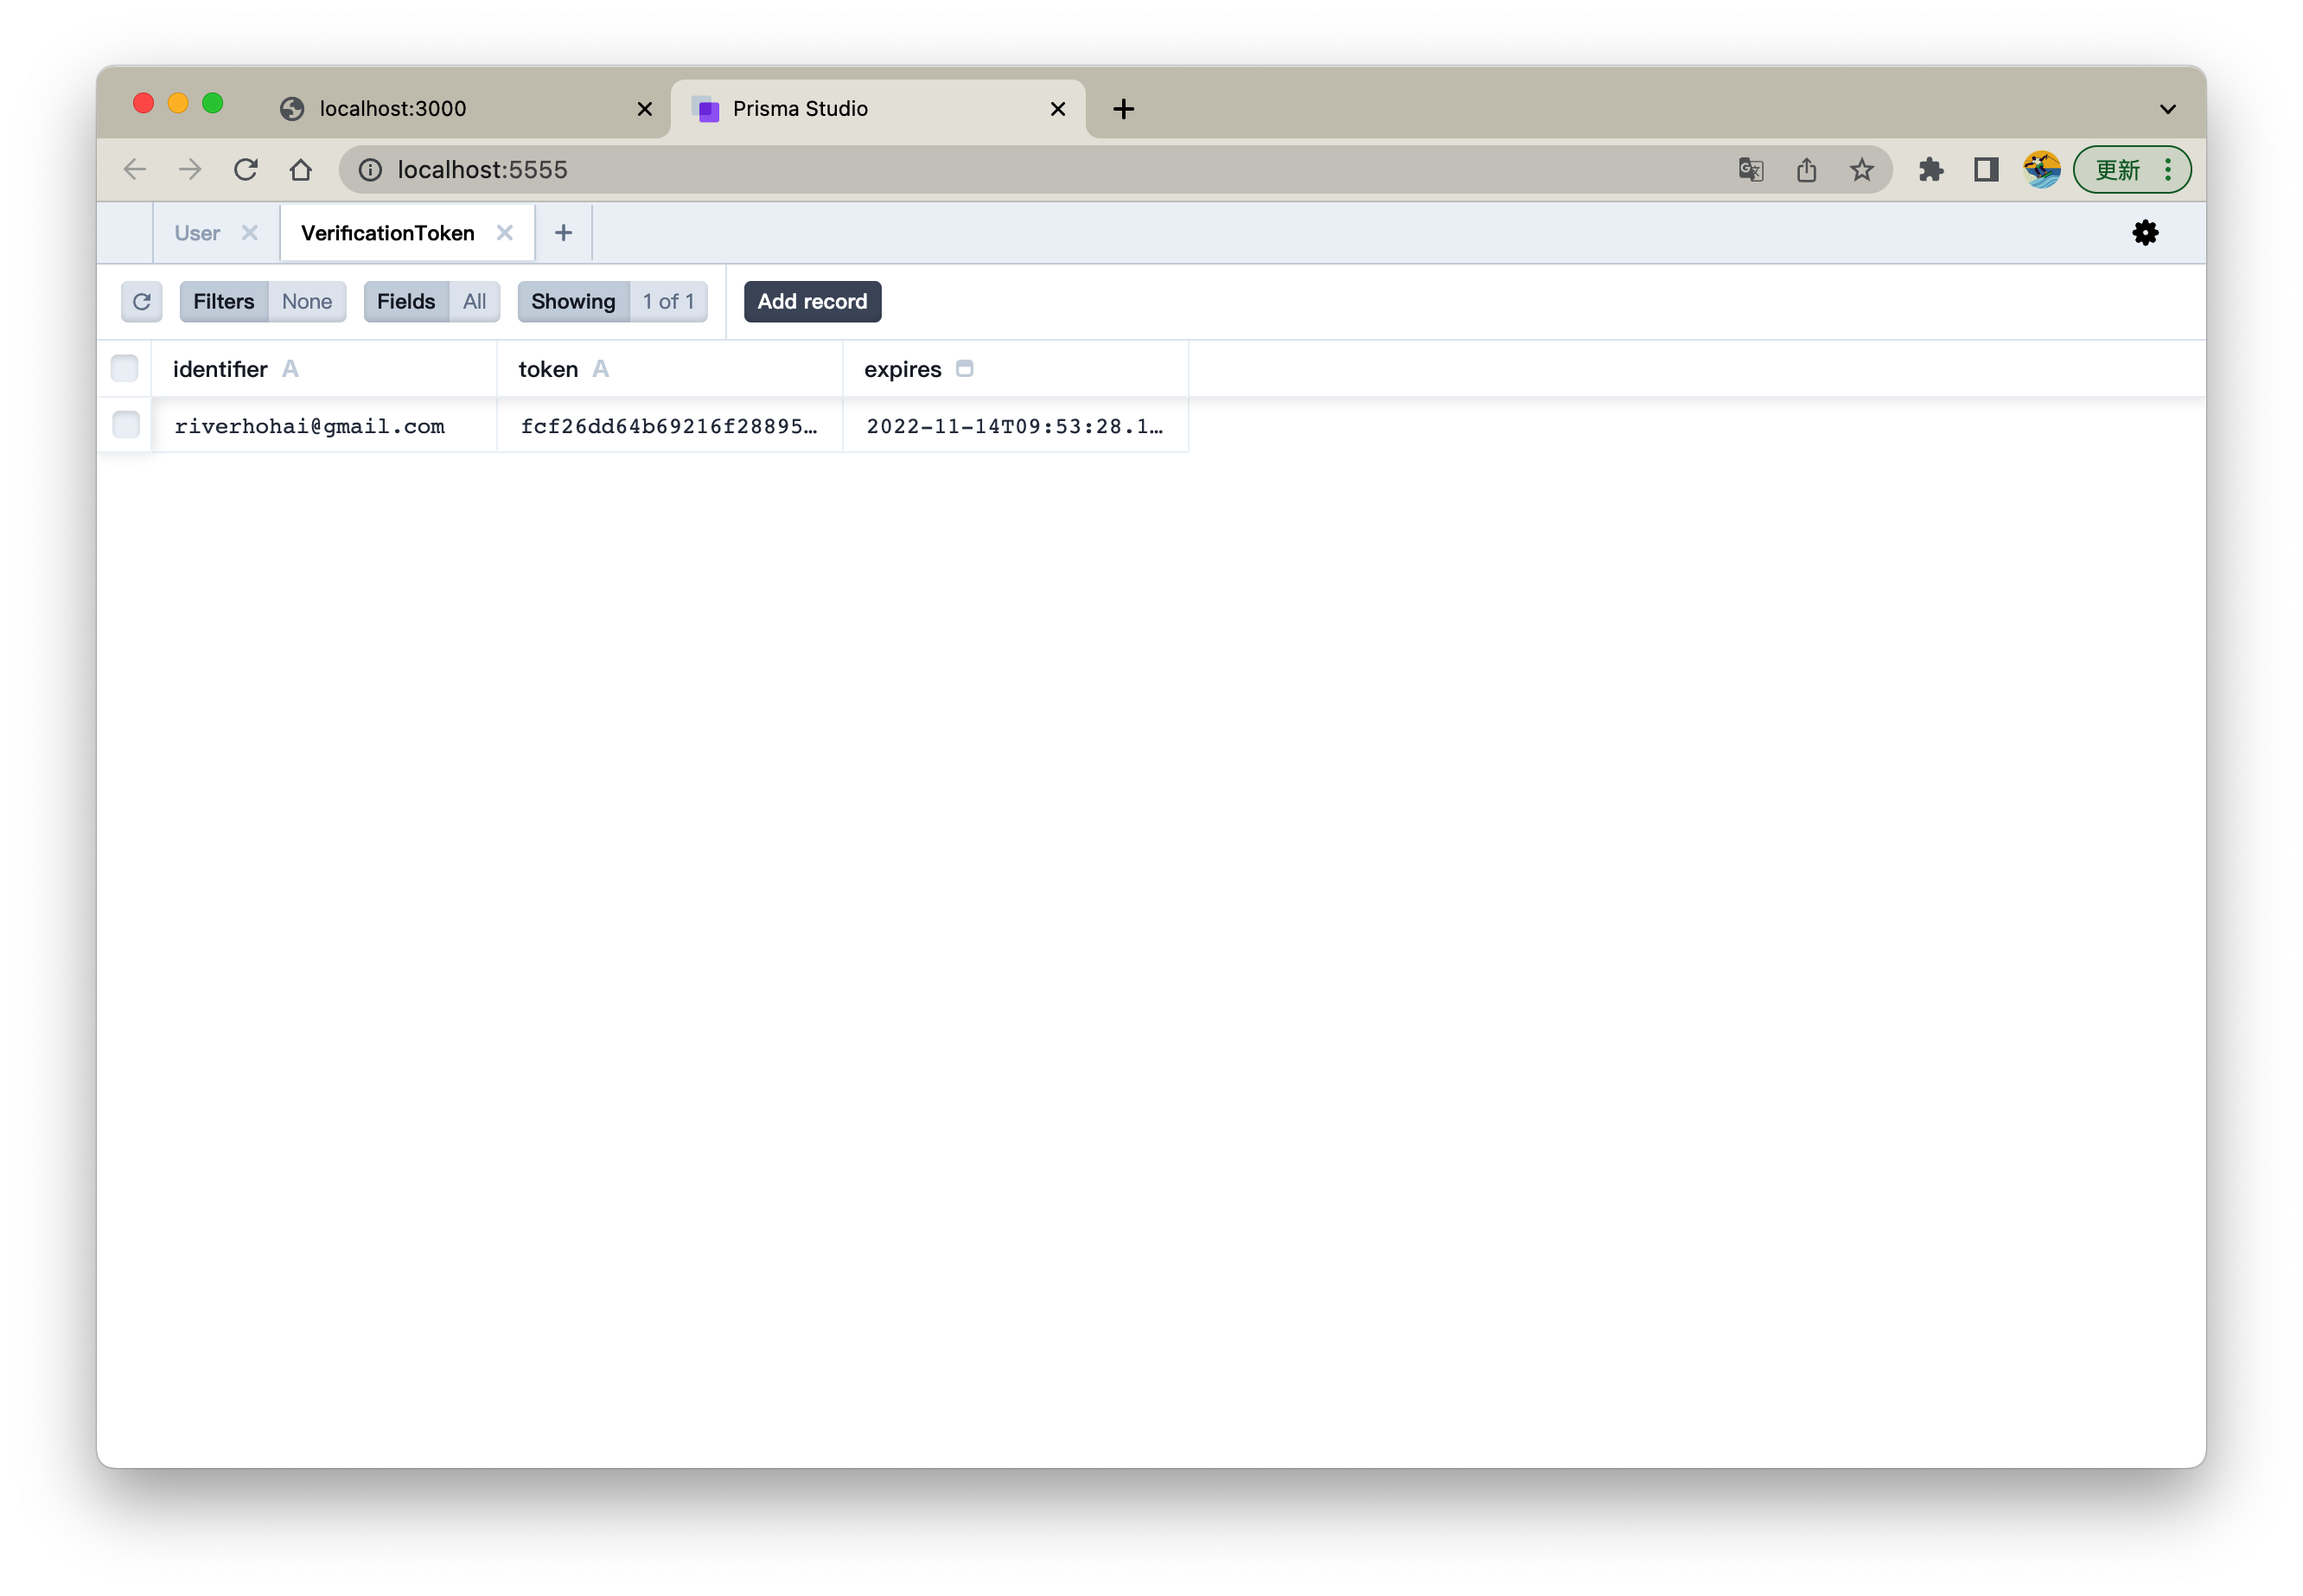
 而
而 VerificationToken 中已经有一条验证信息了
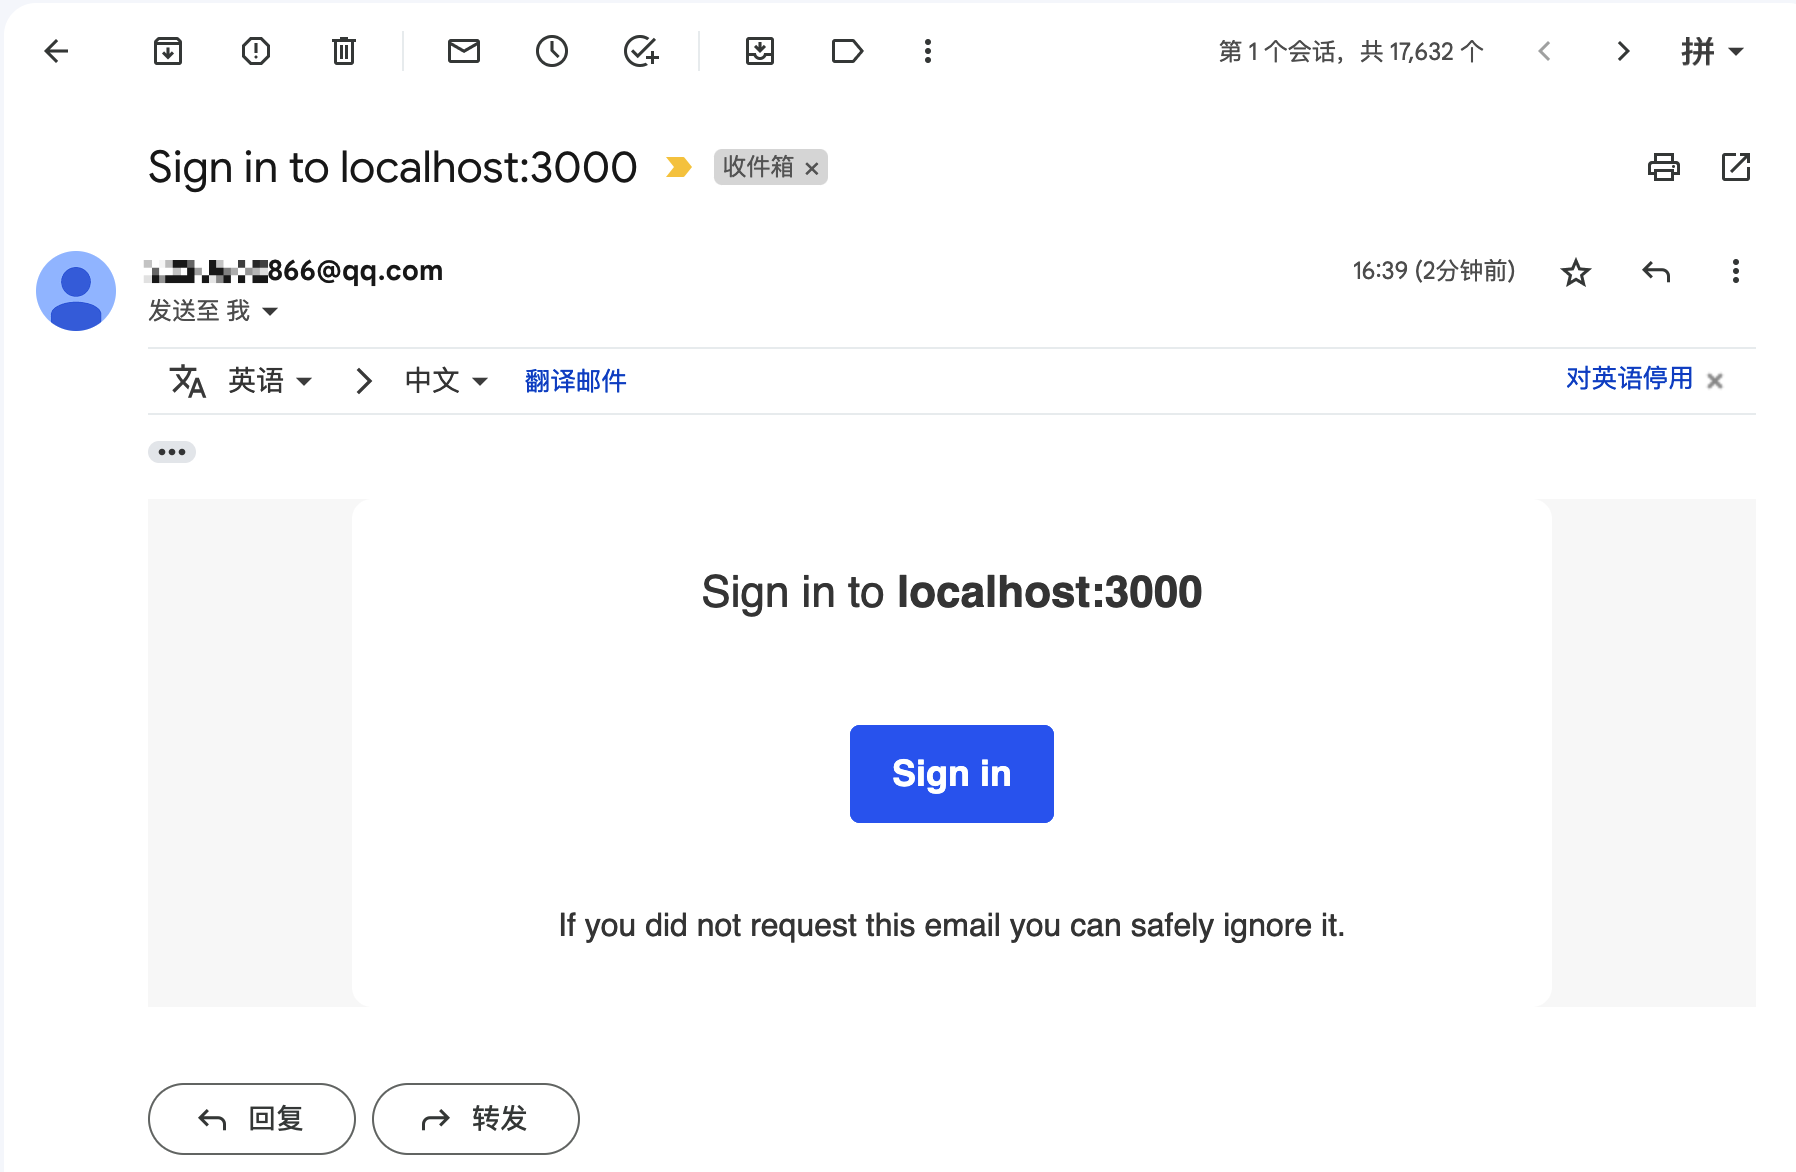
- 到我们的测试邮箱中,会有一份来自
localhost:3000标题的邮件 如果没找到的话,请在 垃圾邮件中确认下,否则可能就是配置有错误
-
点击 "Sign in"
-
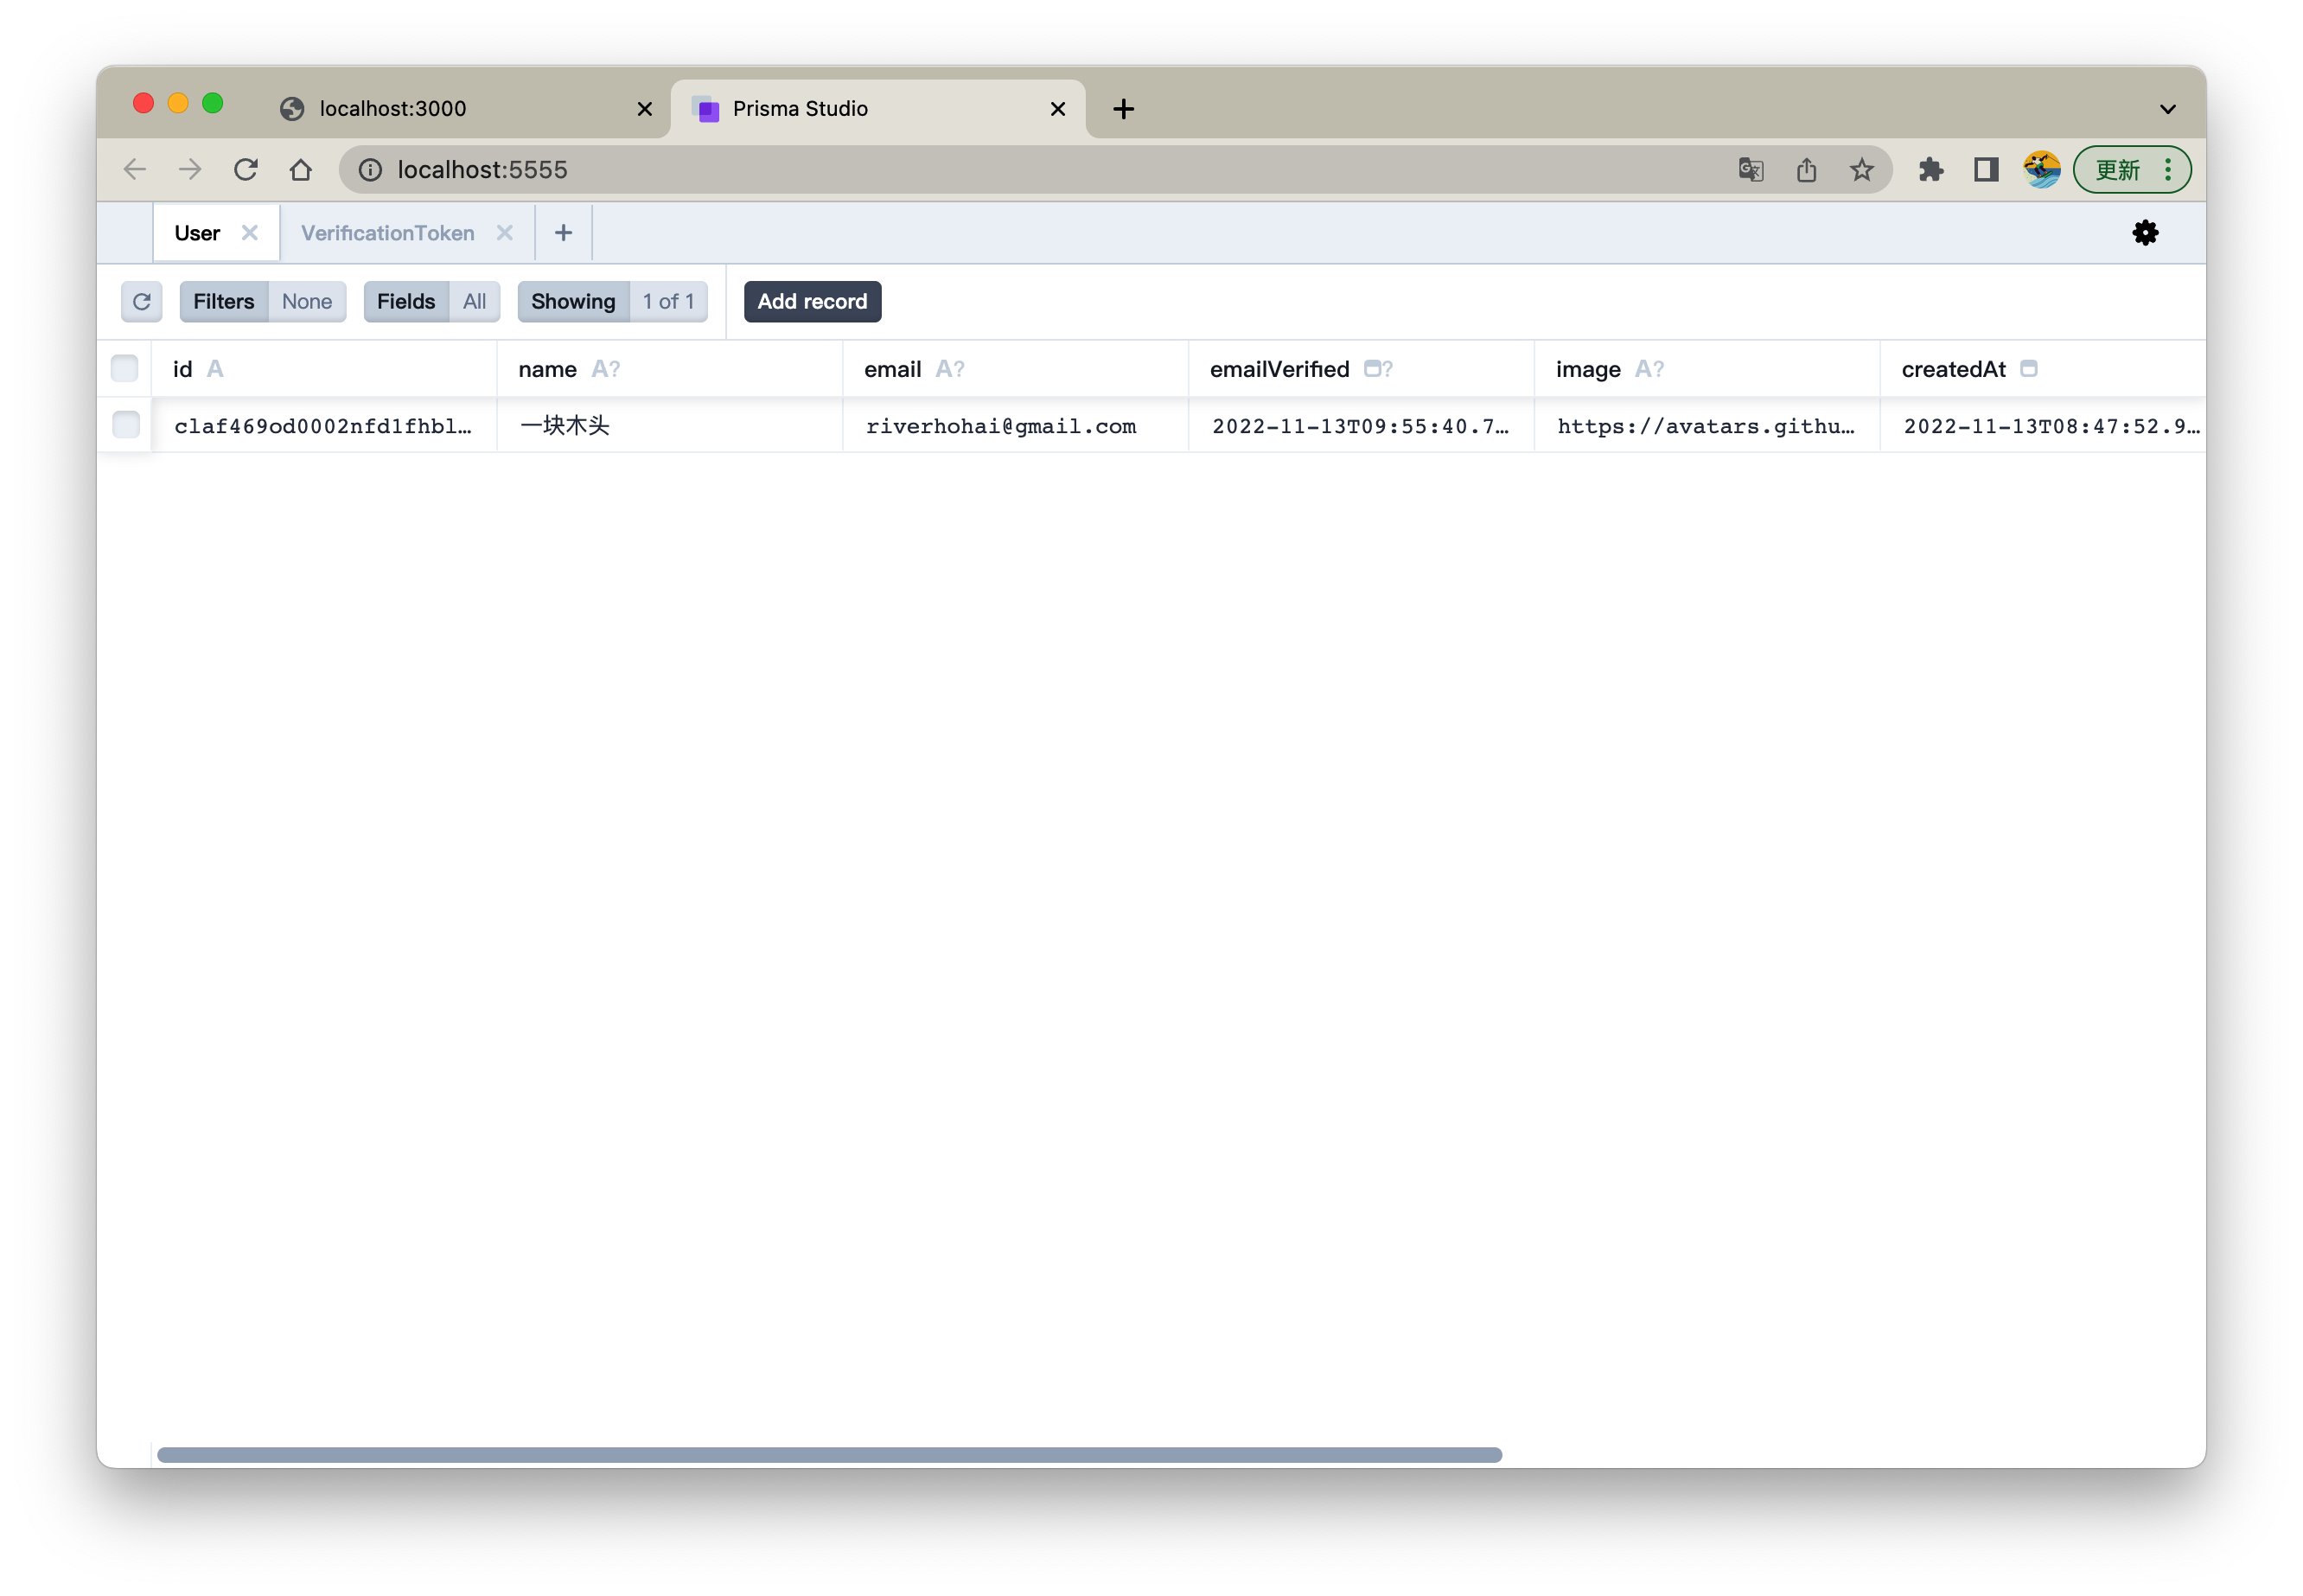
查看数据库
npx prisma studio
可以看到 emailVerified 已经有值了,是验证完成的时间
ok, 我们来梳理下 NextAuth 邮件登录的逻辑
- 没有注册,用户第一次登录即会创建新用户
- 每次邮件登录,都需要发送邮件,验证
- 邮件登录不需要用户密码
其实我们更常见的是
- 首次登录(就是注册),发送验证邮件,用户点击验证链接
- 跳转到用户帐户信息确认页面,确认账号,填写密码,完成首次用户登录
- 第二次登录,直接输入账号,密码,完成登录
🤪 这要下一个教程了: 看这里
基础 Blog
我们要完成
- 创建文章
- 文章发布
- 文章详情
- 查询文章
- 文章删除
文章表
- 创建文章表
prisma/schema.prisma
model User {
	id            String    @id @default(cuid())
	...
	Post     Post[]

	@@map("users")
}

...

model Post {
	id        String   @id @default(cuid())
	title     String
	content   String?
	published Boolean  @default(false)
	createdAt DateTime @default(now()) @map(name: "created_at")
	updatedAt DateTime @updatedAt @map(name: "updated_at")
	authorId  String?

	author User? @relation(fields: [authorId], references: [id])

	@@map("posts")
}
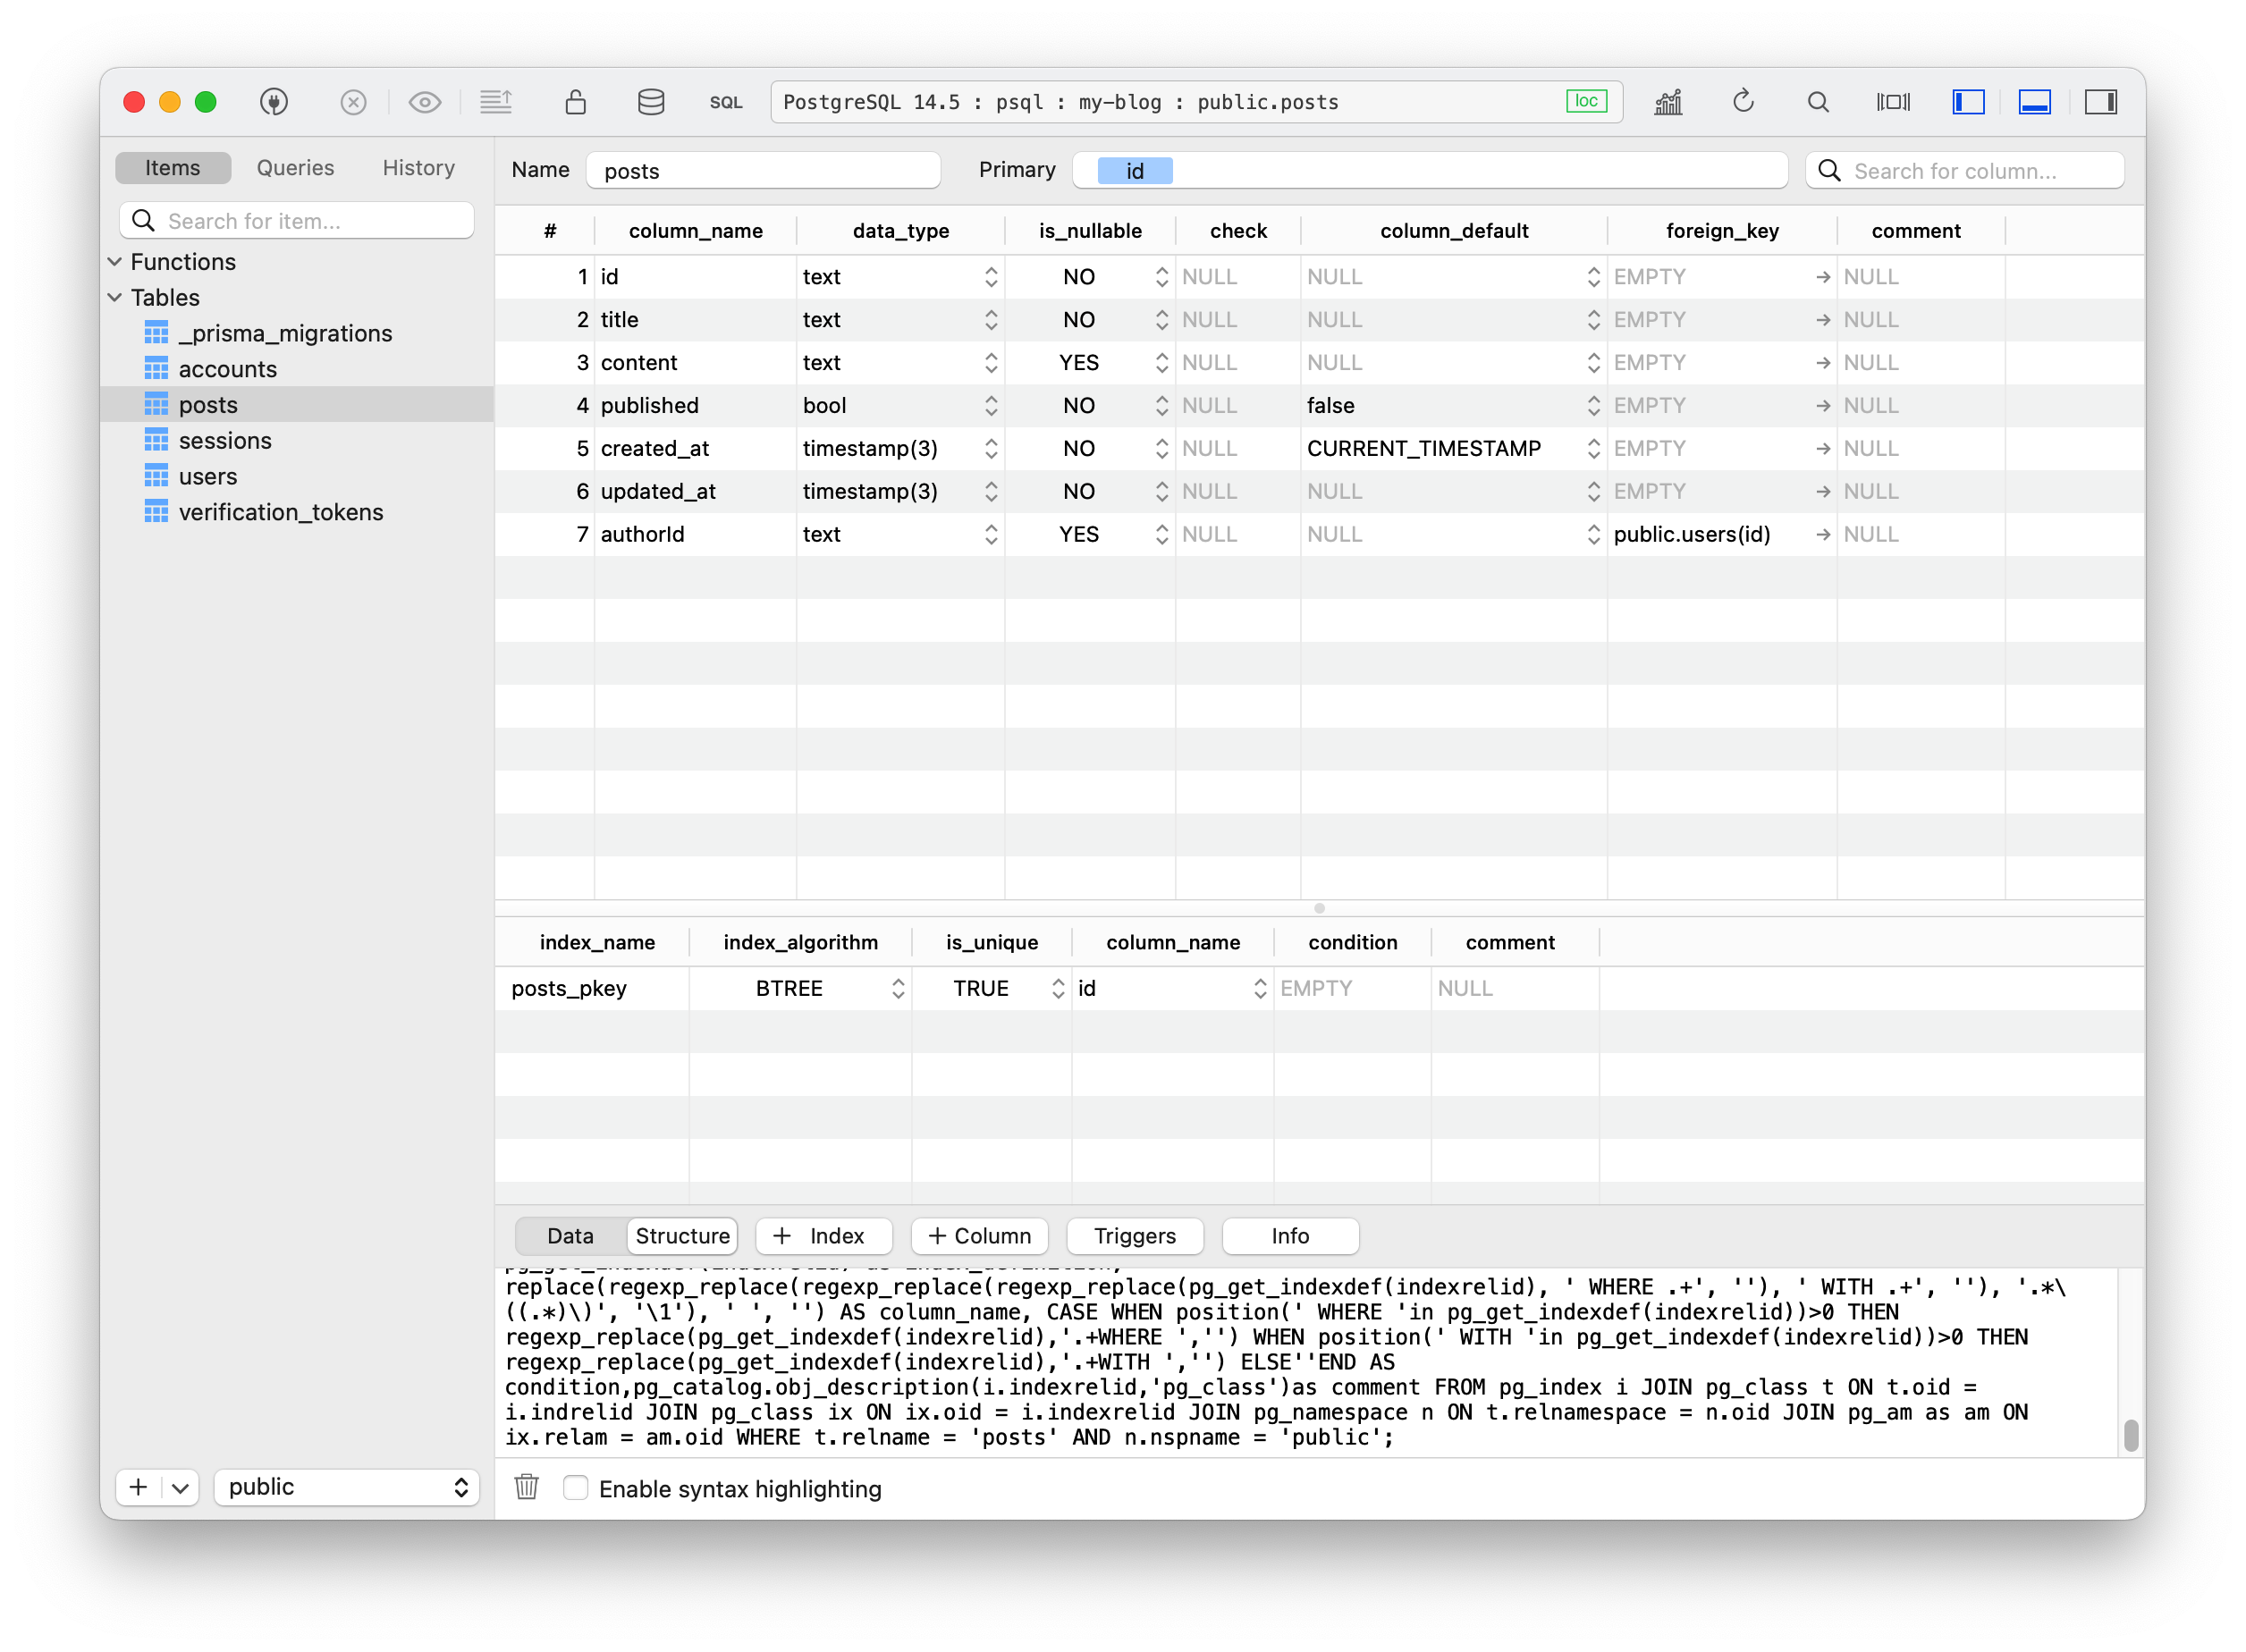
这里要关联 User 和 Post 是一对多的关系
- 将新的 Schema 映射到数据库
🤙  my-blog git:(main) npx prisma migrate dev --name posts

Environment variables loaded from .env
Prisma schema loaded from prisma/schema.prisma
Datasource "db": PostgreSQL database "my-blog", schema "public" at "localhost:5432"

Applying migration `20221113103115_posts`

The following migration(s) have been created and applied from new schema changes:

migrations/
  └─ 20221113103115_posts/
    └─ migration.sql

Your database is now in sync with your schema.

✔ Generated Prisma Client (4.6.1 | library) to ./node_modules/.pnpm/registry.npmmirror.com+@prisma+client@4.6.1_prisma@4.6.1/node_module
s/@prisma/client in 98ms
文件树
.
├── components
│   ├── Header.tsx
│   └── Layout.tsx
├── lib
│   └── db
│       └── prisma.ts
├── pages
│   ├── _app.tsx
│   ├── api
│   │   └── auth
│   │       └── [...nextauth].ts
│   └── index.tsx
├── .env
├── .gitignore
├── next-env.d.ts
├── package.json
├── pnpm-lock.yaml
├── postcss.config.js
├── prisma
│   ├── migrations
│   │   ├── 20221113032027_auth_base
│   │   │   └── migration.sql
│   │   ├── 20221113103115_posts
│   │   │   └── migration.sql
│   │   └── migration_lock.toml
│   └── schema.prisma
├── styles
│   └── globals.css
├── tailwind.config.js
└── tsconfig.json
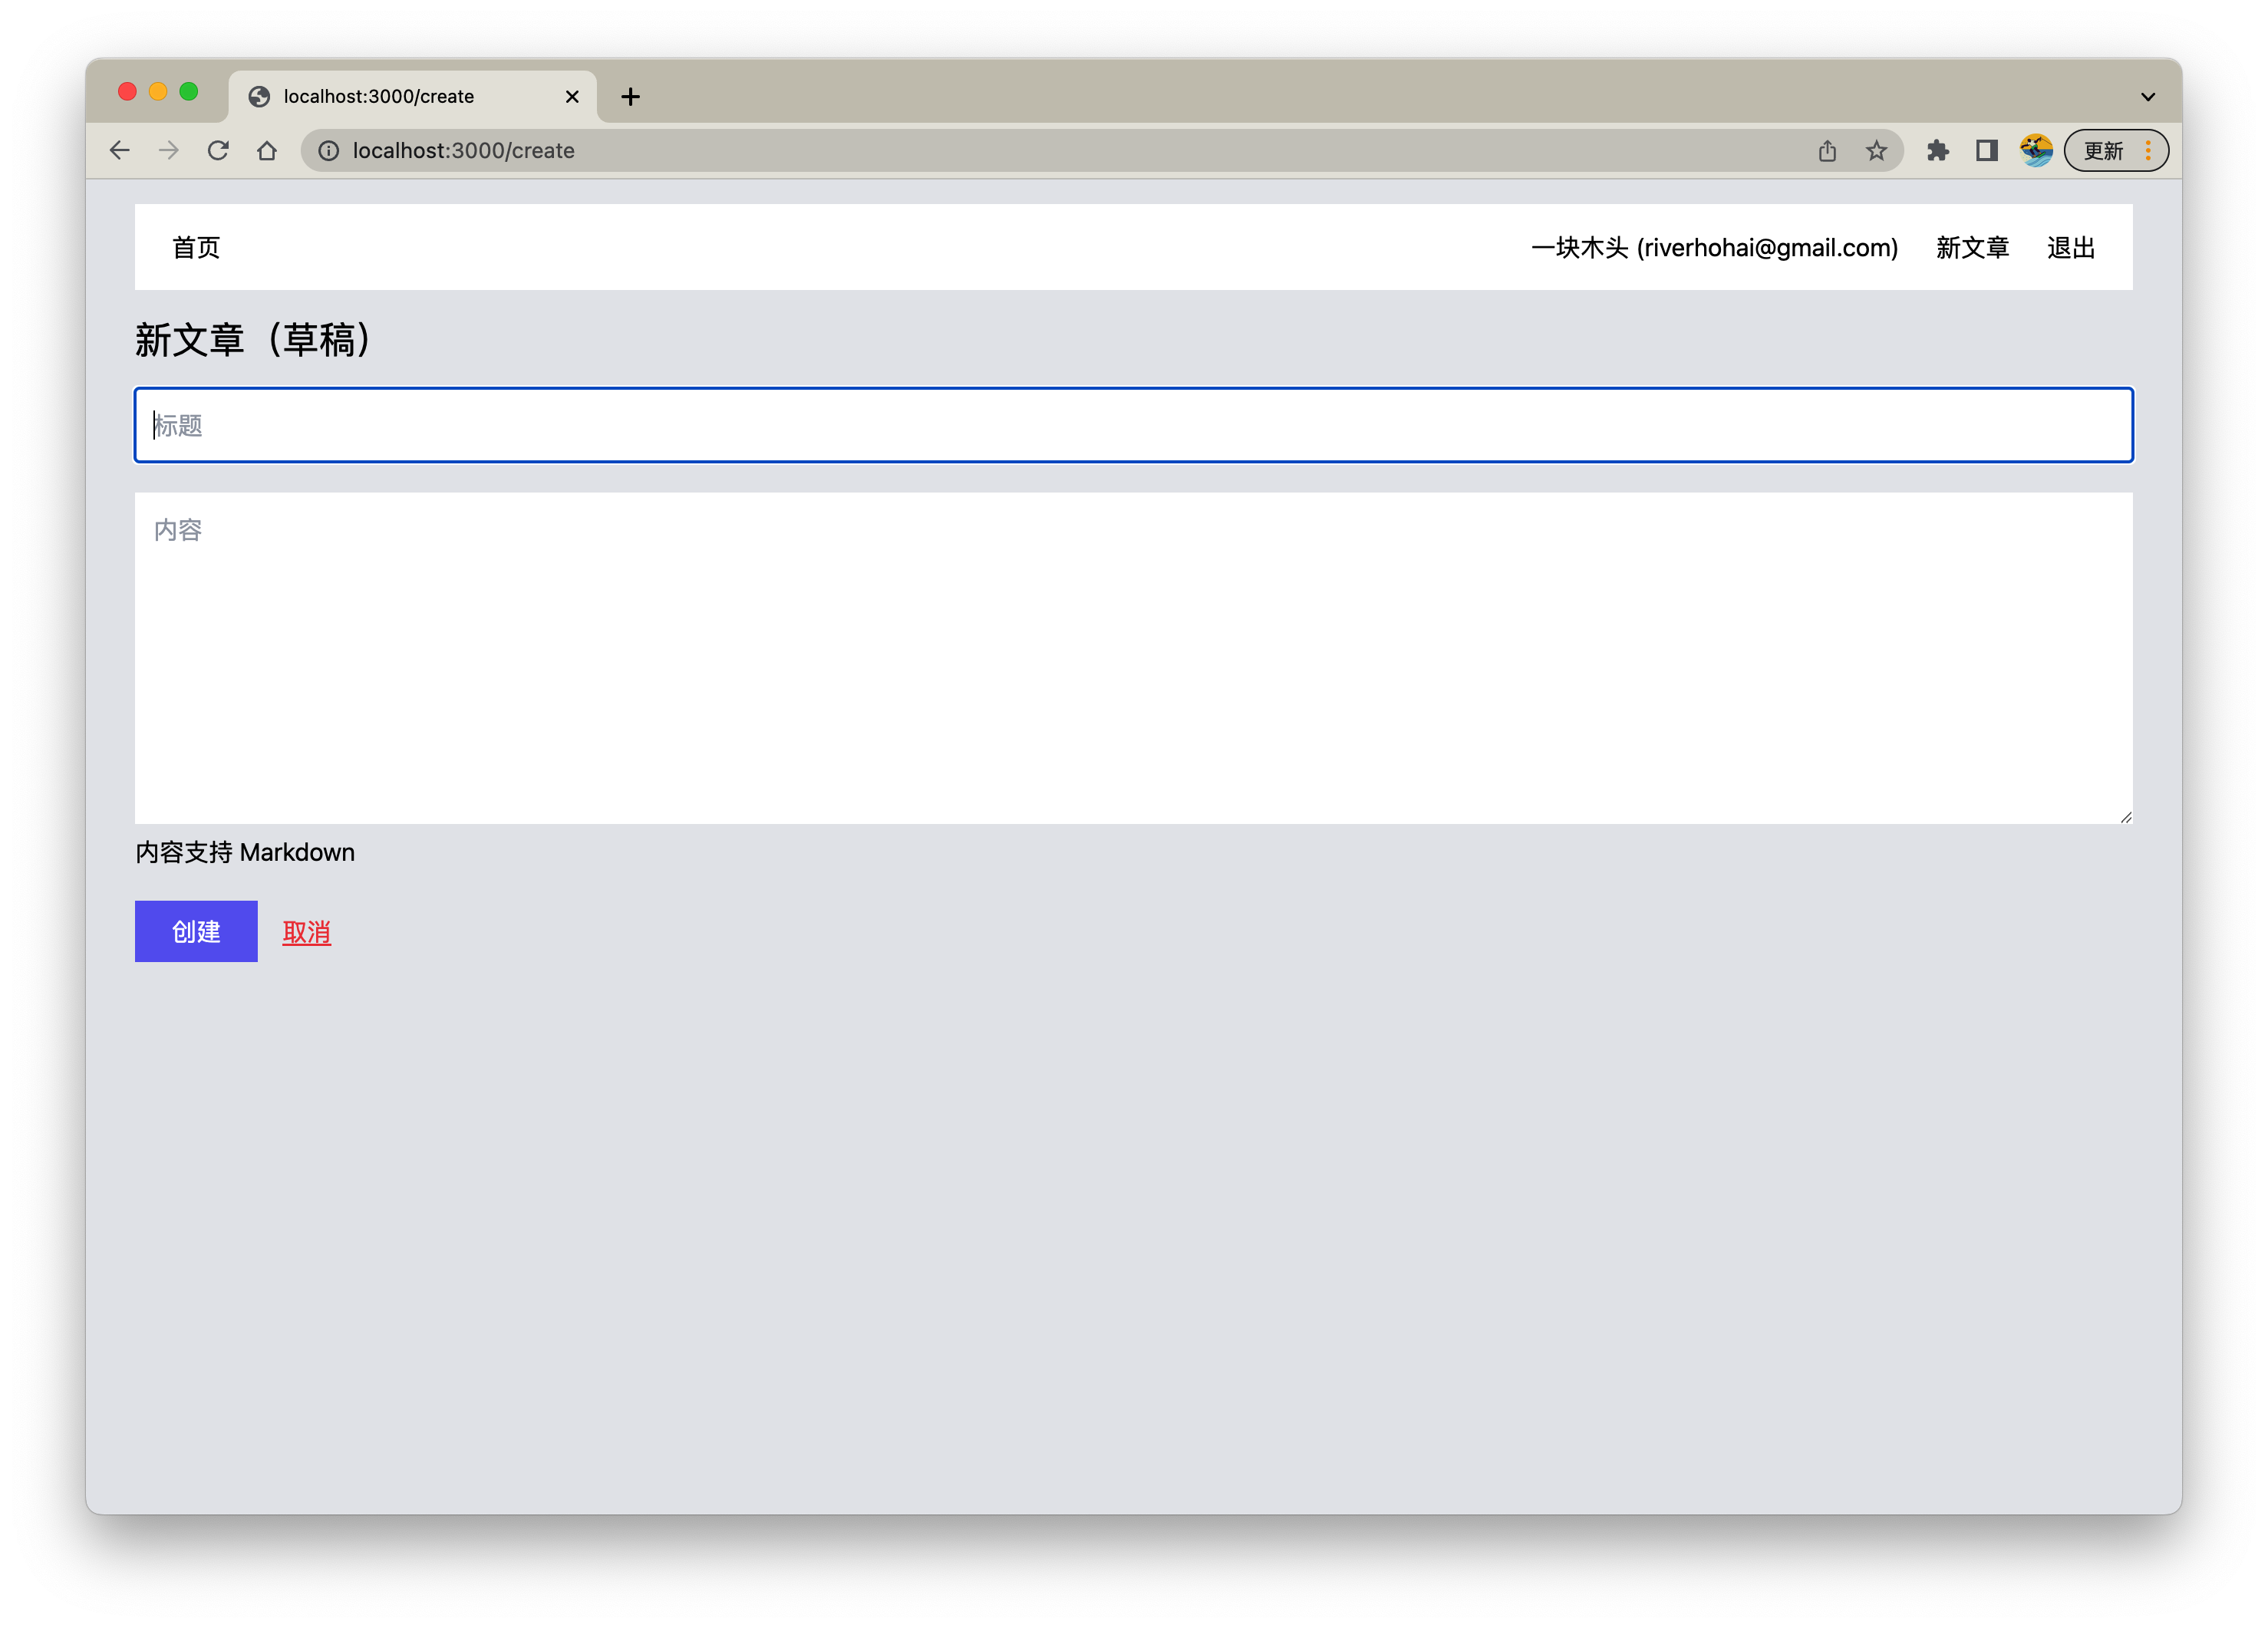
创建
场景
-
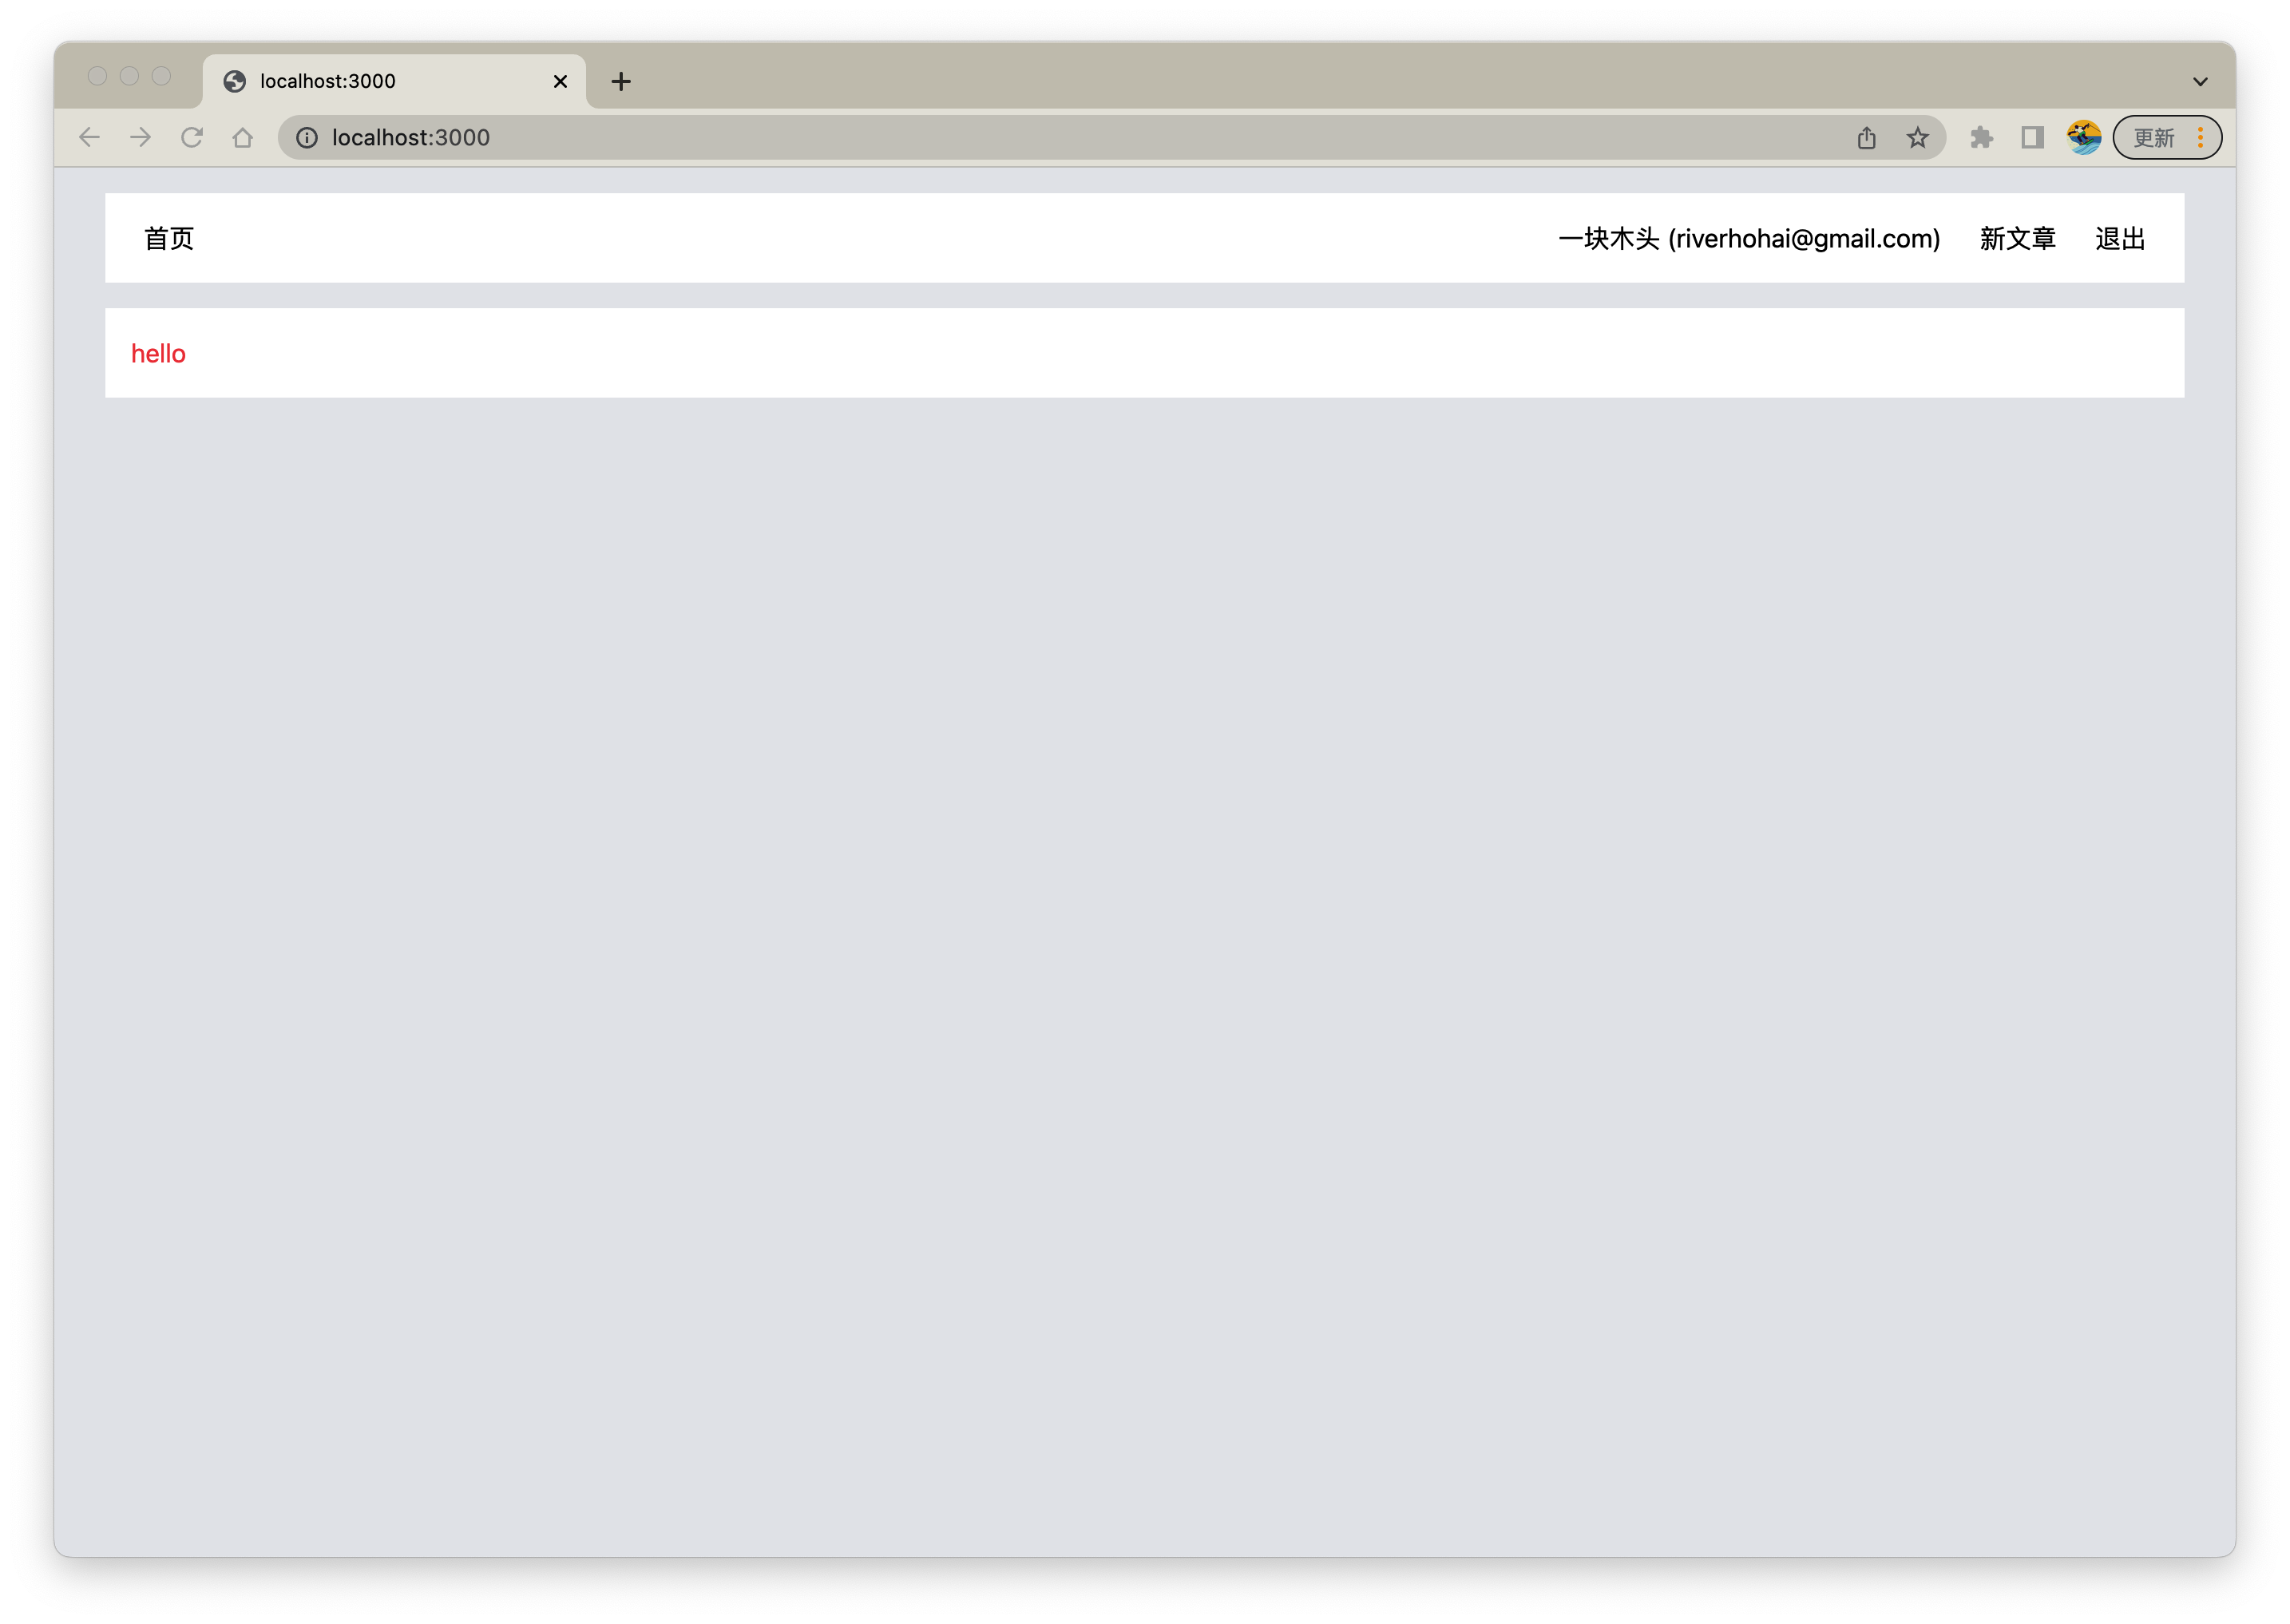
登录状态下,点击头部 "新文章" 入口按钮
-
进入新建文章页面,填写内容,点击 "创建" 按钮
-
成功创建一篇草稿文章
-
在头部组件,登录状态下,新增按钮,可跳转到
/create页面(稍后创建)
components/Header.tsx
...
<>
	<p>
	  {session?.user?.name} ({session?.user?.email})
	</p>
	<Link href="/create">
	  <a>新文章</a>
	</Link>
	<Link href="/api/auth/signout">
	  <a>退出</a>
	</Link>
</>
...
- 编写创建文章接口
pages/api/post/index.ts
import { NextApiRequest, NextApiResponse } from "next";
import { getSession } from "next-auth/react";
import { db } from "~/lib/db/prisma";

export default async function (req: NextApiRequest, res: NextApiResponse) {
  // 请求体的 标题,内容
  const { title, content } = req.body;

  // 登录信息
  const session = await getSession({ req });

  // 用户未登录,无法创建
  if (!session?.user) {
    return res.status(403);
  }

  // 创建文章
  const result = await db.post.create({
    data: {
      title,
      content,
      // 文章作者是当前登录人
      author: { connect: { email: session.user?.email } },
    },
  });

  res.json(result);
}
这里创建文章的时候,直接以当前登录人为作者做关联(Prisma 会根据用户 email 查找用户后关联 id)
- 编写创建文章页面
pages/create.tsx
import React, { useState } from "react";
import Layout from "~/components/Layout";
import Router from "next/router";

const CreatePost: React.FC = () => {
  const [title, setTitle] = useState("");
  const [content, setContent] = useState("");

  const submitData = async (e: React.SyntheticEvent) => {
    e.preventDefault();
    try {
      const body = { title, content };
      // 发送创建请求
      await fetch("/api/post", {
        method: "POST",
        headers: { "Content-Type": "application/json" },
        body: JSON.stringify(body),
      });
      // 成功后,将跳转到 草稿页面(后面回完成)
      await Router.push("/drafts");
    } catch (error) {
      console.error(error);
    }
  };

  return (
    <Layout>
      <div>
        <form onSubmit={submitData}>
          <h1 className="text-2xl mb-4">新文章(草稿)</h1>
          <div>
            <input
              className="block w-full p-3 mb-5"
              autoFocus
              value={title}
              onChange={(e) => setTitle(e.target.value)}
              placeholder="标题"
              type="text"
            />
            <textarea
              className="w-full p-3"
              value={content}
              onChange={(e) => setContent(e.target.value)}
              placeholder="内容"
              rows={8}
            />
            <p>内容支持 Markdown</p>
            <div className="space-x-4 mt-5">
              <input
                className="bg-indigo-500 px-6 py-2 text-white hover:bg-indigo-500/80 cursor-pointer disabled:hover:bg-indigo-500 disabled:cursor-not-allowed"
                disabled={!content || !title}
                type="submit"
                value="创建"
              />
              <a
                href="#"
                onClick={() => Router.push("/")}
                className="text-red-500 underline underline-offset-2 hover:text-red-500/80"
              >
                取消
              </a>
            </div>
          </div>
        </form>
      </div>
    </Layout>
  );
};

export default CreatePost;
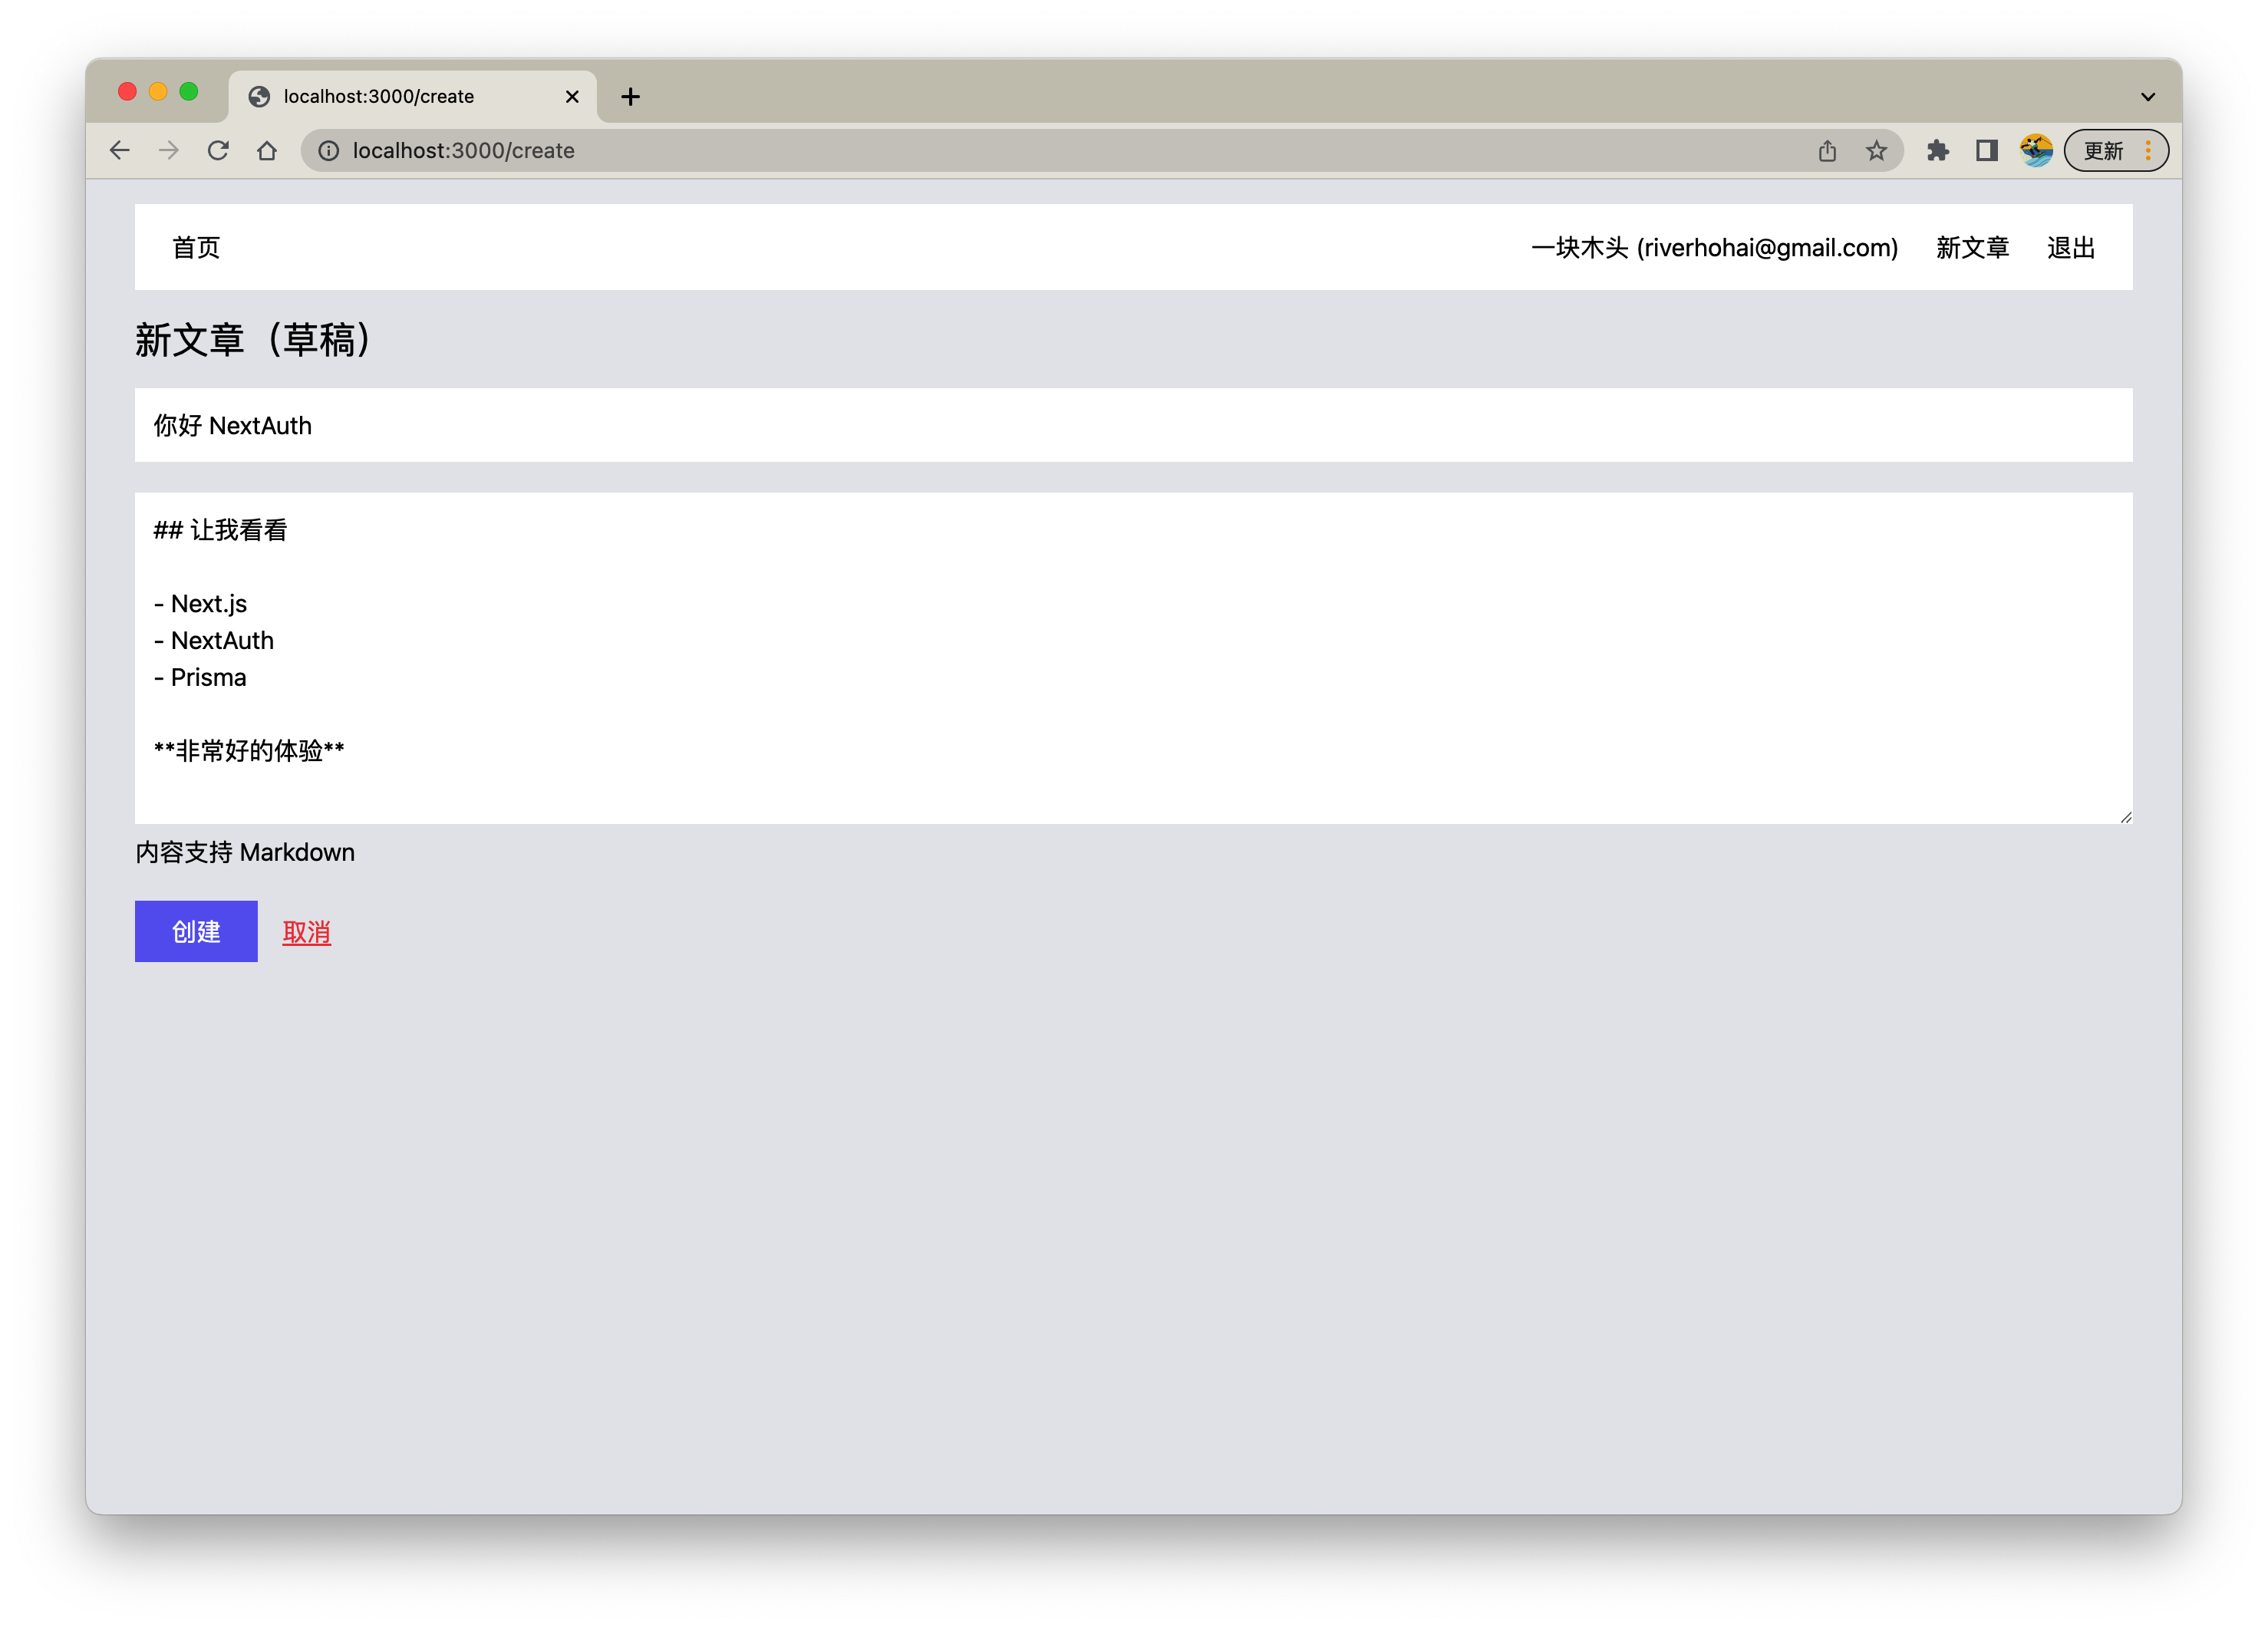
点击创建,此时成功的话会跳转到 /drafts 但该页面目前我们创建,是 404。我们先来看下文章
npx prisma studio
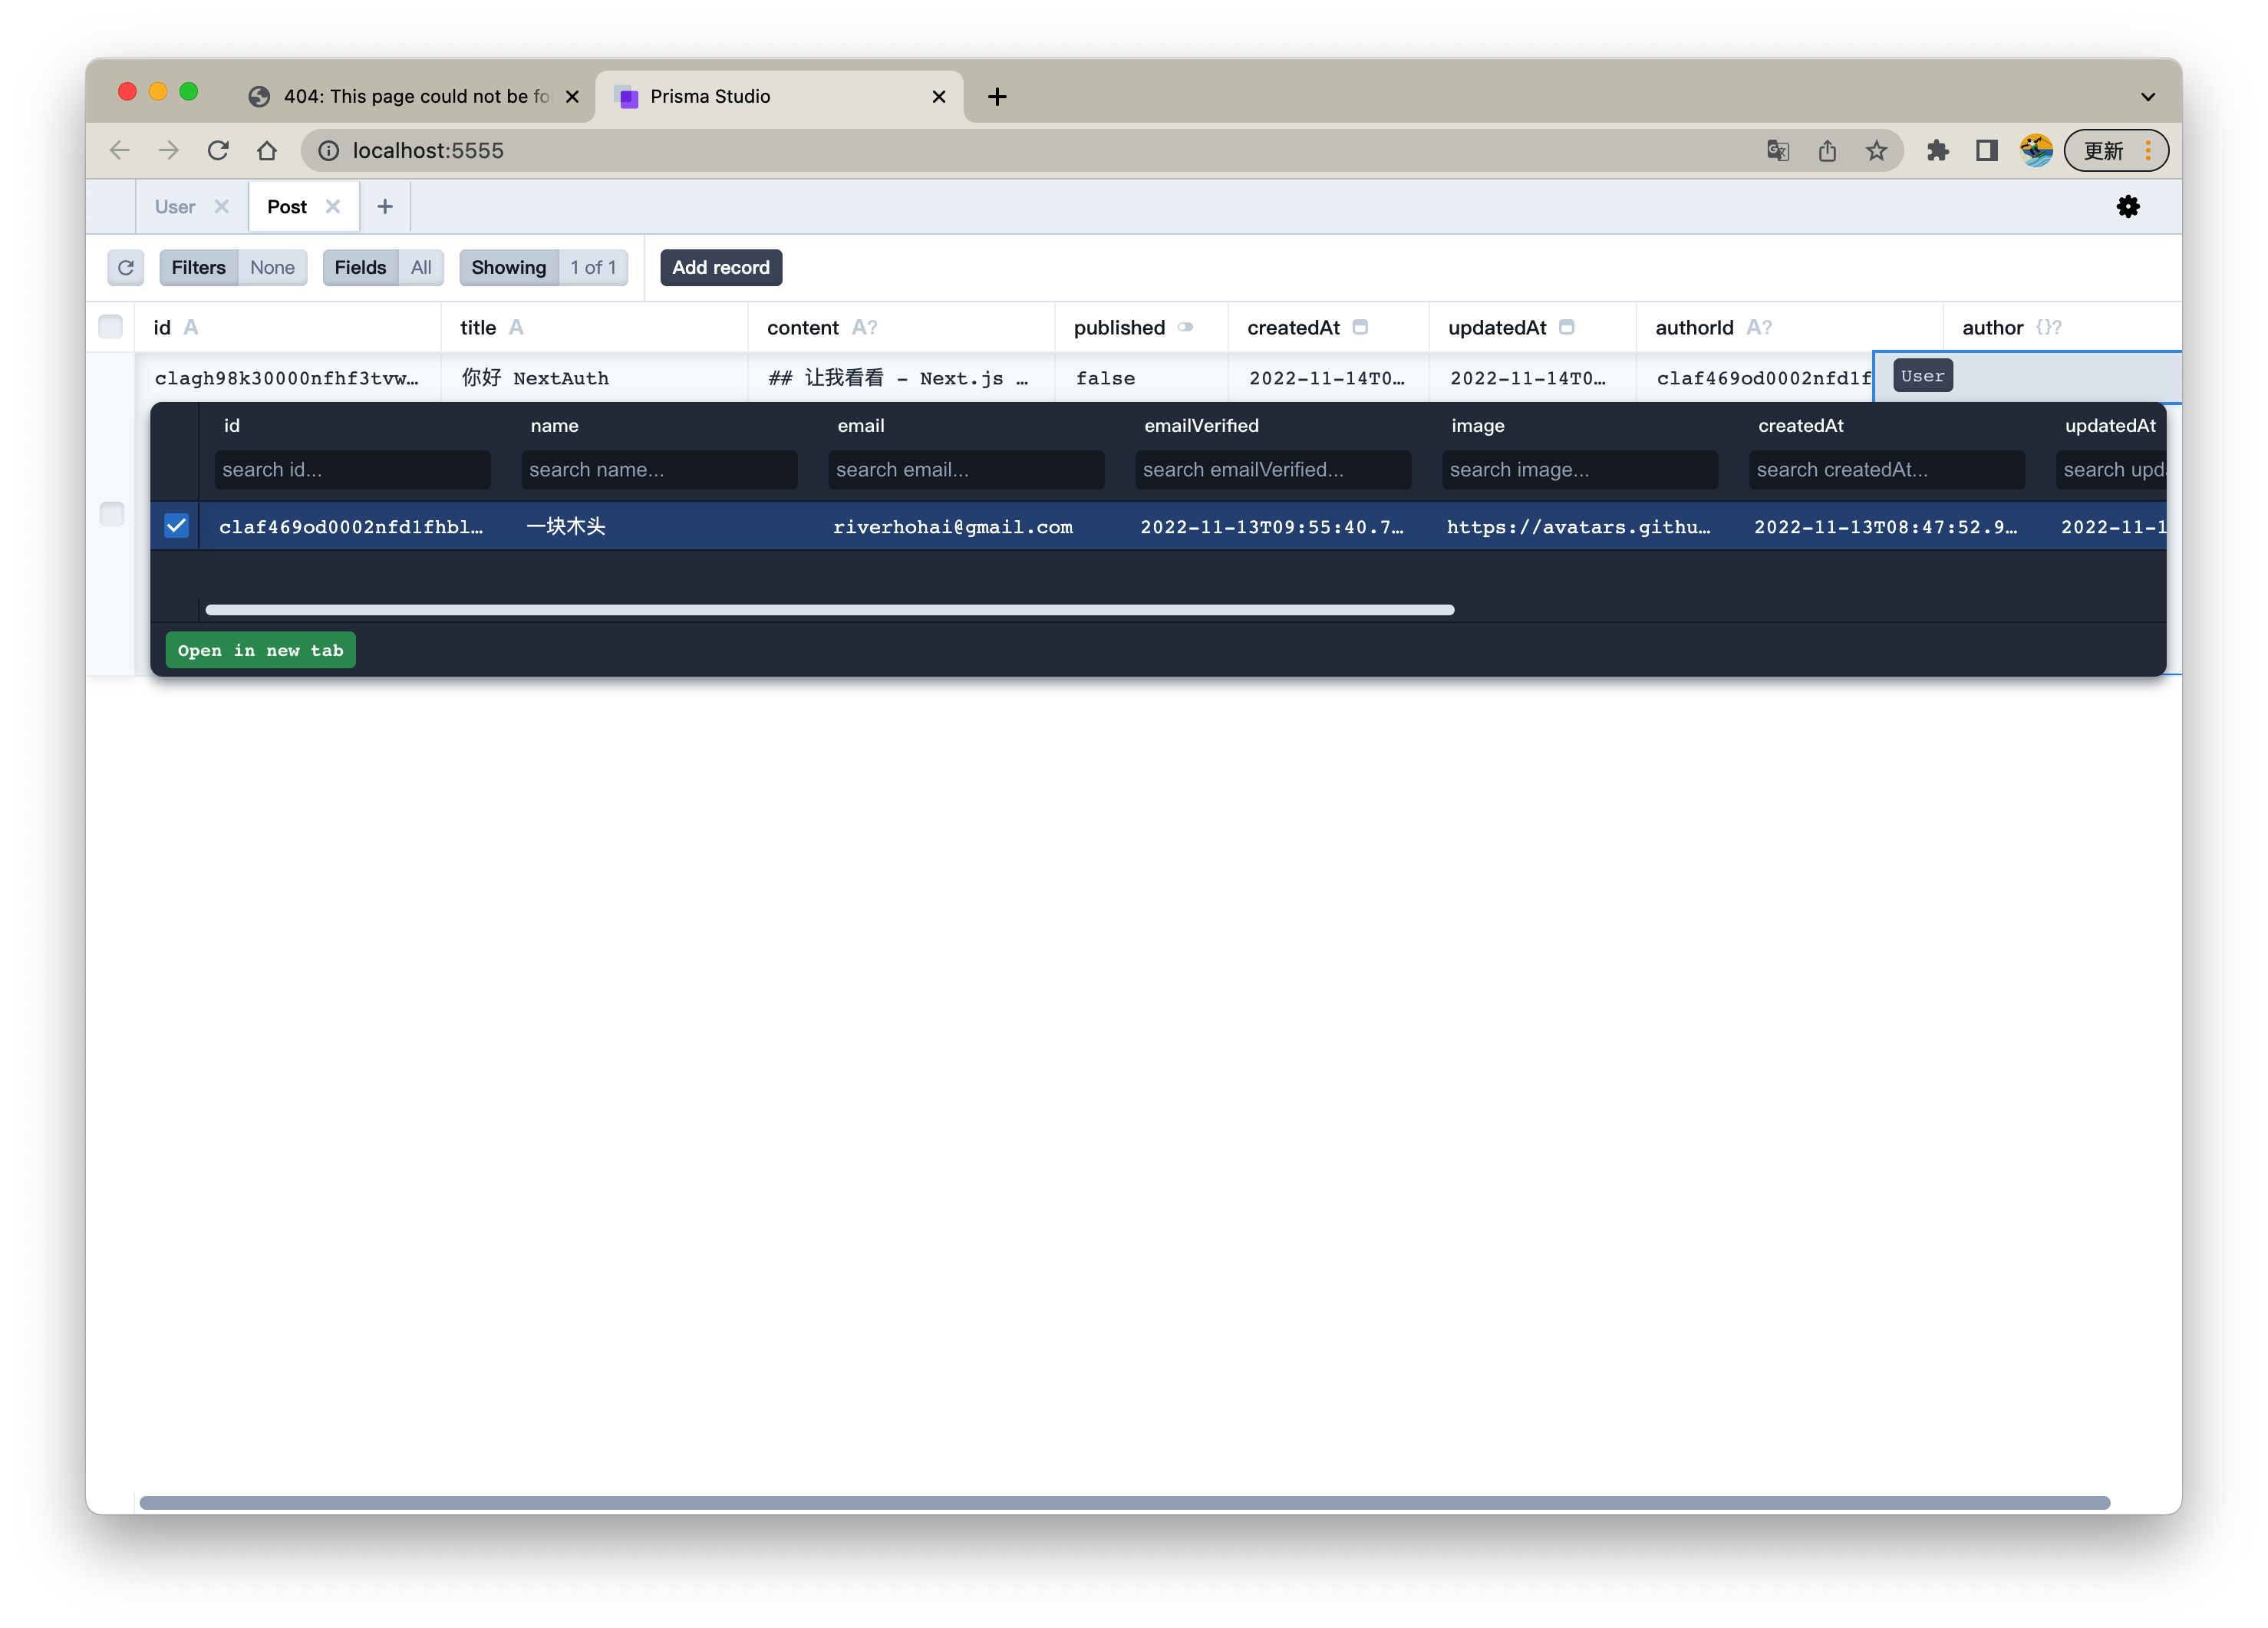
可以看到 published 默认是 false(未发布),也就是草稿
草稿
场景
- 登录状态下(只能看到自己的草稿),点击头部 "我的草稿"
- 跳转到草稿页面,展示我的草稿列表(不含已发布)
- 点击草稿文章,可跳转到 "草稿详情"(稍后完成)
我们的文章内容需要支持 Markdown, 所以这需要一个解析器
pnpm add react-markdown
package.json
"dependencies": {
    ...
    "react-markdown": "^8.0.3"
  },
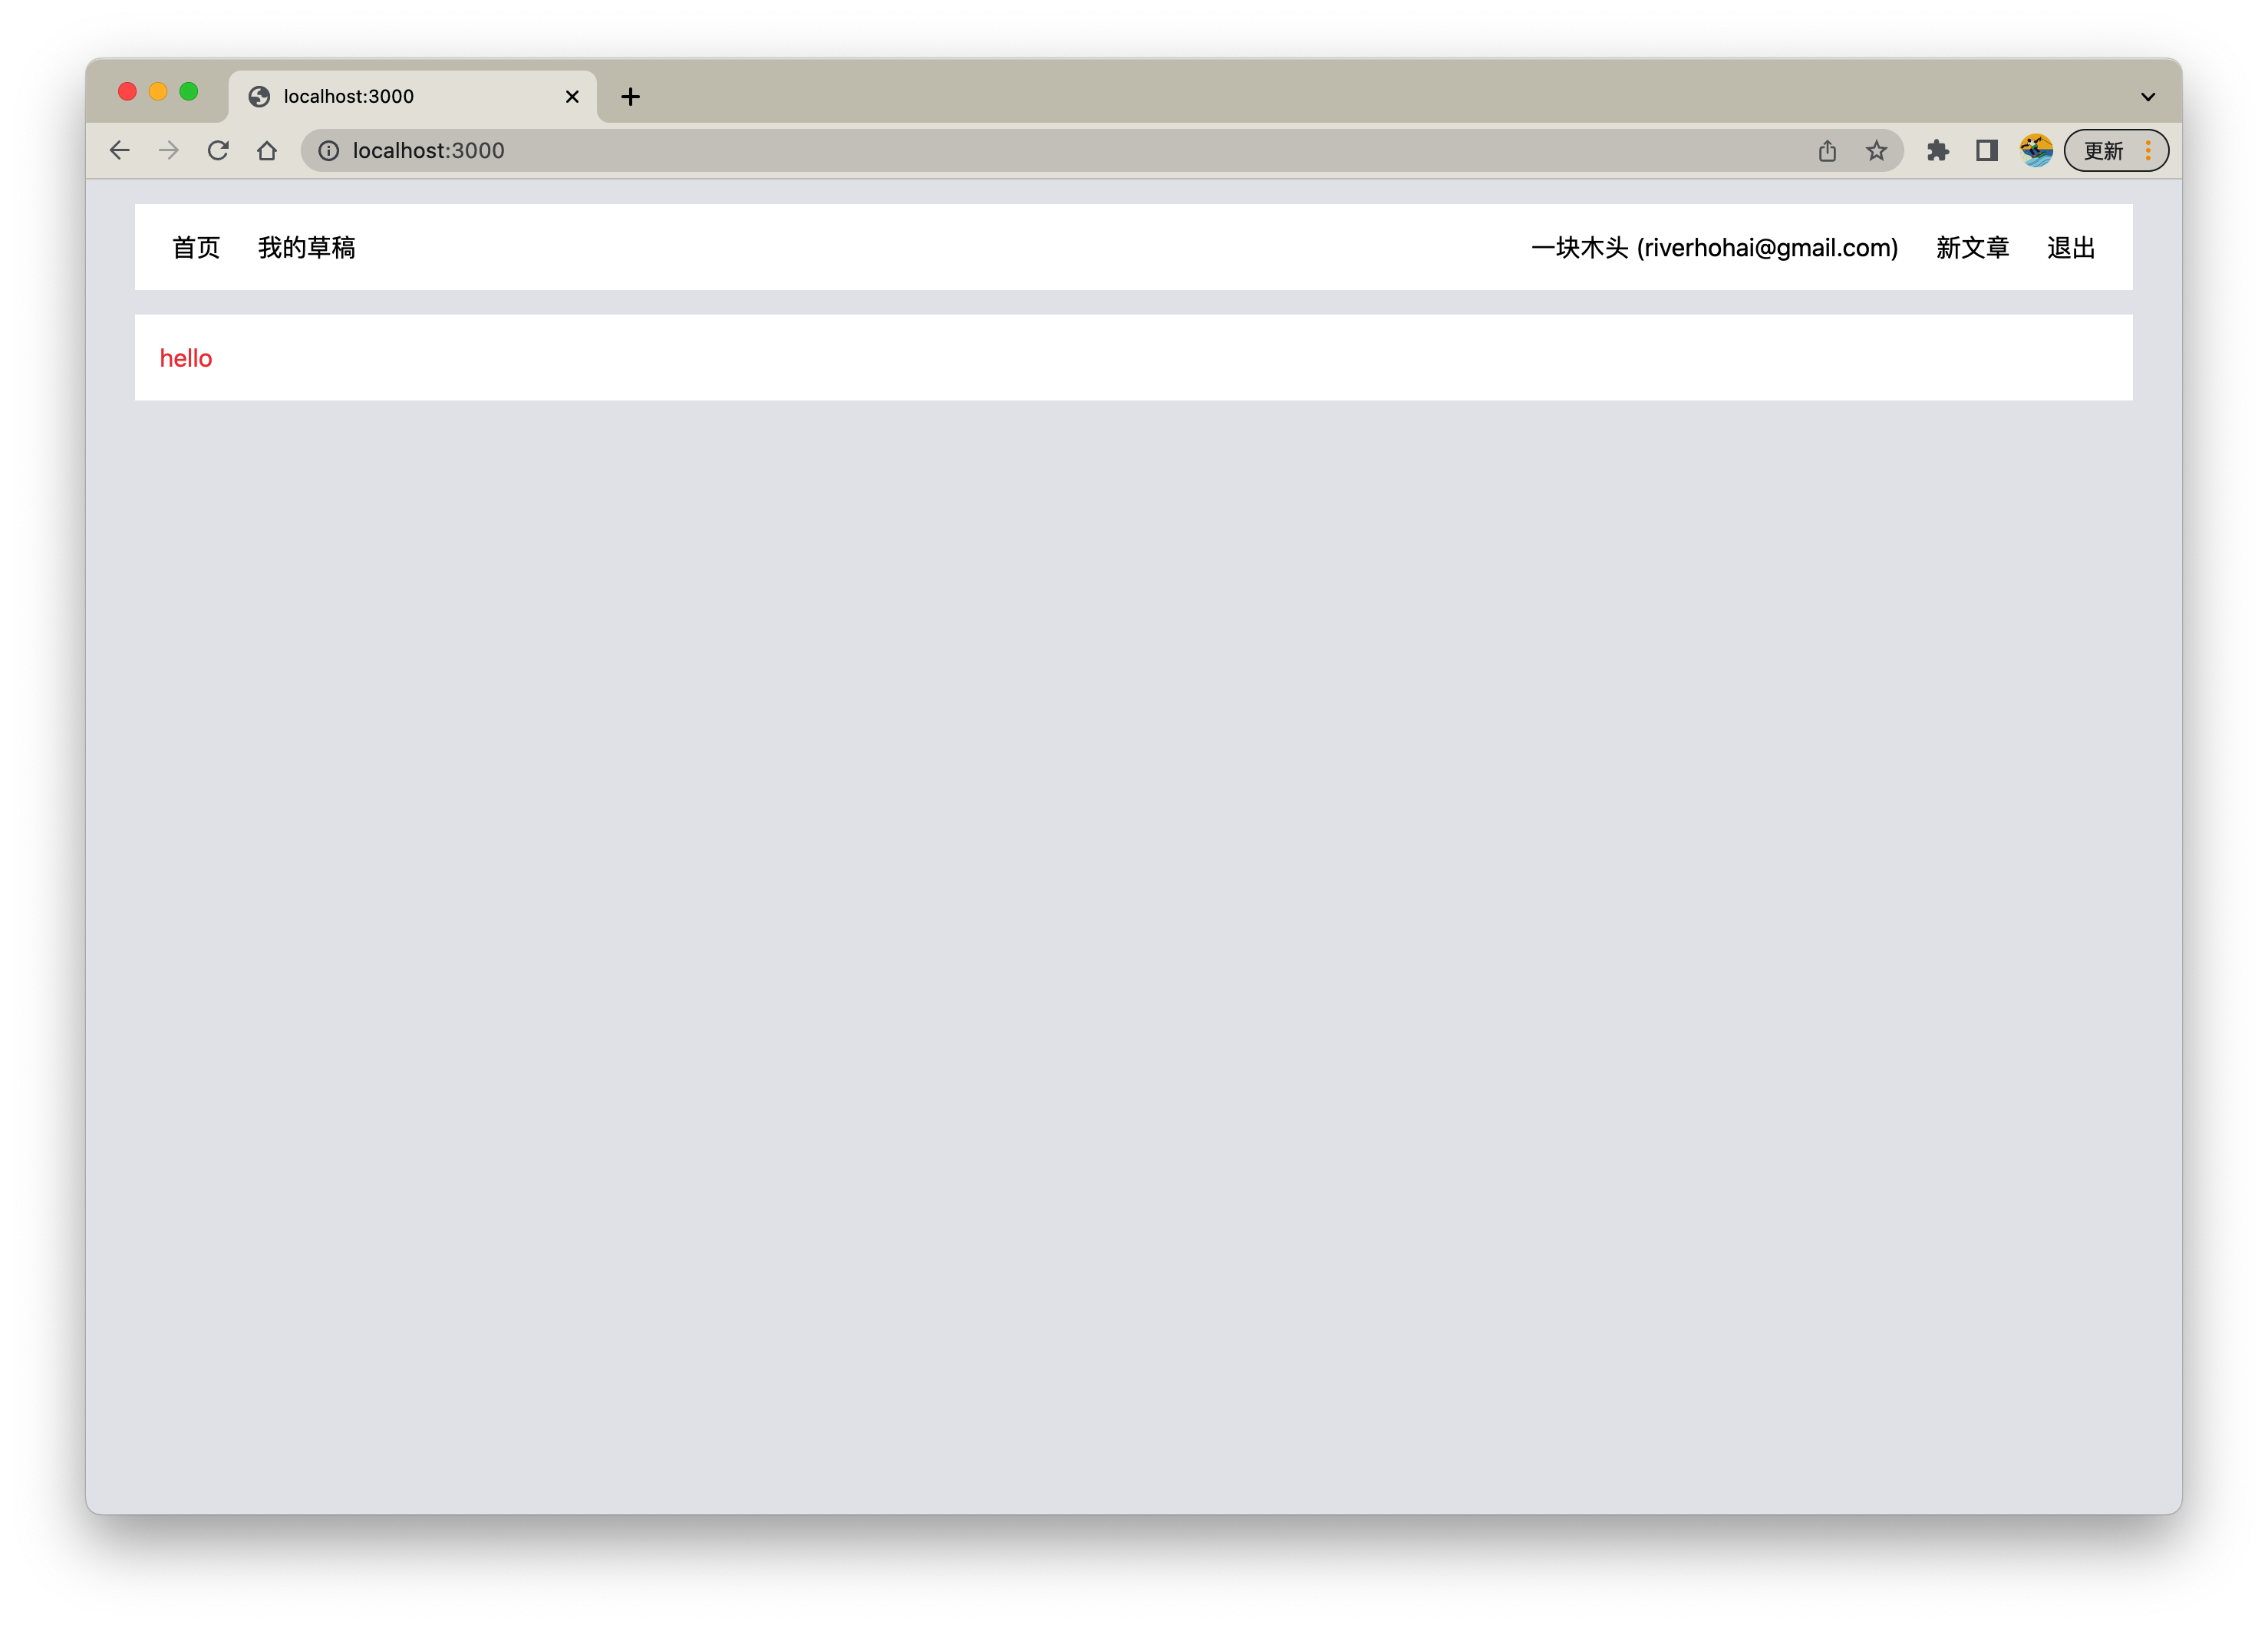
- 在头部新增 "我的草稿按钮"
components/Header.tsx
...
<div className="space-x-6">
  <Link href="/">
	<a className="bold">首页</a>
  </Link>
  {session && (
	<Link href="/drafts">
	  <a>我的草稿</a>
	</Link>
  )}
</div>
...
- 编写文章列表的文章卡片组件
components/Post.tsx
import React from "react";
import Router from "next/router";
import ReactMarkdown from "react-markdown";

export type PostProps = {
  id: string;
  title: string;
  author: {
    name: string;
    email: string;
  } | null;
  content: string;
  published: boolean;
};

const Post: React.FC<{ post: PostProps }> = ({ post }) => {
  const authorName = post.author ? post.author.name : "Unknown author";
  return (
    <div
      onClick={() => Router.push(`/p/${post.id}`)}
      className="py-4 px-6 bg-white cursor-pointer hover:shadow-lg"
    >
      <h2 className="text-2xl mb-4">{post.title}</h2>
      <div className="mb-3 italic">作者:{authorName}</div>
      <ReactMarkdown children={post.content} />
    </div>
  );
};

export default Post;
点击文章可以跳转到文章详情 /p/[id]
- 编写草稿页面
pages/drafts.tsx
import { getSession, useSession } from "next-auth/react";
import { GetServerSideProps } from "next/types";
import Layout from "~/components/Layout";
import Post, { PostProps } from "~/components/Post";
import { db } from "~/lib/db/prisma";

export const getServerSideProps: GetServerSideProps = async ({ req, res }) => {
  const session = await getSession({ req });
  if (!session) {
    res.statusCode = 403;
    return { props: { drafts: [] } };
  }

  // 查询文章(草稿)
  const drafts = await db.post.findMany({
    where: {
      author: { email: session?.user?.email },
      published: false,
    },
    // 关联查询作者(用户)
    include: {
      author: {
        select: { name: true },
      },
    },
  });

  return { props: { drafts } };
};

type Props = {
  drafts: PostProps[];
};

const Drafts: React.FC<Props> = (props) => {
  const { data: session } = useSession();

  if (!session) {
    return (
      <Layout>
        <h1>我的草稿</h1>
        <div>请先登录</div>
      </Layout>
    );
  }

  return (
    <Layout>
      <div>
        <h1 className="mb-3">My Drafts</h1>
        <main className="space-y-6">
          {props.drafts.map((post) => (
            <div key={post.id}>
              <Post post={post} />
            </div>
          ))}
        </main>
      </div>
    </Layout>
  );
};

export default Drafts;
这里不需要在写查询接口,直接在 getServerSideProps 获取就可以,这会在服务端执行,和之前的创建文章客户端请求有区别。
当我们打开草稿页面,此时应该有一篇草稿文章的(我们刚刚创建的)
❗️但这里可能会出现该错误,这是在 getServerSideProps 返回数据做 JSON 处理时,无法序列化 Date 类型
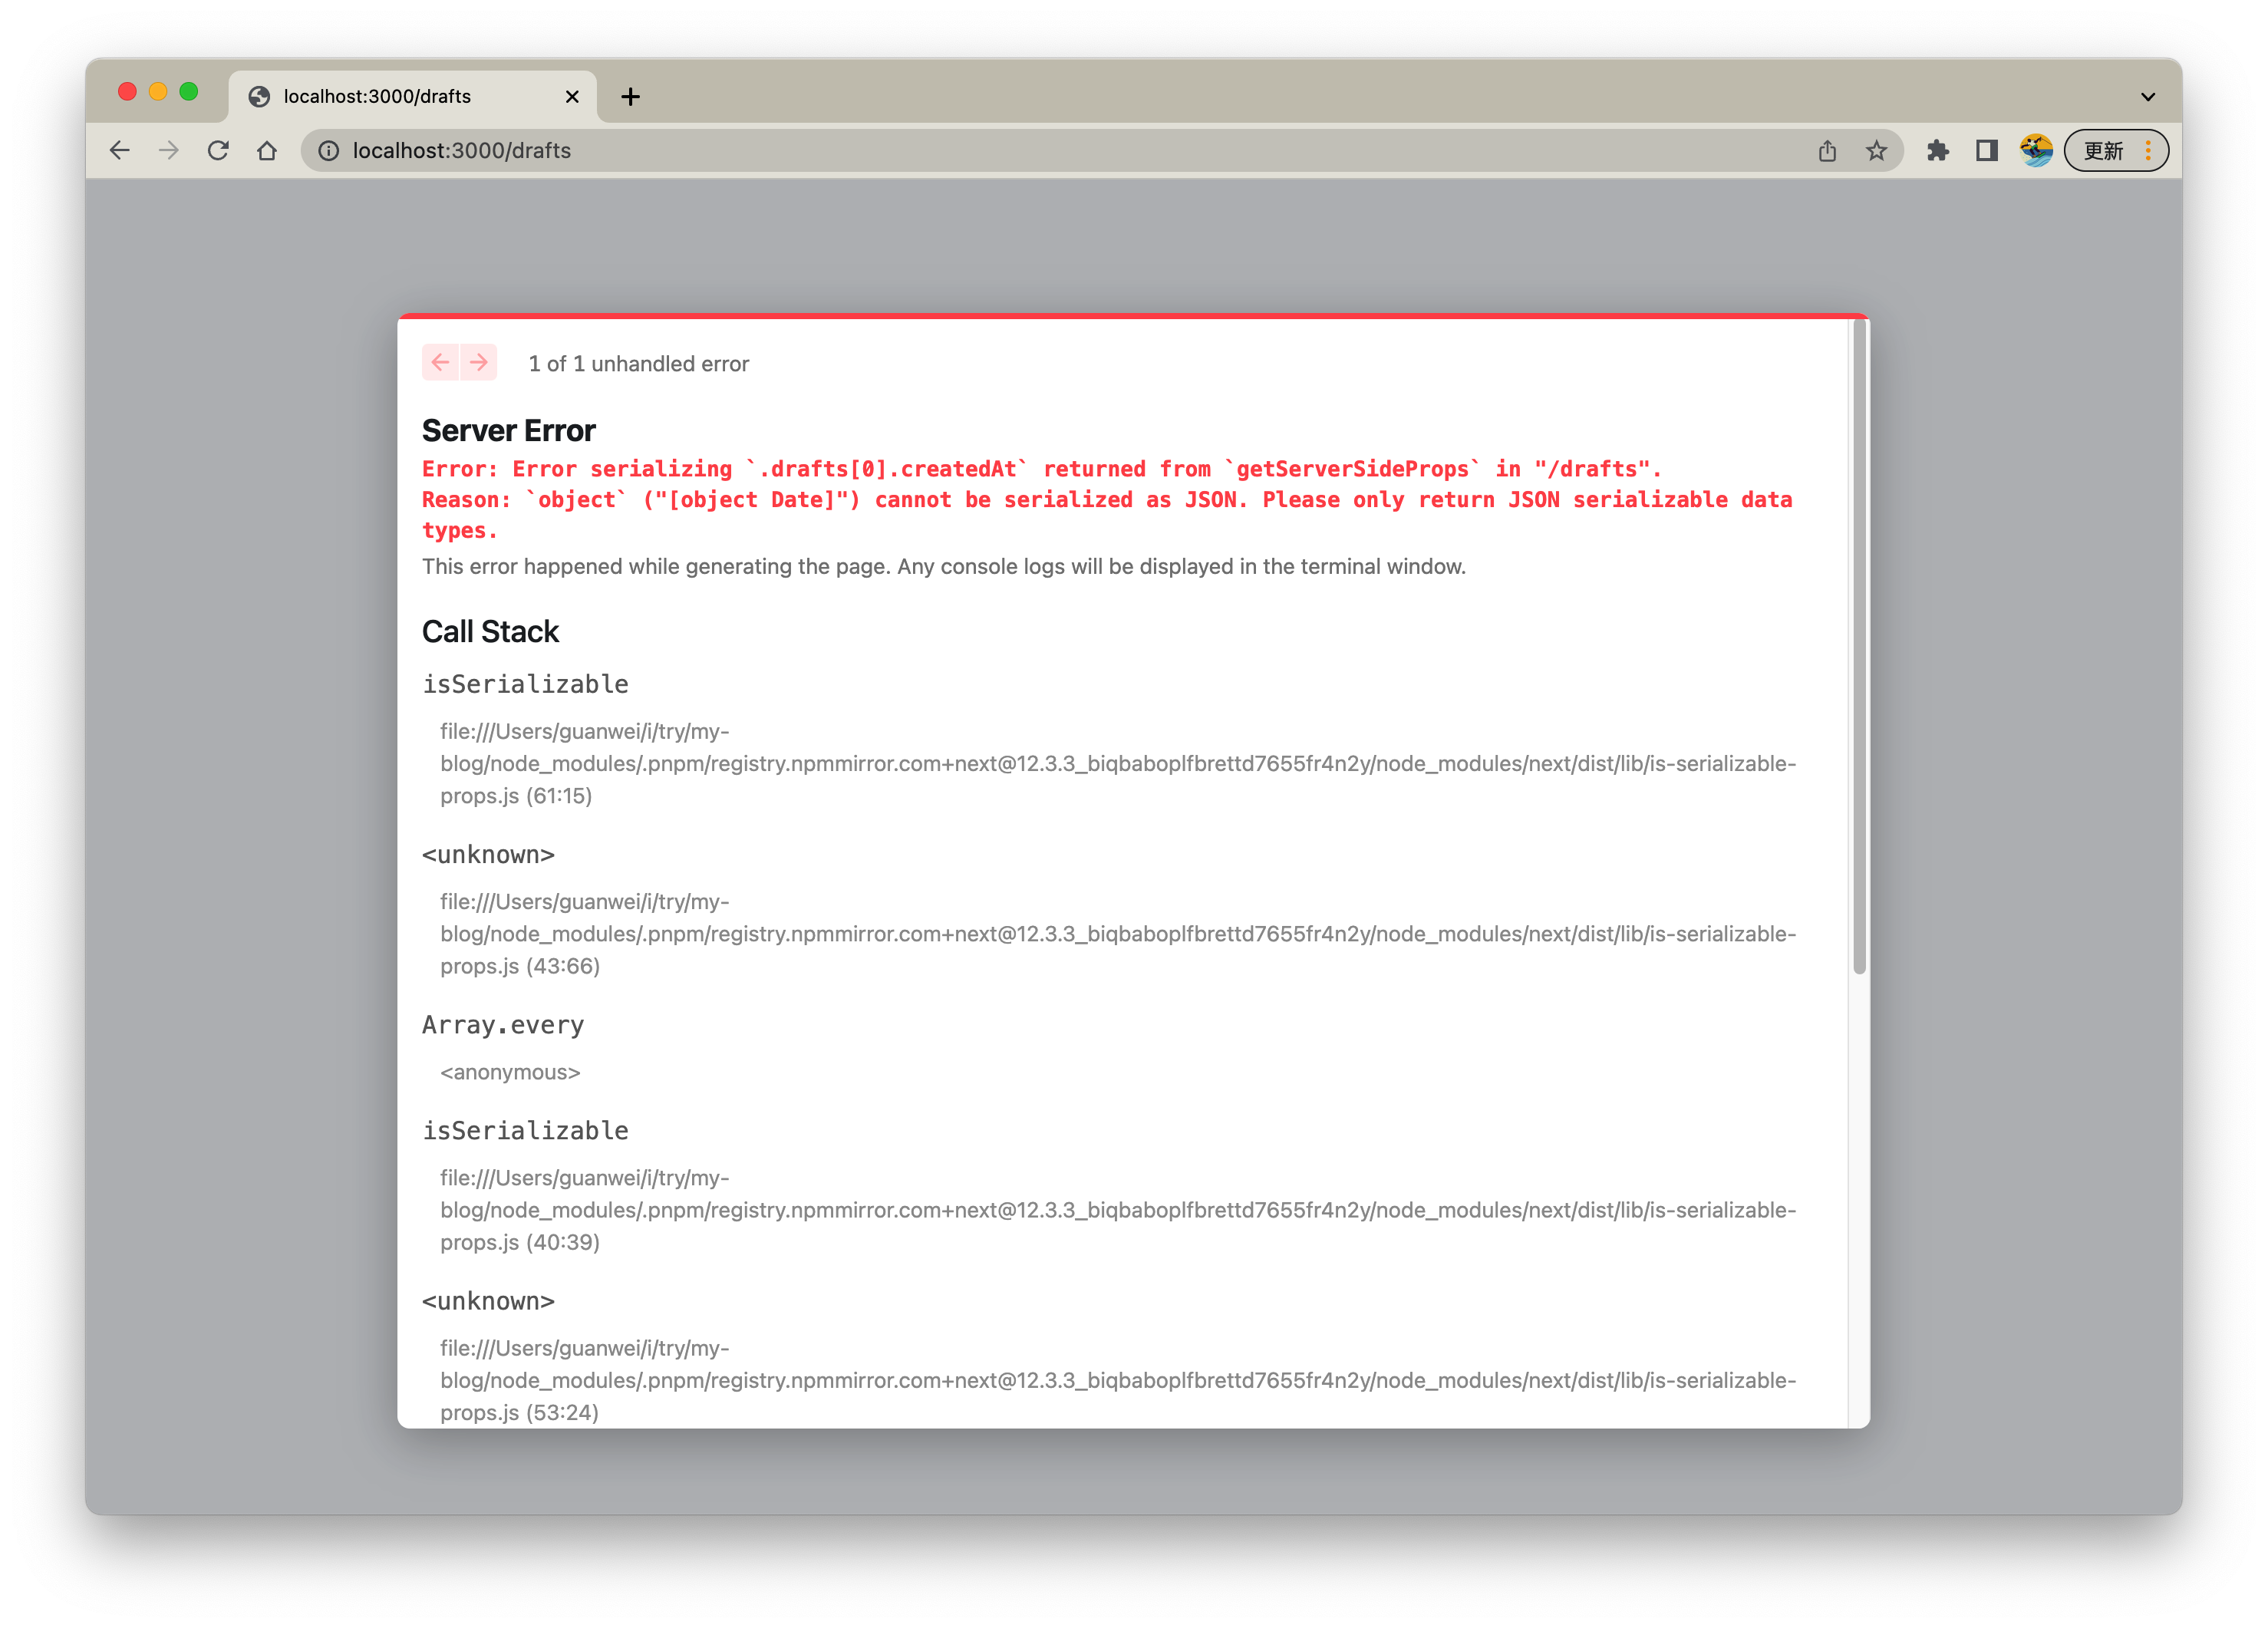
可以手动处理,将 getServerSideProps 的返回值,遍历处理 Date 数据为字符串。
我们这里使用 superjson 处理,安装
pnpm add superjson babel-plugin-superjson-next
package.json
"dependencies": {
	...
	"babel-plugin-superjson-next": "^0.4.4",
	"superjson": "^1.11.0"
}
这里使用 Babel 插件,作为默认的 JSON 序列化,新建 .babelrc
{
  "presets": ["next/babel"],
  "plugins": [
    "superjson-next" // 👈
  ]
}
该文件会自动被 Next 使用,但如果使用 Babel 的话,Next 会关闭使用 SWC,虽然 SuperJSON 也有提供 SWC 插件,但目前不稳定。
设置完毕后,重新启动
npm run dev
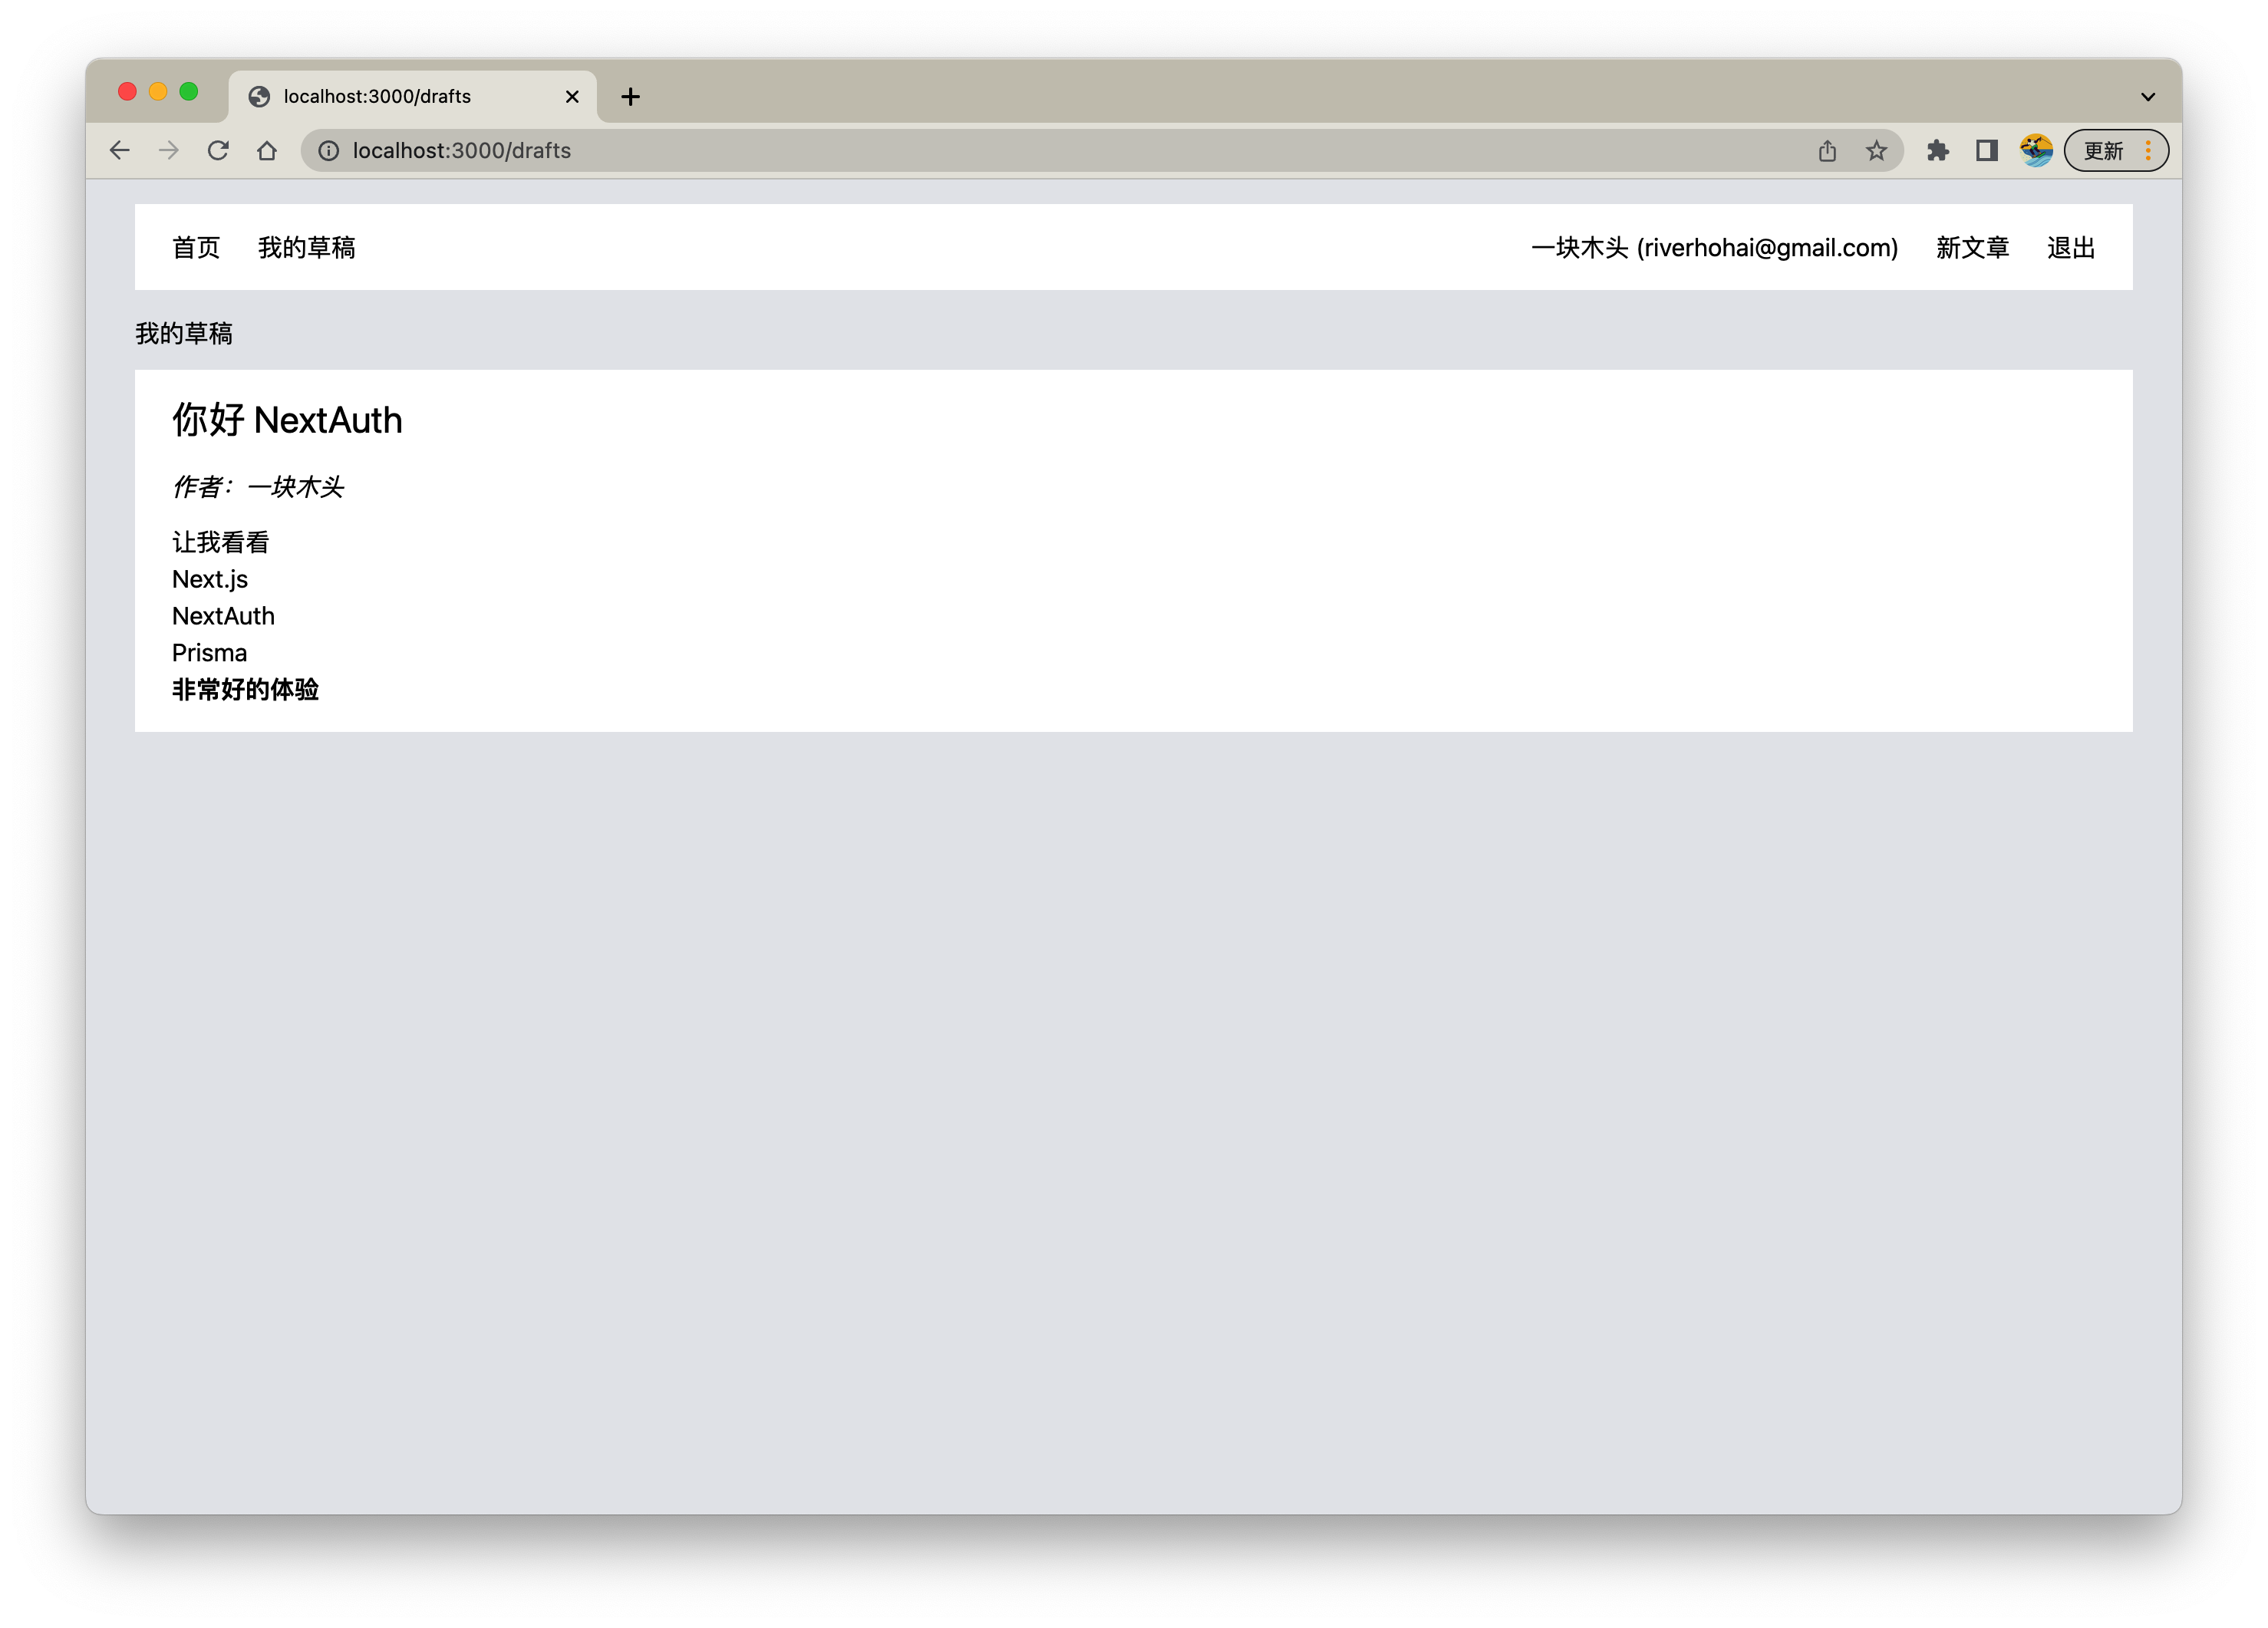
点击文章卡片,跳转详情页面 /p/[id] (页面还不存在)
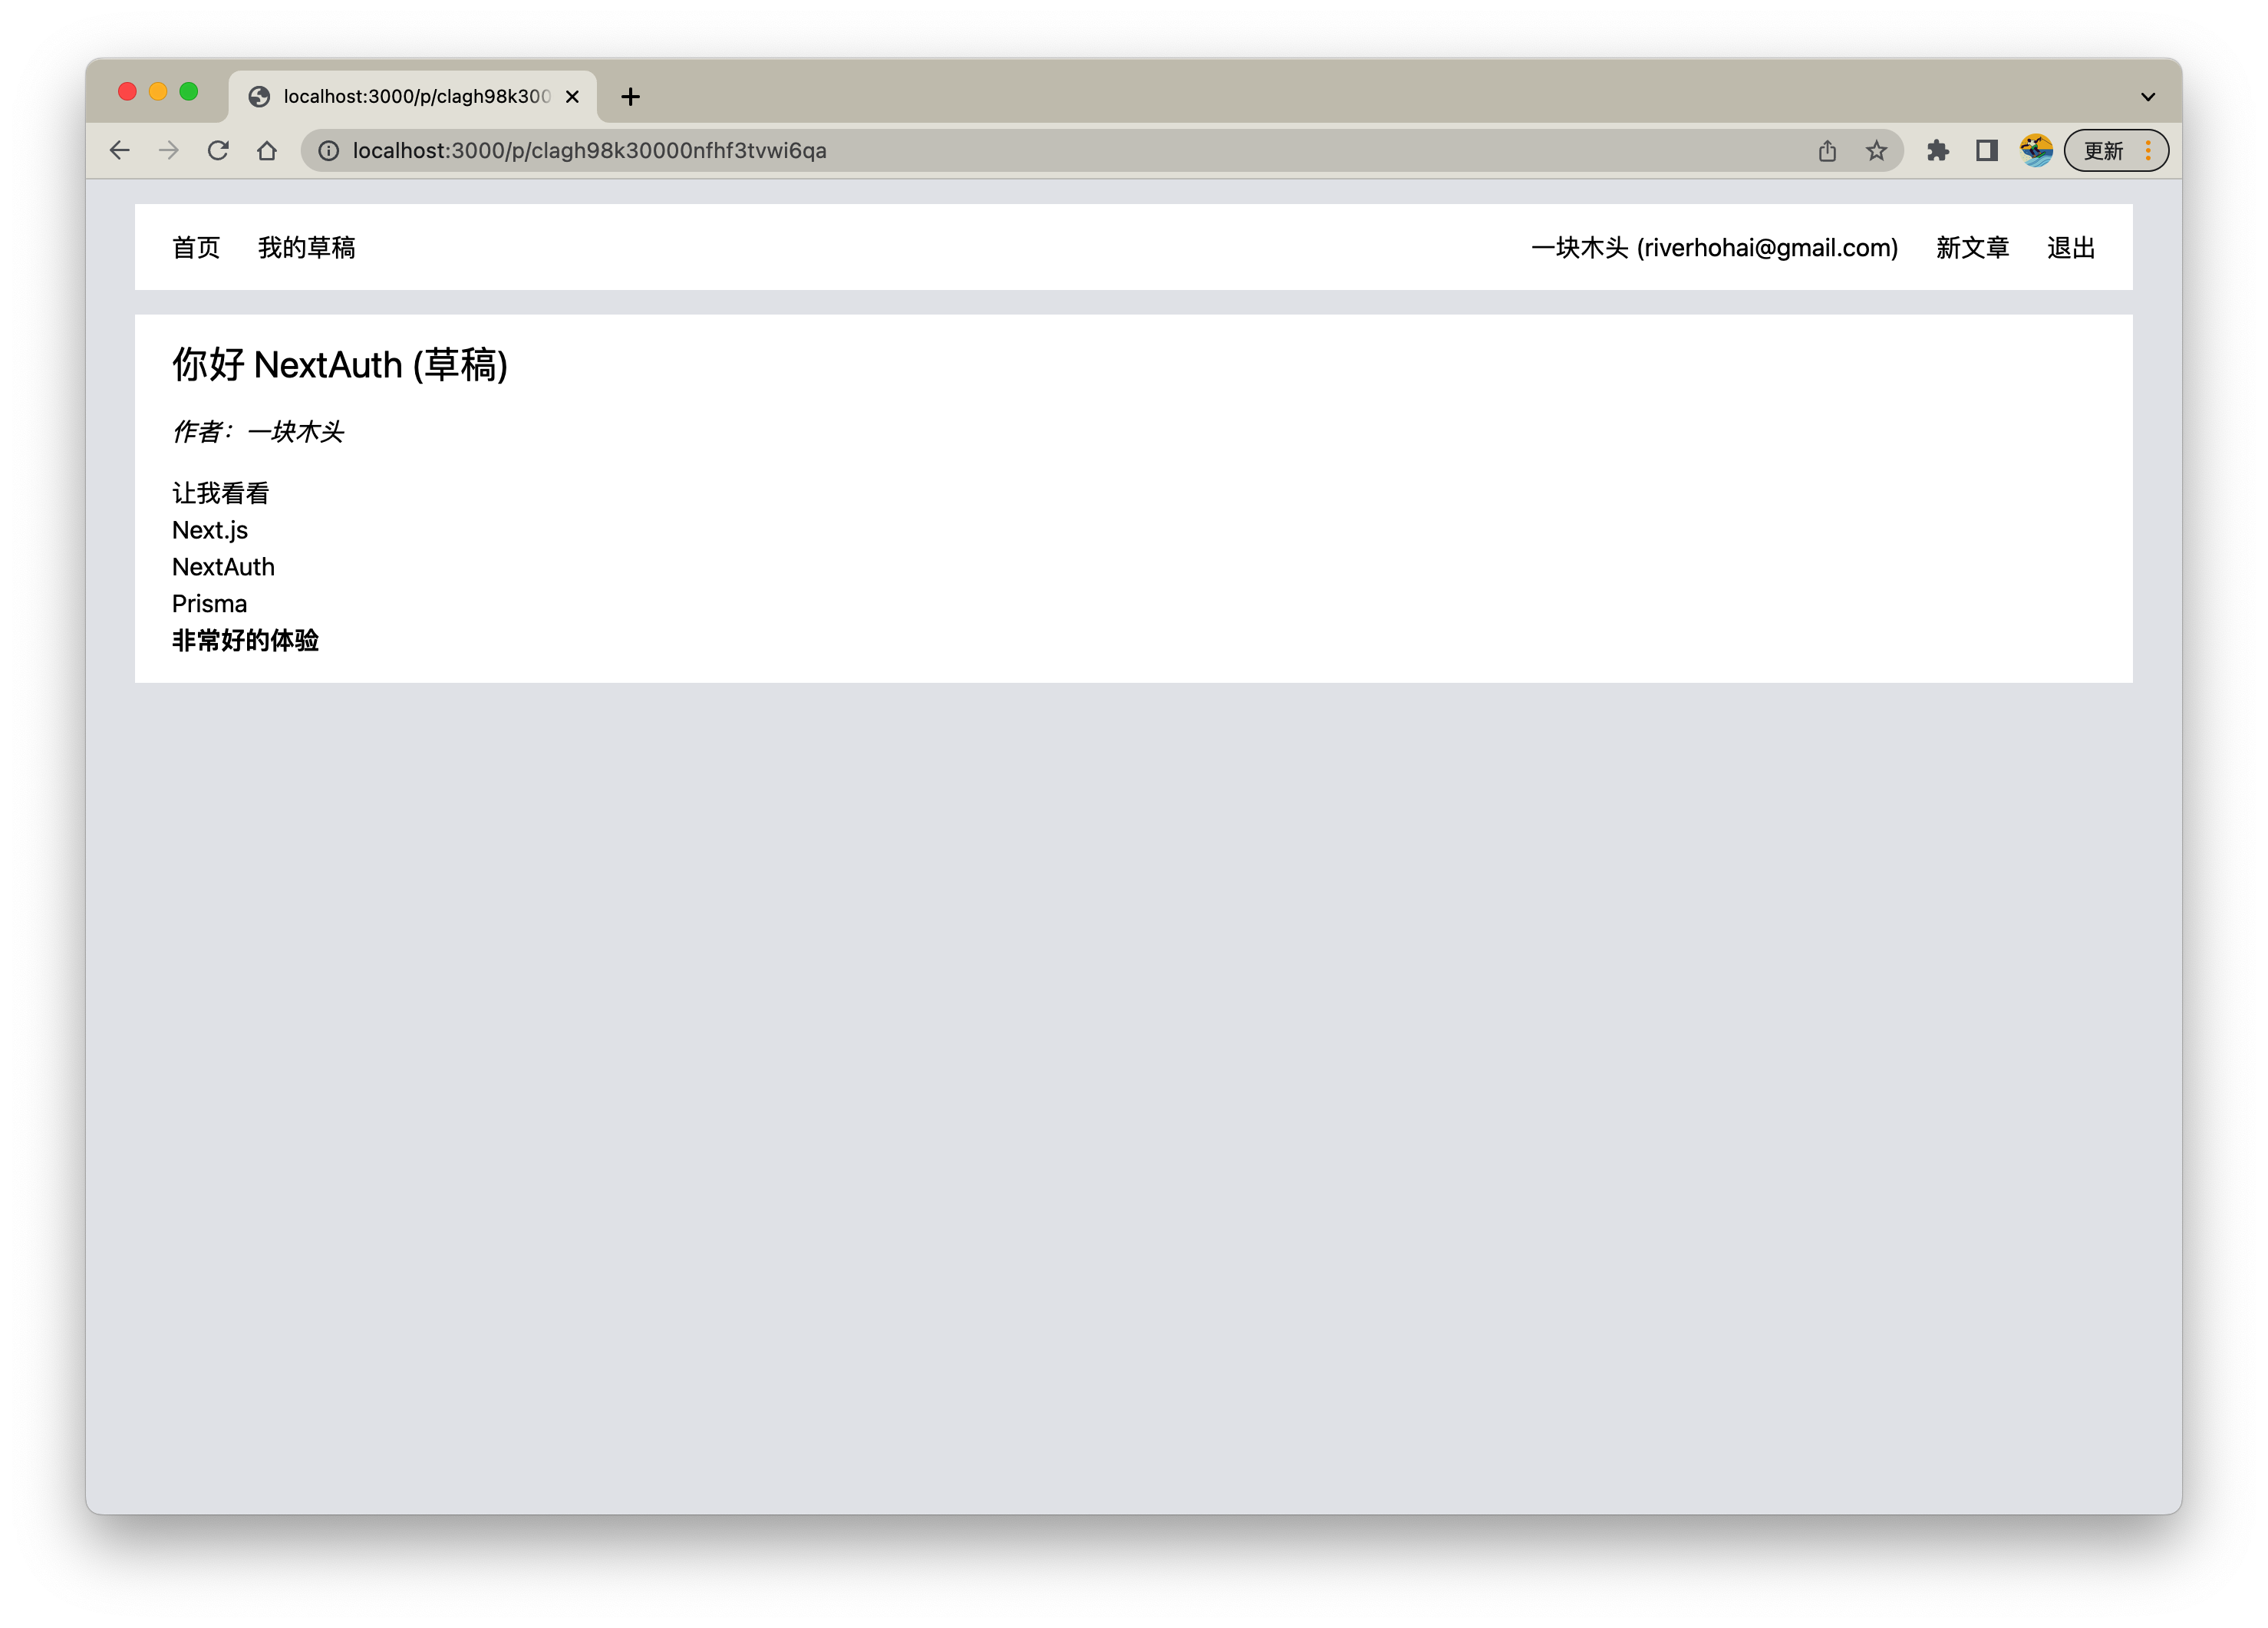
文章详情
新建文件 pages/p/[id].tsx
import React from "react";
import { GetServerSideProps } from "next";
import ReactMarkdown from "react-markdown";
import Layout from "~/components/Layout";
import { PostProps } from "~/components/Post";
import { db } from "~/lib/db/prisma";

export const getServerSideProps: GetServerSideProps = async ({ params }) => {
  const postId = params?.id;

  const post = await db.post.findUnique({
    where: { id: String(postId) },
    include: {
      author: {
        select: { name: true, email: true },
      },
    },
  });

  return {
    props: post,
  };
};

const Post: React.FC<PostProps> = (props) => {
  let title = props.title;
  if (!props.published) {
    title = `${title} (草稿)`;
  }

  return (
    <Layout>
      <div className="bg-white px-6 py-4">
        <h2 className="text-2xl mb-4">{title}</h2>
        <p className="italic mb-4">
          作者:{props?.author?.name || "Unknown author"}
        </p>
        <ReactMarkdown children={props.content} />
      </div>
    </Layout>
  );
};

export default Post;
发布和删除
场景
- 文章详情页面,未登录或文章不属于当前登录人
- 不显示操作按钮(发布,删除)
- 否则-显示操作按钮,若文章是草稿,显示发布按钮,否则隐藏
删除文章接口 pages/api/post/[id].ts
import { NextApiRequest, NextApiResponse } from "next";
import { db } from "~/lib/db/prisma";

export default async function (req: NextApiRequest, res: NextApiResponse) {
  if (req.method === "DELETE") {
    const postId = req.query.id;
    const post = await db.post.delete({ where: { id: String(postId) } });

    res.json(post);
  } else {
    throw new Error(`The HTTP ${req.method} method is not supported`);
  }
}
发布文章接口 pages/api/publish/[id].ts
import { NextApiRequest, NextApiResponse } from "next";
import { db } from "~/lib/db/prisma";

export default async function (req: NextApiRequest, res: NextApiResponse) {
  const postId = req.query.id;
  const post = await db.post.update({
    where: { id: String(postId) },
    data: { published: true },
  });

  res.json(post);
}
pages/p/[id].tsx
import React from "react";
import { GetServerSideProps } from "next";
import Router from "next/router";
import ReactMarkdown from "react-markdown";
import Layout from "~/components/Layout";
import { PostProps } from "~/components/Post";
import { db } from "~/lib/db/prisma";
import { useSession } from "next-auth/react";

export const getServerSideProps: GetServerSideProps<any, any> = async ({
  params,
}) => {
  // 文章id,来自访问路由 [id]
  const postId = params?.id;

  const post = await db.post.findUnique({
    where: { id: String(postId) },
    include: {
      author: {
        select: { name: true, email: true },
      },
    },
  });

  return {
    props: post,
  };
};

async function publishPost(id: string): Promise<void> {
  await fetch(`/api/publish/${id}`, {
    method: "PUT",
  });

  Router.push("/");
}

async function deletePost(id: string): Promise<void> {
  await fetch(`/api/post/${id}`, { method: "DELETE" });

  Router.push("/");
}

const Post: React.FC<PostProps> = (props) => {
  const { data: session, status } = useSession();
  if (status === "loading") {
    return <div>Authenticating ...</div>;
  }

  // 用户已登录?
  const userHasValidSession = Boolean(session);
  // 属于当前登录人?
  const postBelongsToUser = session?.user?.email === props.author?.email;

  let title = props.title;
  if (!props.published) {
    title = `${title} (草稿)`;
  }

  const renderControl = () => {
    if (!userHasValidSession || !postBelongsToUser) return null;
    return (
      <div className="mt-10 space-x-6">
        {!props.published && (
          <button
            className="bg-sky-500 text-white hover:bg-sky-500/80 px-6 py-2"
            key="publish"
            onClick={() => publishPost(props.id)}
          >
            发布
          </button>
        )}
        <button
          className="bg-red-500 text-white hover:bg-red-500/80 px-6 py-2"
          key="delete"
          onClick={() => deletePost(props.id)}
        >
          删除
        </button>
      </div>
    );
  };

  return (
    <Layout>
      <div className="bg-white px-6 py-4">
        <h2 className="text-2xl mb-4">{title}</h2>
        <p className="italic mb-4">
          作者:{props?.author?.name || "Unknown author"}
        </p>
        <ReactMarkdown children={props.content} />
        {renderControl()}
      </div>
    </Layout>
  );
};

export default Post;
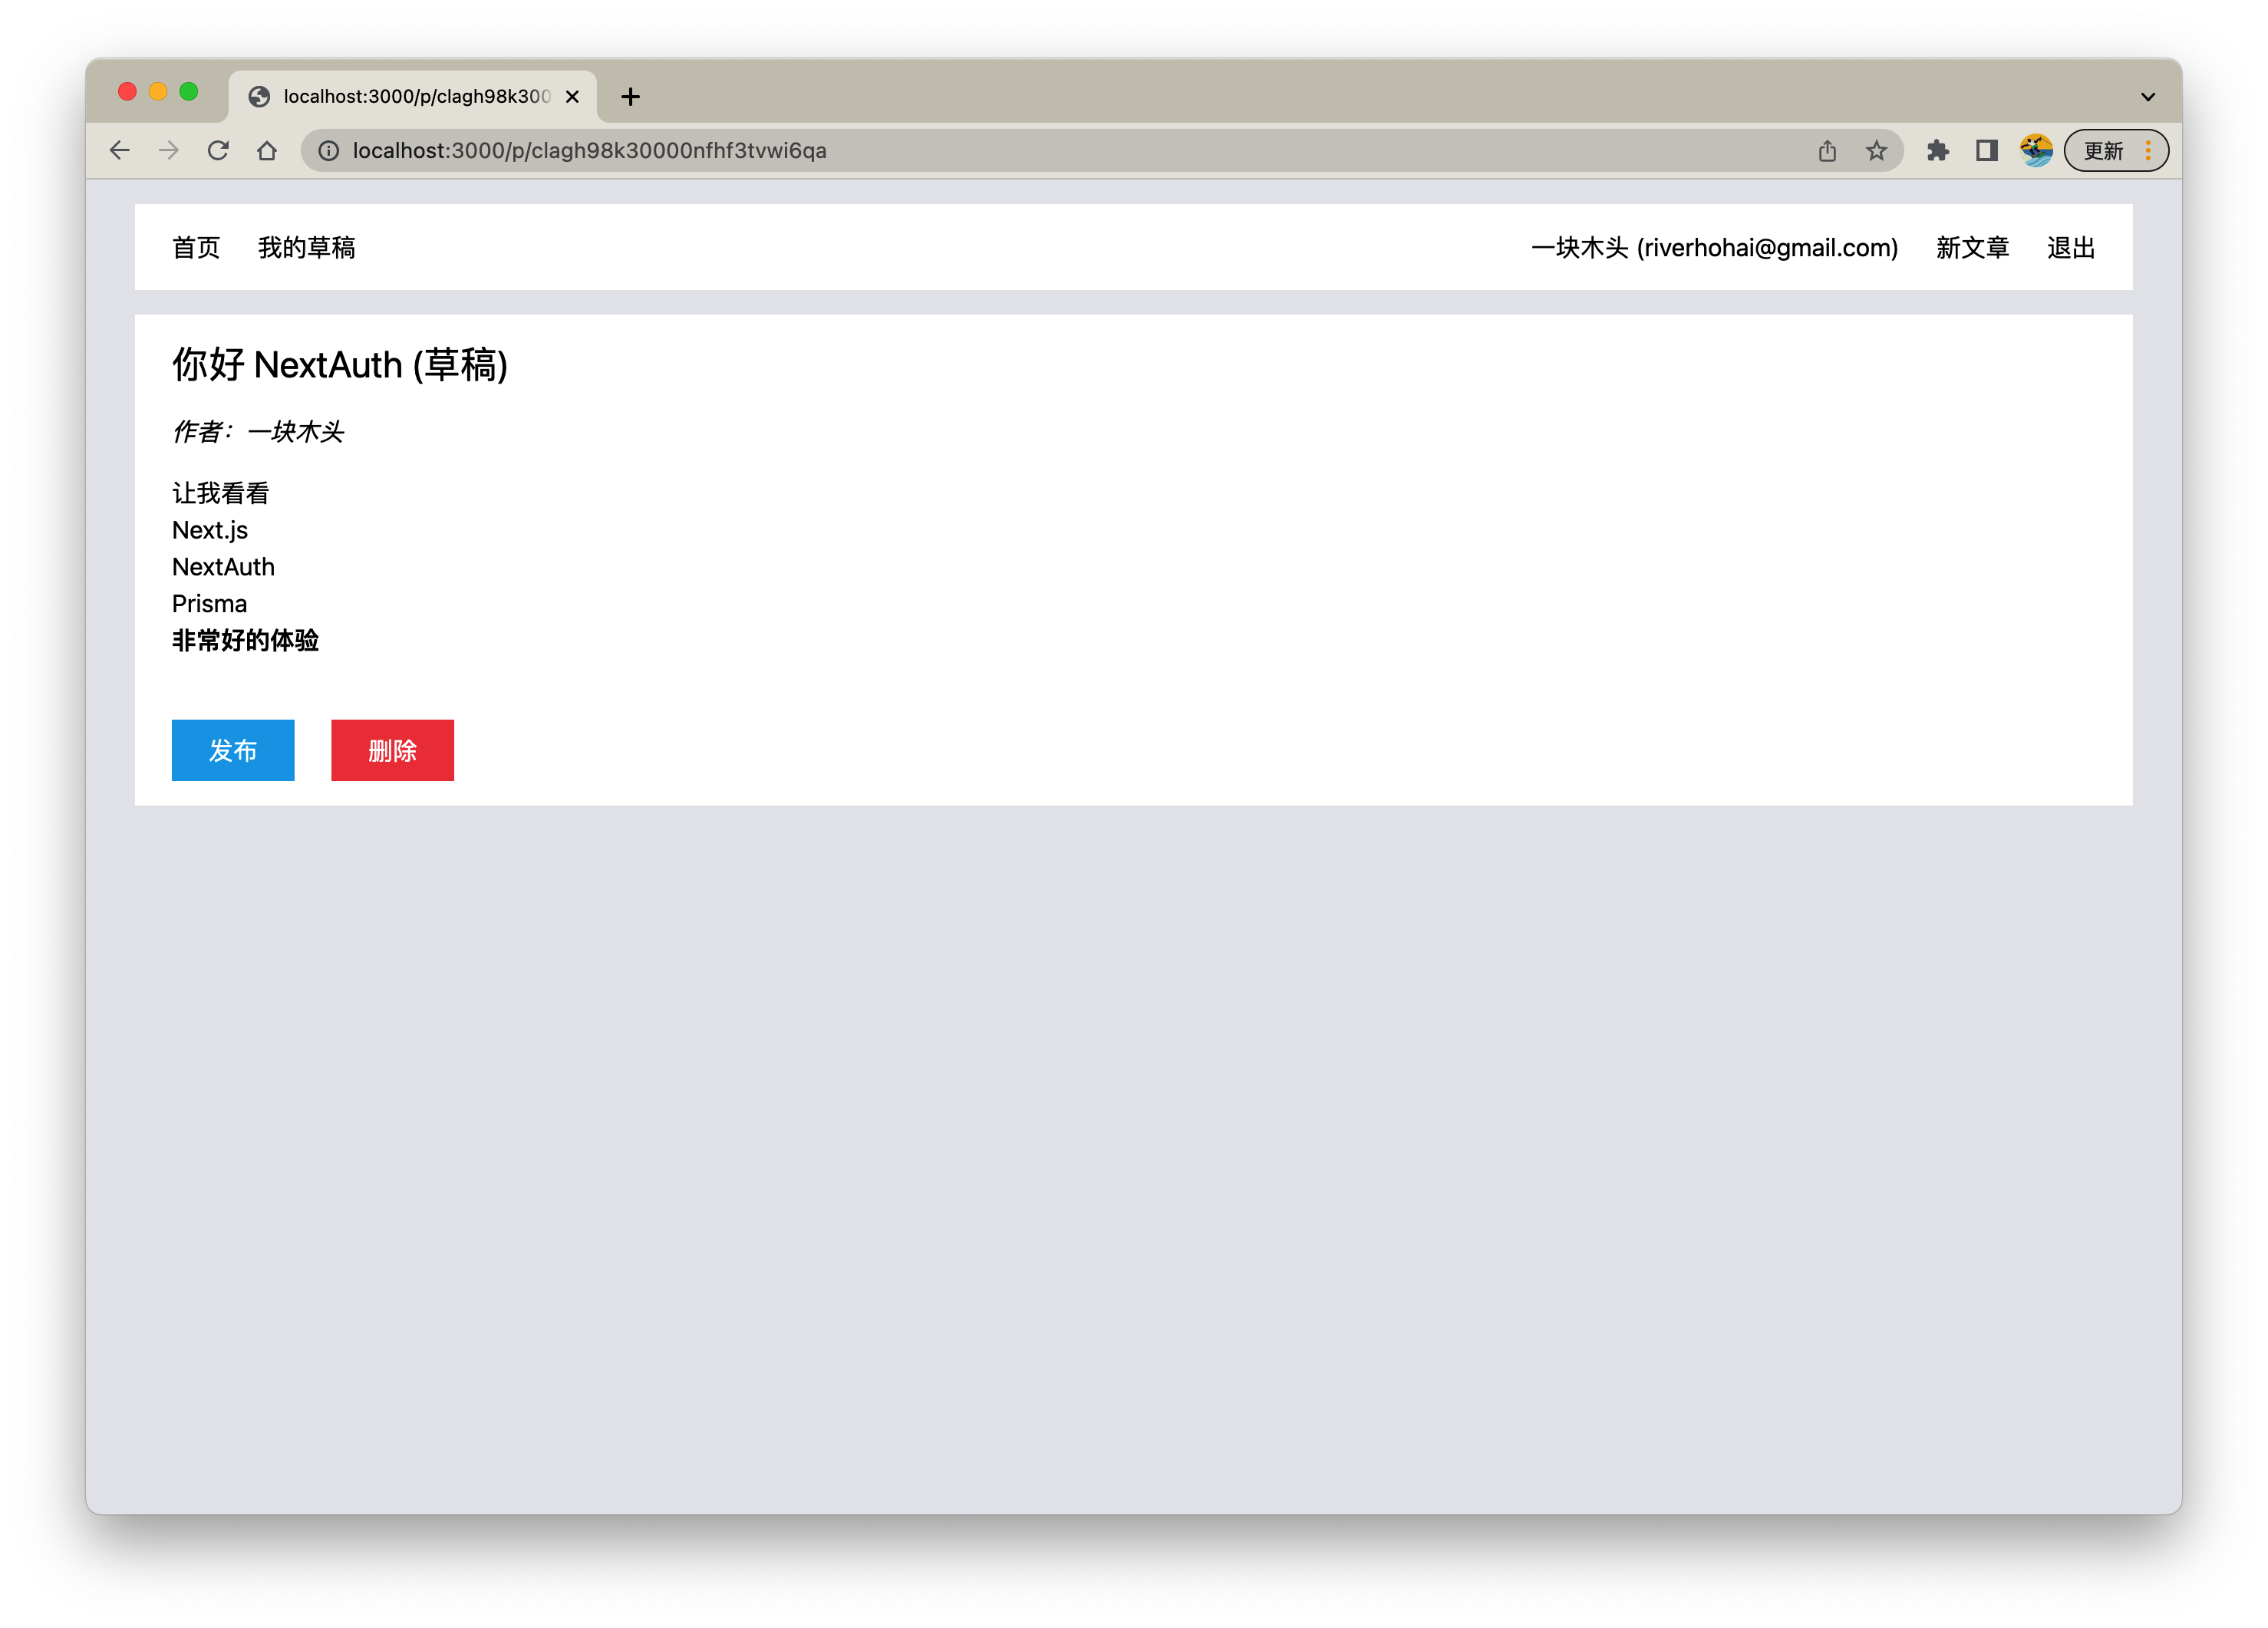
点击 "发布"
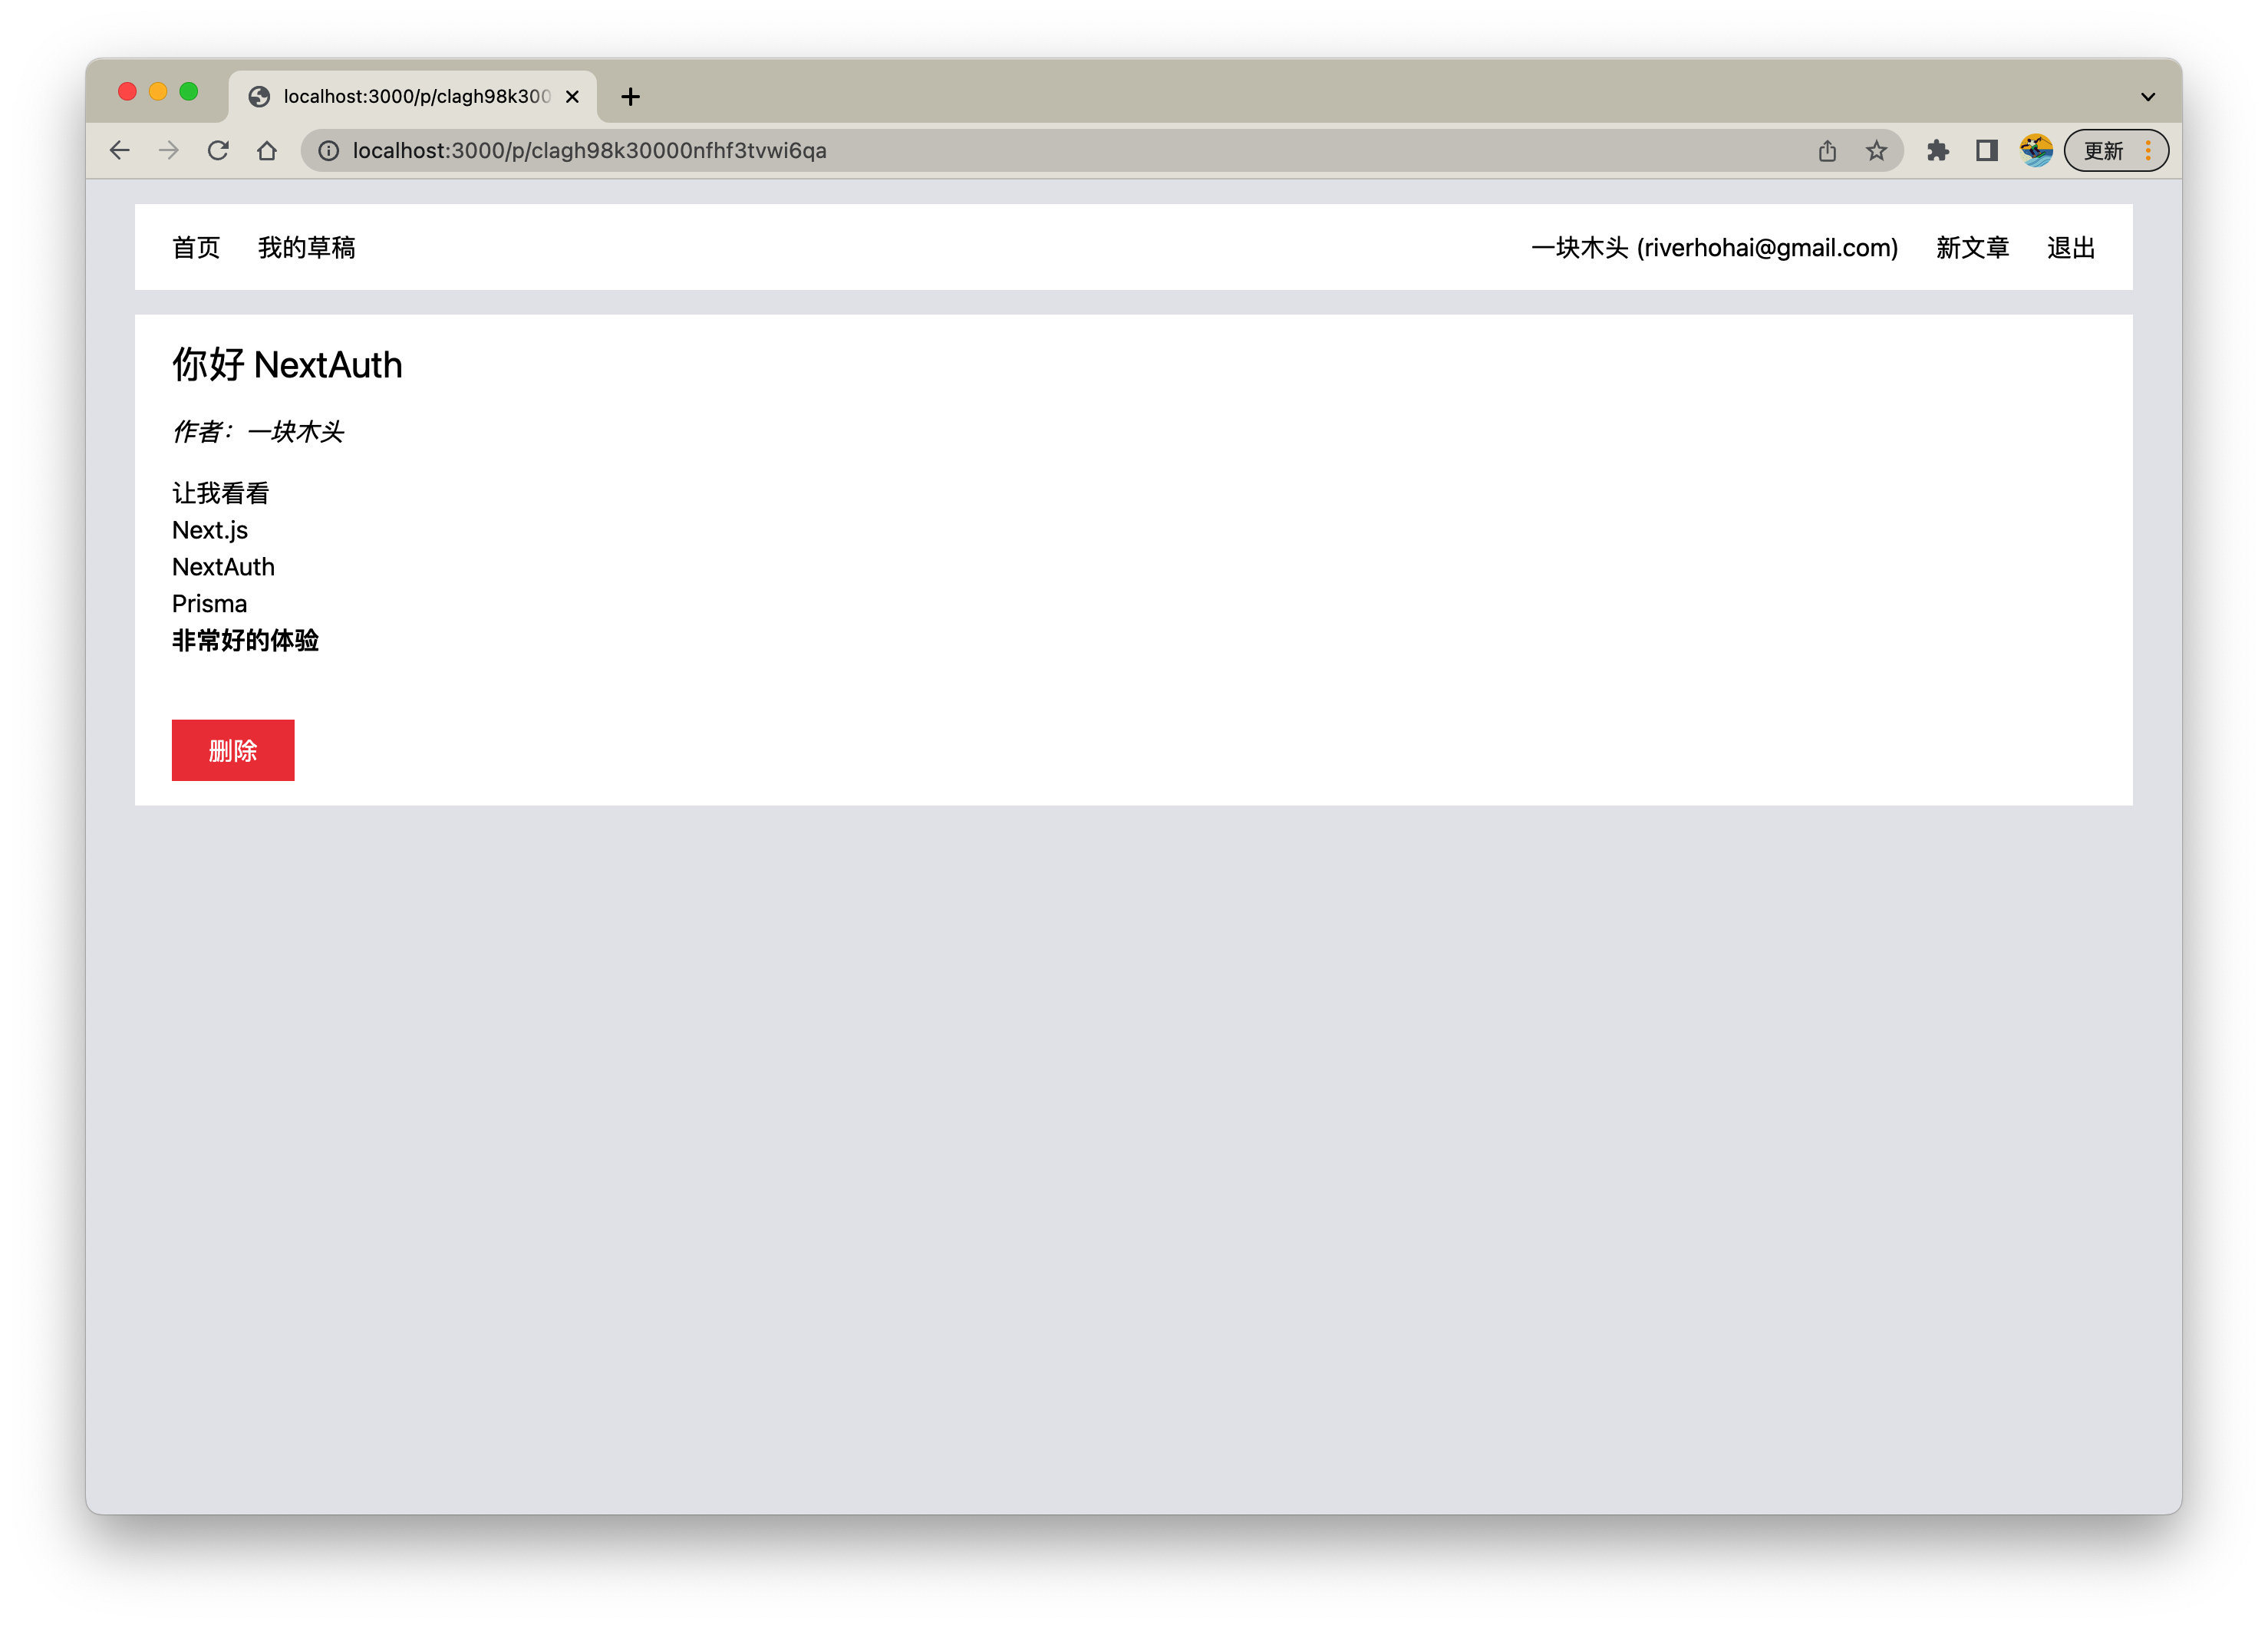
先不要测试删除,我们先来实现首页
首页(所有已发布文章)
pages/index.tsx
import React from "react";
import { GetStaticProps } from "next";
import Layout from "~/components/Layout";
import Post, { PostProps } from "~/components/Post";
import { db } from "~/lib/db/prisma";

export const getStaticProps: GetStaticProps = async () => {
  const feed = await db.post.findMany({
    where: {
      // 已发布的文章
      published: true,
    },
    include: {
      author: {
        select: { name: true },
      },
    },
    // 降序,最新创建的文章在最前
    orderBy: { createdAt: "desc" },
  });
  return {
    props: { feed },
    // 10 秒
    revalidate: 10,
  };
};

type Props = {
  feed: PostProps[];
};

const Home: React.FC<Props> = (props) => {
  return (
    <Layout>
      <h1 className="mb-3">最新文章</h1>
      <main className="space-y-6">
        {props.feed.map((post) => (
          <div key={post.id}>
            <Post post={post} />
          </div>
        ))}
      </main>
    </Layout>
  );
};

export default Home;
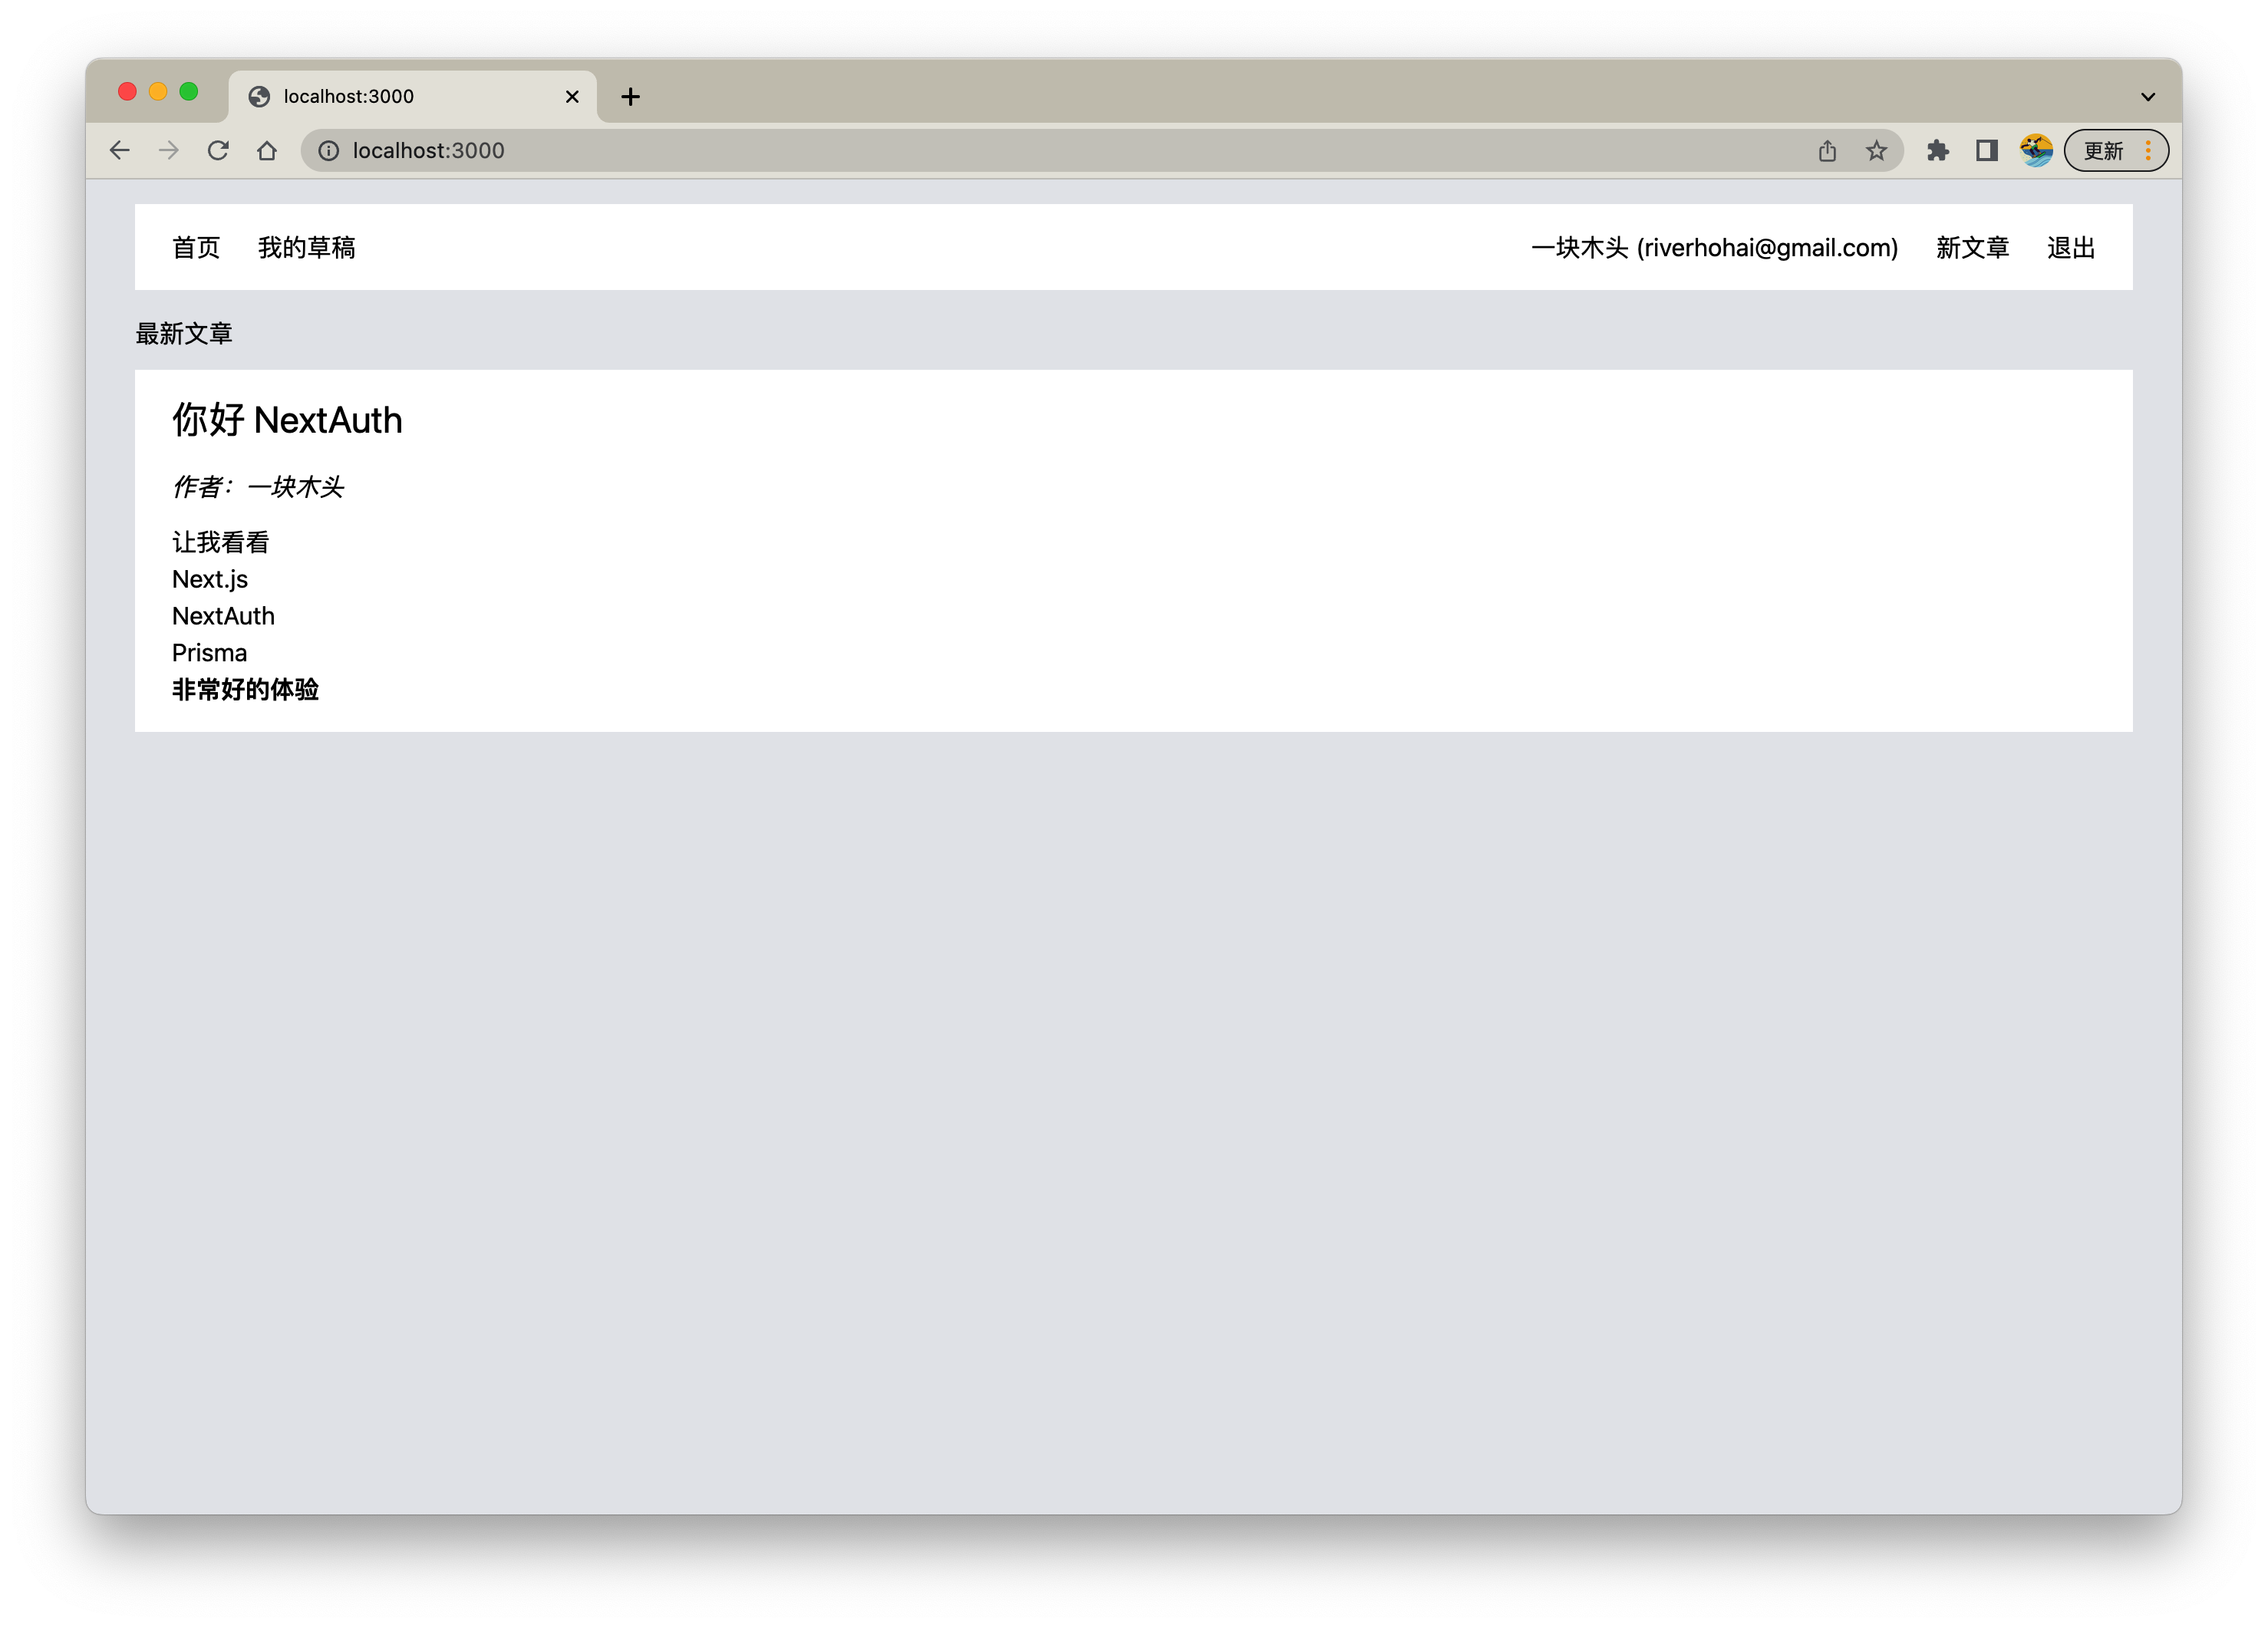
此时我们先退出登录,可以看到首页的文章,但 "我的草稿","创建文章" 均隐藏
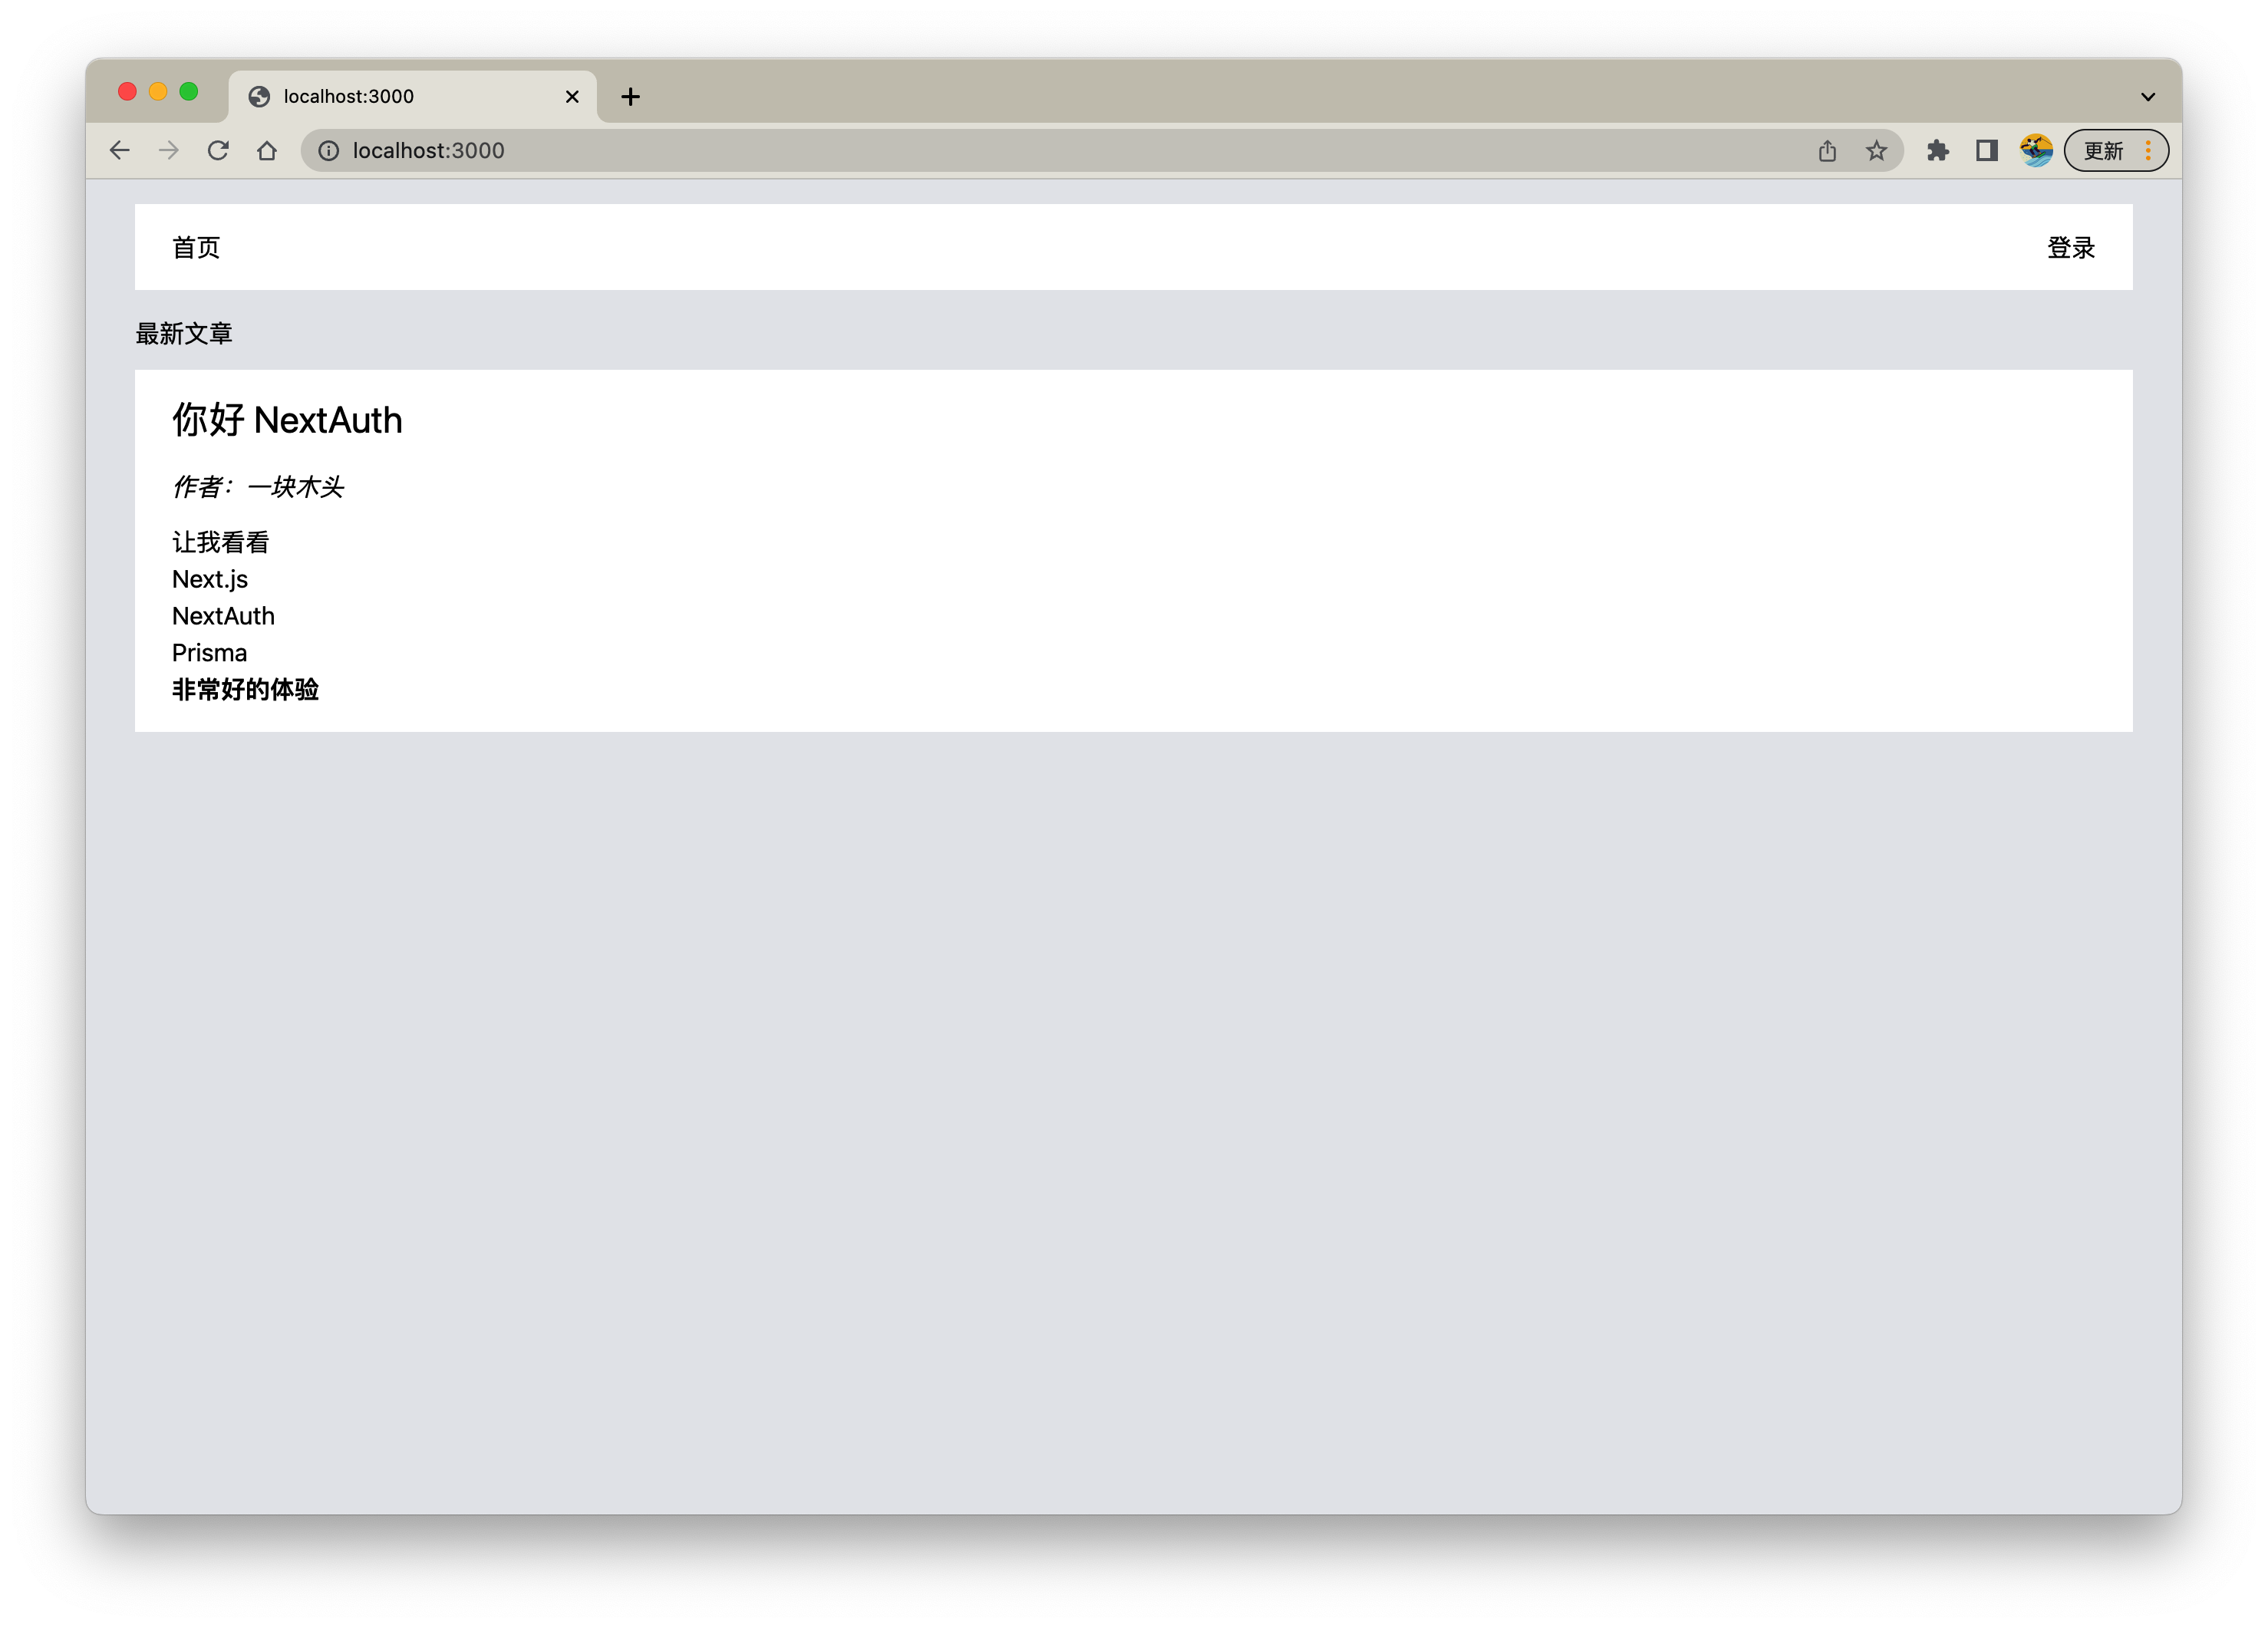
点击文章卡片,可以看到 "删除" 按钮也隐藏
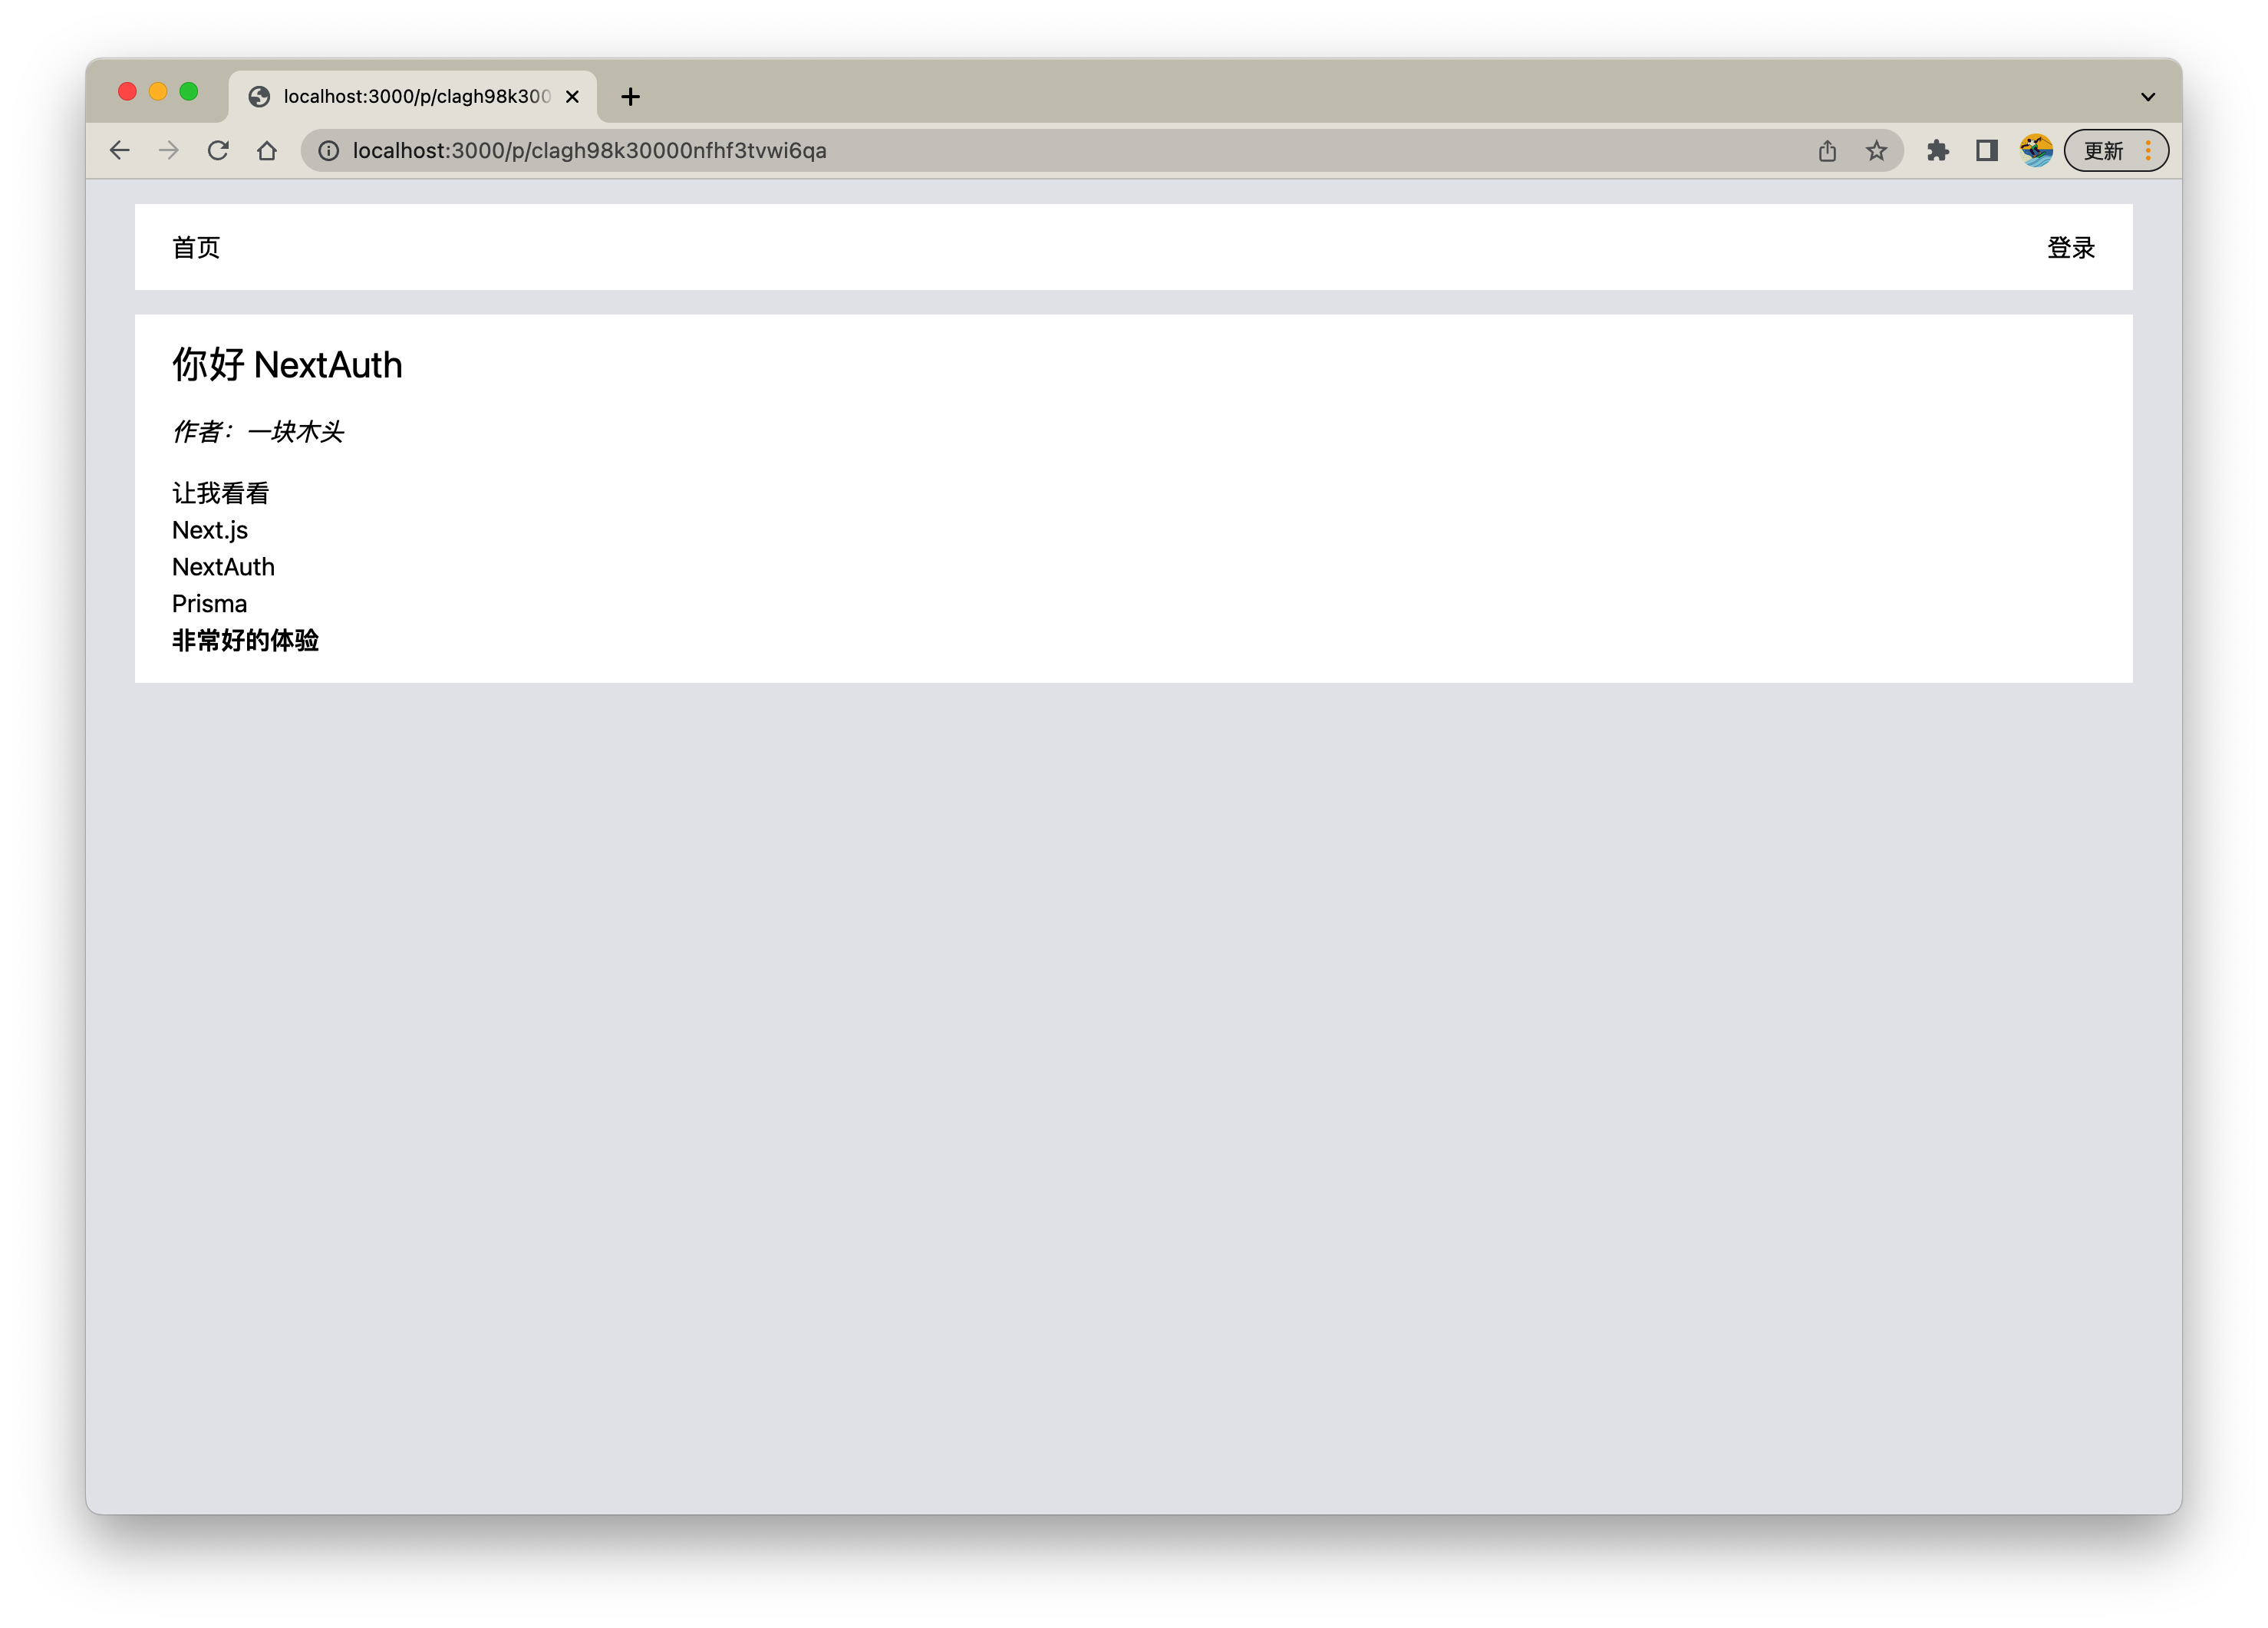
我们再重新登录,"删除" 文章
完整源码:next-auth-prisma